7 | Unit installation
Installer reference guide
56
EPGA11~16DAV3(7) + EAVZ16S18+23DA6V(7)+9W
Daikin Altherma 3 H F
4P556075-1A – 2021.09
D Drain holes
E Knockout hole for snow
NOTICE
If drain holes of the outdoor unit are covered by a mounting base or by floor surface,
raise the unit to provide a free space of more than 150mm under the outdoor unit.
7.4 Mounting the indoor unit
7.4.1 About mounting the indoor unit
Typical workflow
Mounting the indoor unit typically consists of the following stages:
1 Installing the indoor unit.
7.4.2 Precautions when mounting the indoor unit
INFORMATION
Also read the precautions and requirements in the following chapters:
▪ General safety precautions
▪ Preparation
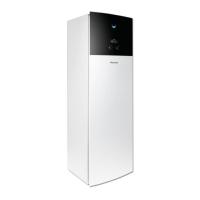
7.4.3 To install the indoor unit
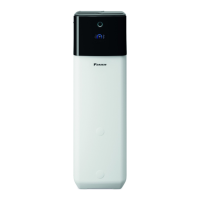
1 Lift the indoor unit from the pallet and place it on the floor. Also see "4.3.3To
handle the indoor unit"[425].
2 Connect the drain hose to the drain. See "7.4.4To connect the drain hose to
the drain"[457].
3 Slide the indoor unit into position.
4 Adjust the height of the leveling feet to compensate for floor irregularities.
The maximum allowed deviation is 1°.
 Loading...
