4 Unit installation
Installation manual
14
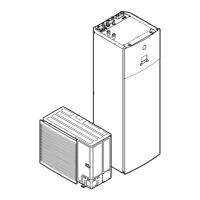
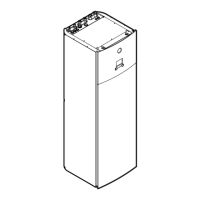
EBSH/X(B)11+16P50D
Daikin Altherma 3 R ECH₂O
4P759878-1 – 2024.01
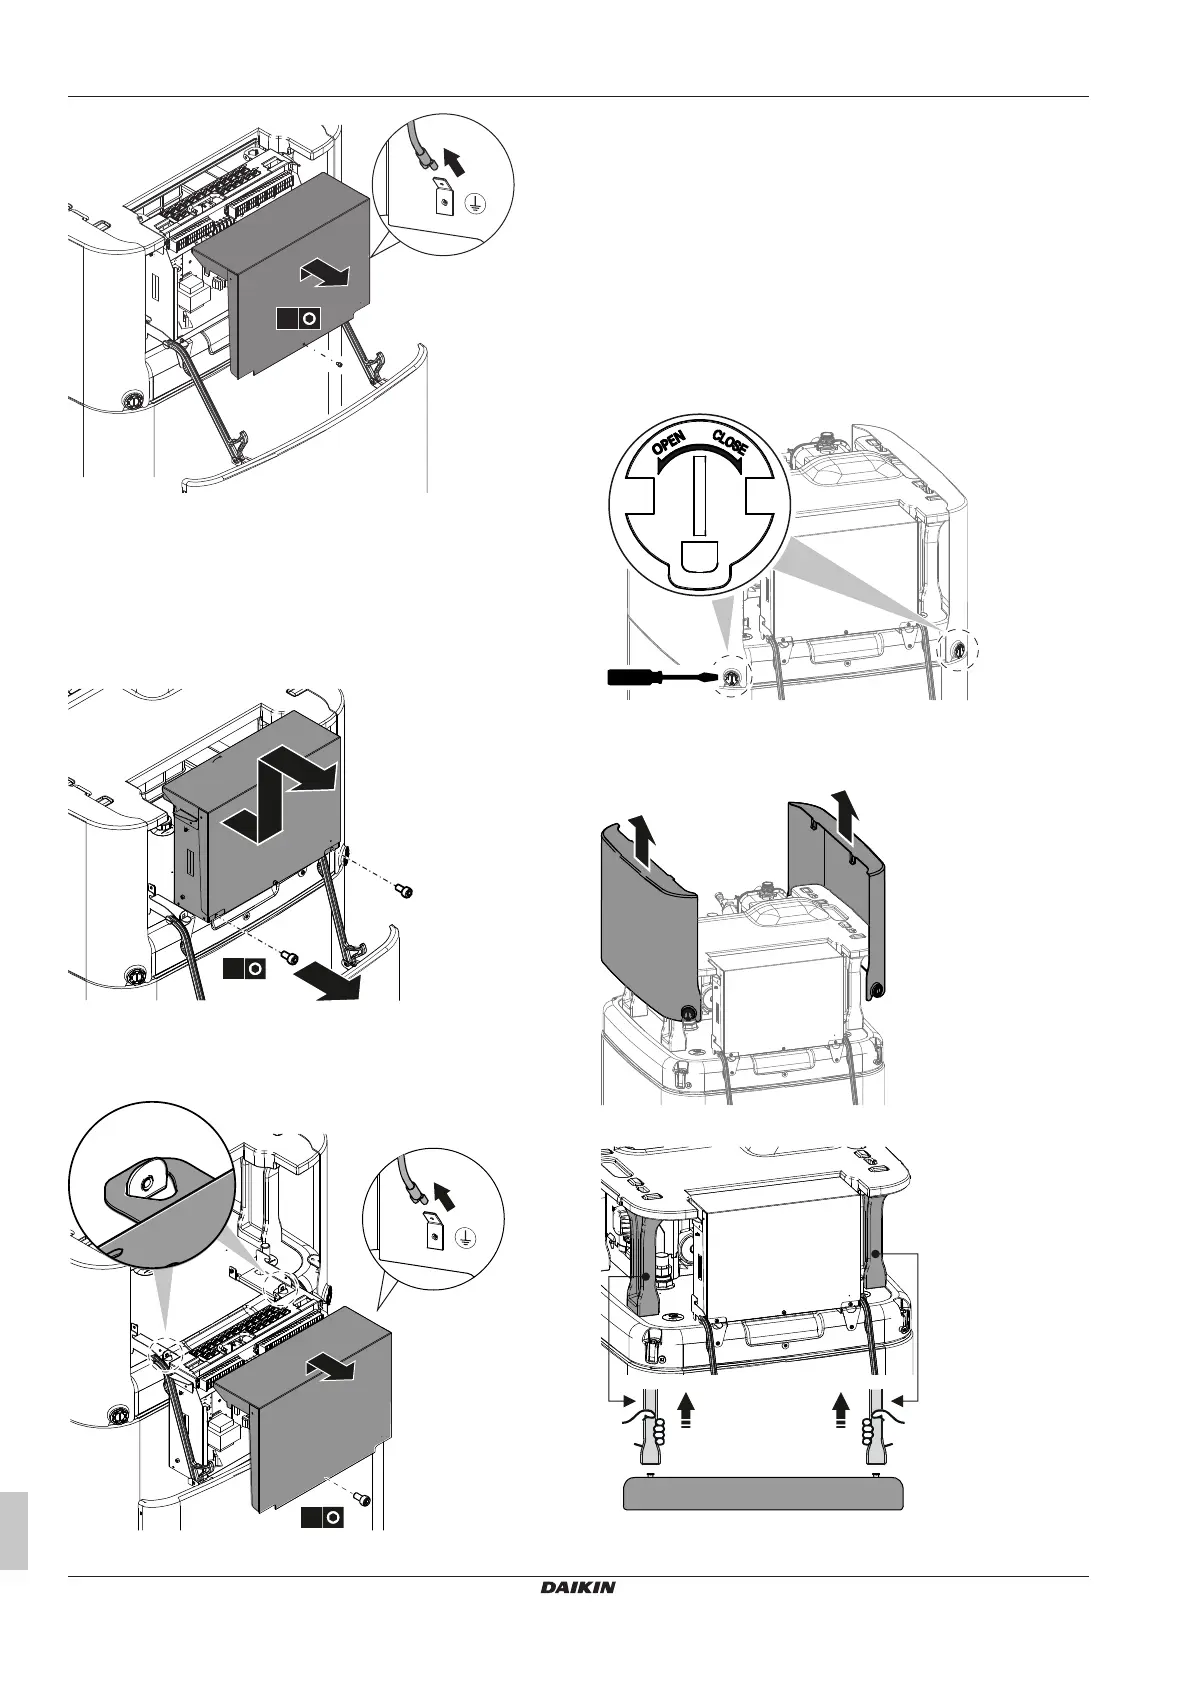
To lower the switch box and open the switch box cover
During the installation, you will need access to the inside of the
indoor unit. To have easier front access, lower the switch box of the
unit as follows:
Prerequisite: The user interface panel has been removed.
1 Loosen the screws.
2 Lift up the switch box.
3 Lower the switch box.
4 Remove the switch box cover.
5 If the switch box is opened: Disconnect the ground connection
from the top cover of the switch box.
Remove the top cover
During the installation, you will need access to the inside of the
indoor unit. To have easier top access, remove the top cover of the
unit. This is necessary in the following cases:
▪ Connecting water piping
▪ Connecting BIV or DB-kit
▪ Connecting backup heater
Prerequisite: The front plate has been removed and the switch box
has been lowered.
1 Open the locking parts of the side panels with a screw driver.
2 Lift up the side panels.
3 Lift the top cover out of its mounting using the two front legs.
4 Remove the top cover