9 Hand-over to the user
Installation manual
45
EBSH/X(B)11+16P50D
Daikin Altherma 3 R ECH₂O
4P759878-1 – 2024.01
▪ DHW signal test
▪ Bivalent signal test
▪ Alarm output test
▪ C/H signal test
▪ DHW pump test
▪ Tank valve test
▪ Bypass valve test
▪ Bizone kit direct pump test (bizone kit EKMIKPOA or
EKMIKPHA)
▪ Bizone kit mixed pump test (bizone kit EKMIKPOA or
EKMIKPHA)
▪ Bizone kit mixing valve test (bizone kit EKMIKPOA or
EKMIKPHA)
8.2.5 To perform an underfloor heating screed
dryout
Conditions: Make sure all operation is disabled. Go to [C]:
Operation and turn off Space heating/cooling and Tank
operation.
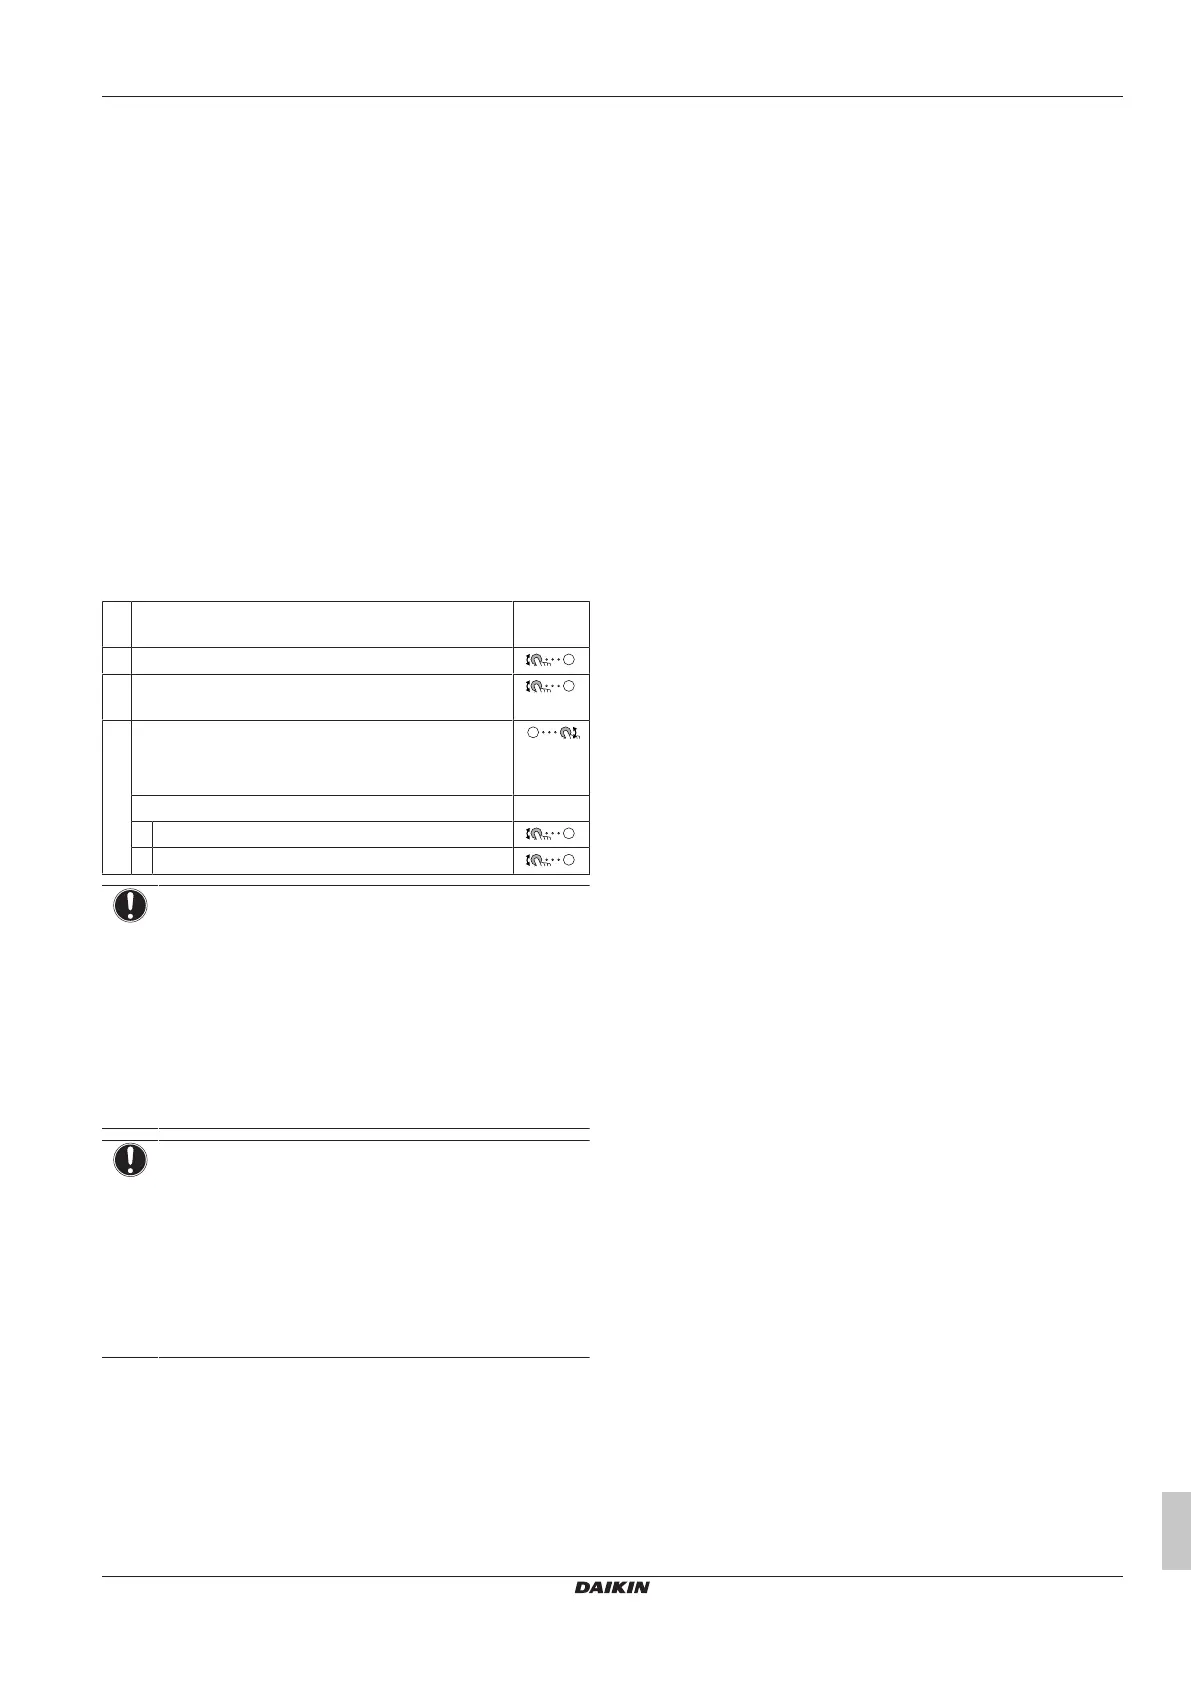
1 Set the user permission level to Installer. See "To
change the user permission level"[434].
—
2 Go to [A.4]: Commissioning > UFH screed dryout.
3 Set a dryout program: go to Program and use the
UFH screed dryout programming screen.
4 Select OK to confirm.
Result: The underfloor heating screed dryout starts.
It stops automatically when done.
To stop the test run manually: —
1 Go to Stop UFH screed dryout.
2 Select OK to confirm.
NOTICE
To perform an underfloor heating screed dryout, room frost
protection needs to be disabled ([2‑06]=0). By default, it is
enabled ([2‑06]=1). However, due to the "installer-on-site"
mode (see "Commissioning"), room frost protection will be
automatically disabled for 12 hours after the first power-on.
If the screed dryout still needs to be performed after the
first 12 hours of power-on, manually disable room frost
protection by setting [2‑06] to "0", and KEEP it disabled
until the screed dryout has finished. Ignoring this notice will
result in cracking of the screed.
NOTICE
For the underfloor heating screed dryout to be able to start,
make sure the following settings are met:
▪ [4‑00]=1
▪ [C‑02]=0
▪ [D‑01]=0
▪ [4‑08]=0
▪ [4‑01]≠1
8.2.6 To set up bivalent heat sources
For systems without indirect auxiliary boiler connected to the storage
tank, it is mandatory to install an electric backup heater to ensure
safe operation for all conditions.
Drain back models
For drain back models, a backup heater (EKECBUA*) must always
be installed.
For drain back models, the factory setting of field code [C-02] is set
to 0.
Bivalent models
For bivalent models, the factory setting of the field code [C-02] is set
to 2. It is assumed that a controllable bivalent external heat source is
connected (see the installer reference guide for more information).
Without a controllable bivalent external heat source, a backup heater
(EKECBUA*) must be installed and the field code [C-02] set to 0.
HINT: If field code [C-02] is set to 0 and no backup heater is
connected, error UA 17 is output at AL3*ECH2O.
9 Hand-over to the user
Once the test run is finished and the unit operates properly, make
sure the following is clear for the user:
▪ Fill in the installer setting table (in the operation manual) with the
actual settings.
▪ Make sure that the user has the printed documentation and ask
him/her to keep it for future reference. Inform the user that he can
find the complete documentation at the URL mentioned earlier in
this manual.
▪ Explain the user how to properly operate the system and what to
do in case of problems.
▪ Show the user what to do for the maintenance of the unit.
▪ Explain about energy saving tips to the user as described in the
operation manual.