7 Installation
Installer reference guide
30
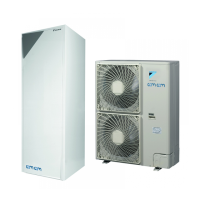
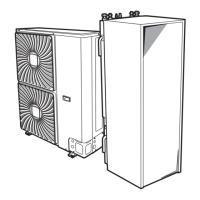
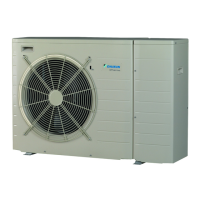
ERGA04~08DAV3(A) + EHBH/X04+08DA
Daikin Altherma – Low temperature split
4P496758-1 – 2017.12
Typical workflow
Installation typically consists of the following stages:
1 Mounting the outdoor unit.
2 Mounting the indoor unit.
3 Connecting the refrigerant piping.
4 Checking the refrigerant piping.
5 Charging refrigerant.
6 Connecting the water piping.
7 Connecting the electrical wiring.
8 Finishing the outdoor installation.
9 Finishing the indoor installation.
INFORMATION
Depending on the units and/or the installation conditions, it
might be necessary to connect electrical wiring before you
can charge refrigerant.
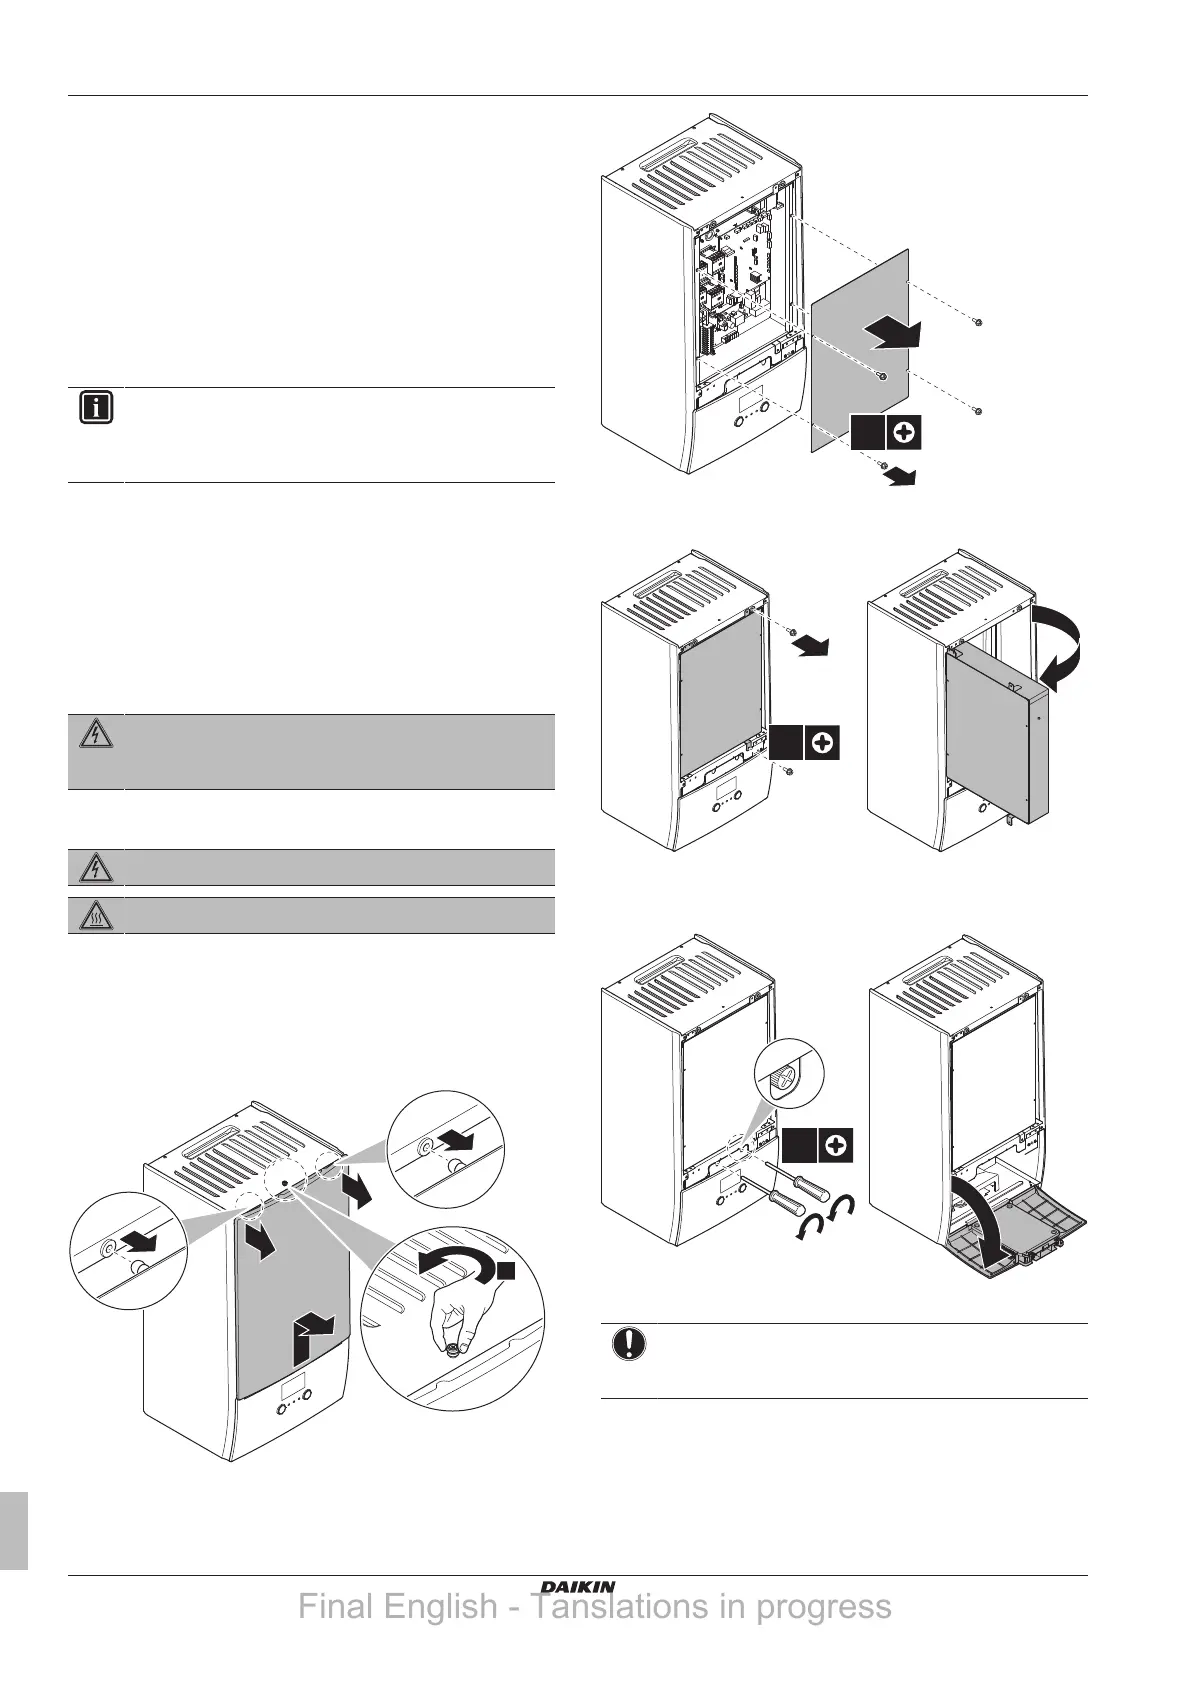
7.2 Opening the units
7.2.1 About opening the units
At certain times, you have to open the unit. Example:
▪ When connecting the refrigerant piping
▪ When connecting the electrical wiring
▪ When maintaining or servicing the unit
DANGER: RISK OF ELECTROCUTION
Do NOT leave the unit unattended when the service cover
is removed.
7.2.2 To open the outdoor unit
DANGER: RISK OF ELECTROCUTION
DANGER: RISK OF BURNING
See "7.5.8 To connect the refrigerant piping to the outdoor unit"on
page 37 and "7.9.6 To connect the electrical wiring on the outdoor
unit"on page42.
7.2.3 To open the indoor unit
1 Remove the front panel.
2 If you have to connect electrical wiring, remove the switch box
cover.
3 If you have to do work behind the switch box, open the switch
box.
4 If you have to do work behind the user interface panel or upload
new software into the user interface, open the user interface
panel.
5 Optional: Remove the user interface panel.
NOTICE
If you remove the user interface panel, also disconnect the
cables from the back of the panel to prevent damage.
Final English - Tanslations in progress