7 Installation
Installer reference guide
34
ERGA04~08DAV3(A) + EHBH/X04+08DA
Daikin Altherma – Low temperature split
4P496758-1 – 2017.12
7.4 Mounting the indoor unit
7.4.1 About mounting the indoor unit
When
You have to mount the outdoor and indoor unit before you can
connect the refrigerant and water piping.
Typical workflow
Mounting the indoor unit typically consists of the following stages:
1 Installing the indoor unit.
7.4.2 Precautions when mounting the indoor
unit
INFORMATION
Also read the precautions and requirements in the
following chapters:
▪ General safety precautions
▪ Preparation
7.4.3 To install the indoor unit
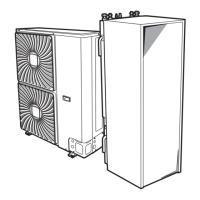
1 Fix the wall bracket (accessory) to the wall (level) with 2 Ø8mm
bolts.
a Optional: If you want to fix the unit to the wall from inside
the unit, provide an additional screw plug.
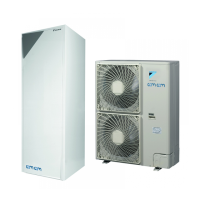
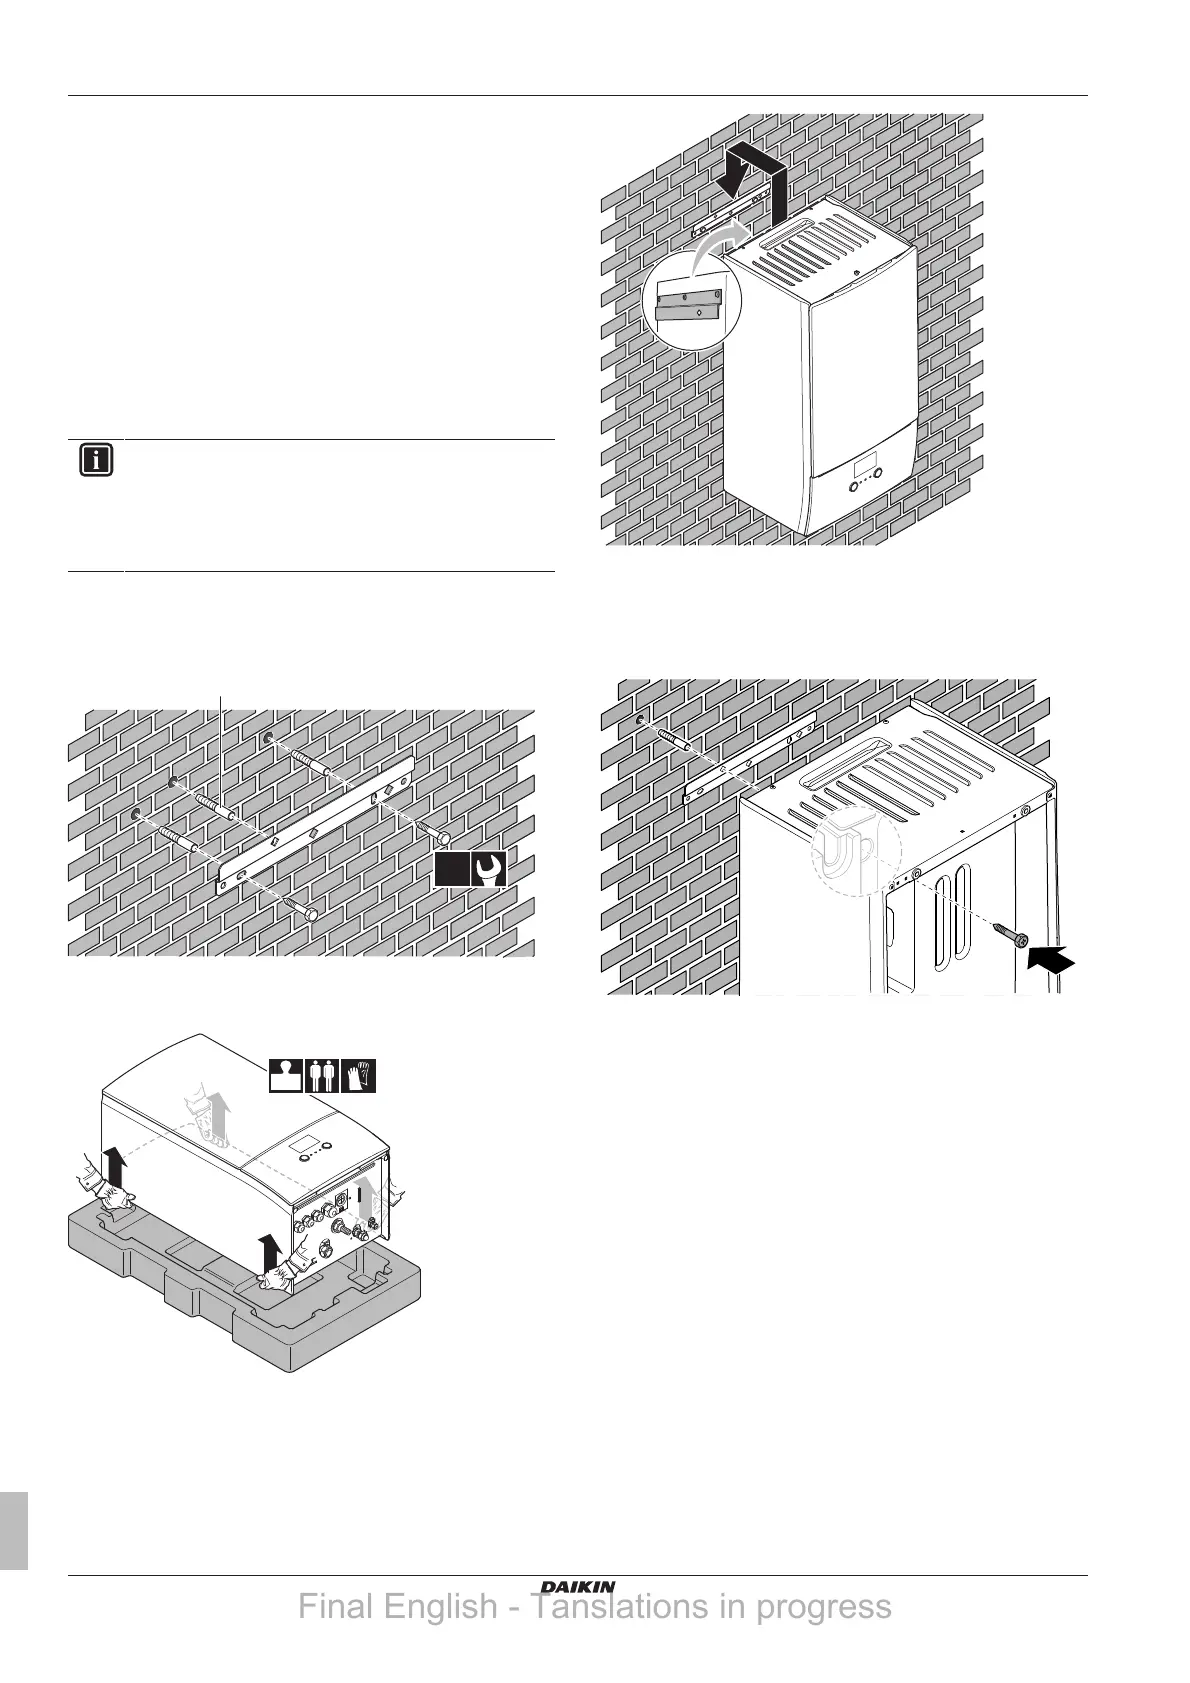
2 Lift the unit.
3 Attach the unit to the wall bracket:
▪ Tilt the top of the unit against the wall at the position of the
wall bracket.
▪ Slide the bracket on the back of the unit over the wall
bracket. Make sure the unit is fixed properly.
4 Optional: If you want to fix the unit to the wall from inside the
unit:
▪ Remove the upper front panel, and open the switch box. See
"7.2.3To open the indoor unit"on page30.
▪ Fix the unit to the wall with an Ø8mm screw.
7.4.4 To install the drain pan kit
If a drain pan kit (EKHBDPCA2) is required, install it before
connecting the refrigerant and water pipes and the electrical wiring.
To install, see the installation manual of the drain pan kit.
7.5 Connecting the refrigerant piping
7.5.1 About connecting the refrigerant piping
Before connecting the refrigerant piping
Make sure the outdoor and indoor unit are mounted.
Typical workflow
Connecting the refrigerant piping involves:
▪ Connecting the refrigerant piping to the outdoor unit
▪ Connecting the refrigerant piping to the indoor unit
▪ Insulating the refrigerant piping
Final English - Tanslations in progress