Care & Cleaning
1
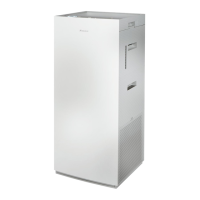
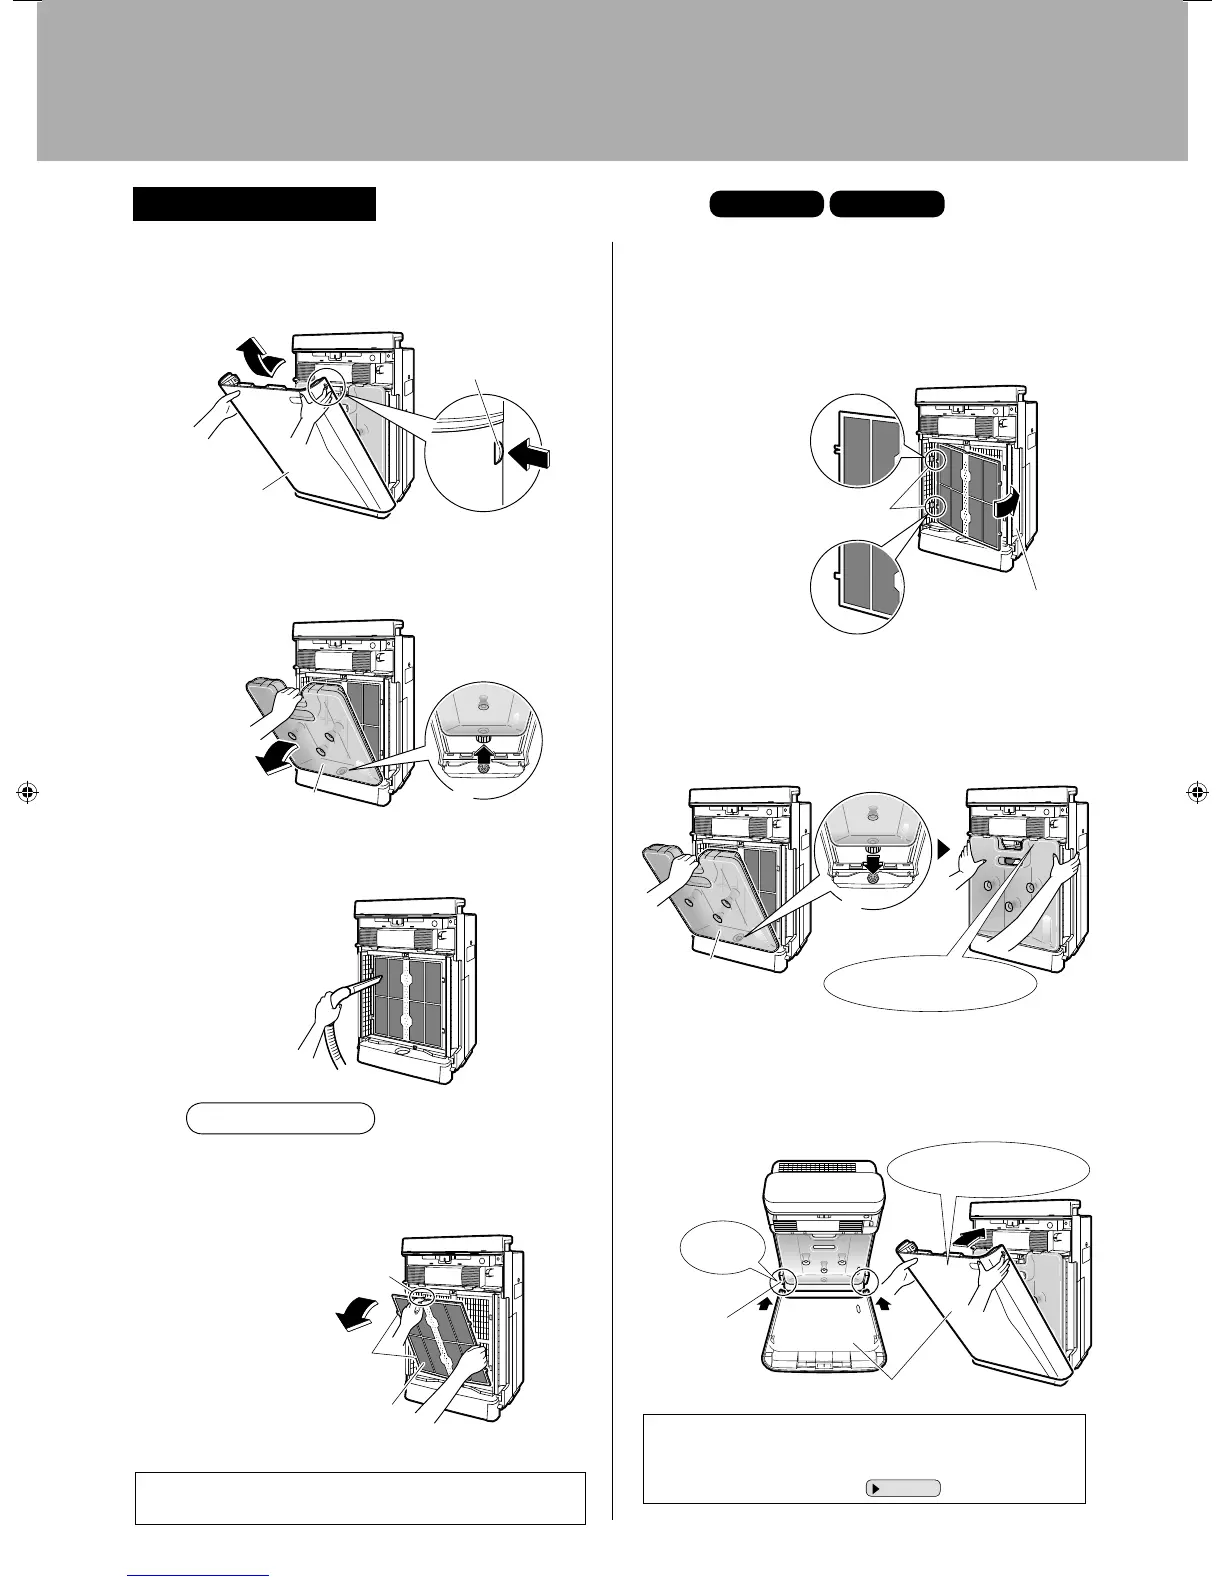
Remove the front panel.
Push the 2 projections (left and right) inwards, and pull the •
front panel upwards and remove.
Front panel
Projection
(1 each on left and right)
Push
2
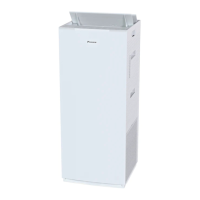
Remove the water tank.
Holding the water tank by the handle, pull the tank •
upwards and out of the unit.
(1)
Pull
Water tank
(2)
Up
3
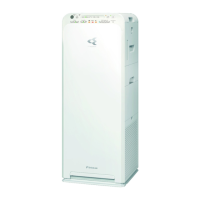
Clean the pre-fi lter.
Suck up dust with a vacuum cleaner. •
4
For stubborn dirt
Rinse the pre-fi lter with water.
Fit your fi ngers in the recess at the top of the pre-fi lter, pull the fi lter to
•
the front and disengage the tabs (4 locations) on the left and right of
the pre-fi lter from the holes (4 locations) on the left and right of UNIT1.
Pull to the front
to remove
Pre-filter
Tabs
(4 on left and right)
For stubborn dirt, wash with a soft bristle brush or neutral
•
liquid detergent, and dry thoroughly in a well-ventilated shade.
If water droplets remain on the pre-fi lter, the “UNIT1” lamp may
light, therefore dry the pre-fi lter adequately before using it again.
5
Restore the pre-fi lter.
Align the tabs (4 locations) on the left and right of the •
pre-fi lter with the holes (4 locations) on the left and right of
UNIT1, and insert into the holes.
Holes
(4 on left and right)
Upper left tab (1 location)
(The upper left tab is shaped
differently from
the others.)
Other tabs
(3 locations)
UNIT1
6
Restore the water tank.
Holding the water tank by the handle, fi t the tank into the •
hole at the bottom of the main unit, and press the tank into
the main unit.
Water tank
(1)
Fit here.
(2) Press inward until
hearing clicking sound.
7
Restore the front panel.
Fit the tabs (2
• locations
) at the bottom of the panel into the
grooves at the bottom of the main unit, and close the panel.
Bottom grooves
(2 locations)
Front
anel
(2) Press inward until
hearing clicking sound.
(1)
Fit here.
[View from above]
To correctly restore the front panel, press the front panel
until hearing the clicking sound from the left and right sides.
Unless properly installed, a safety switch may trip and
prevent the unit from starting.
Page 27.
Pre-fi lter cleaning
(About once every 2 weeks)
Vacuum cleaner
Rinse with water
01_EN_3P234570-1.indd 2901_EN_3P234570-1.indd 29 10/28/2008 12:02:49 PM10/28/2008 12:02:49 PM
 Loading...