CP80 and CP80 Plus Service Manual 6-85
Magnetic Stripe Registration Sensor
Removal Procedure
1. Turn off the printer and unplug the power cord.
2. Remove the ribbon cartridge and cleaning roller.
3. Remove the
Main Enclosure (page 6-15).
4. Remove the
Upper Printer Assembly from the interstage platform (page 6-
38).
5. Remove the
Magnetic Stripe Rocker Assembly (page 6-88).
6. Push the sensor's cable connector through the opening in the chassis (from
outside to inside).
7. Carefully push down on the sensor from above and remove it through the
bottom of the chassis. Do not use sharp tools.
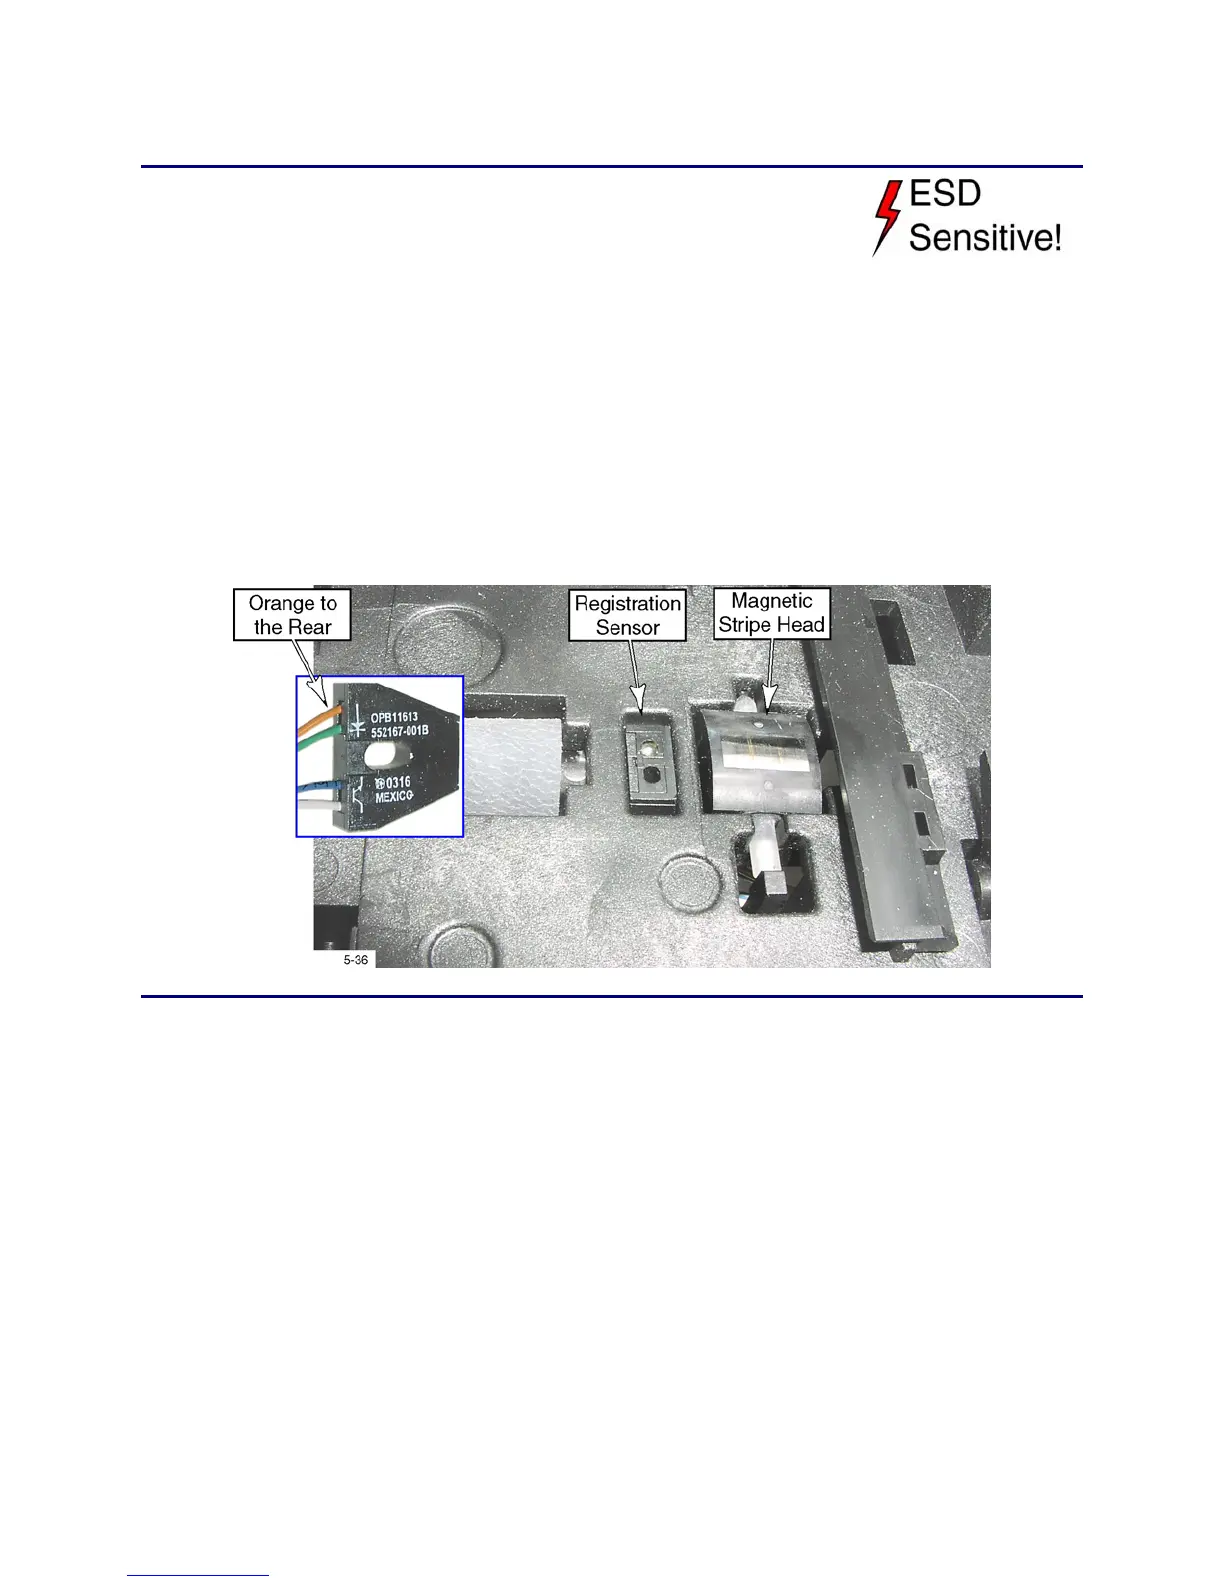
Replacement Notes
• Make sure the sensor is oriented with the orange wire (emitter) toward the rear
of the printer.
• Be careful not to damage the wires when pushing the sensor into position.
• Make sure the sensor is fully seated.
• Using the Diagnostics in chapter 5, calibrate the magnetic stripe head as
described in Start Sentinel Position.

 Loading...


