58 Appendix C – Ethernet Setup
Wireless Configuration - Adhoc Mode:
Note: The following example uses the DMXConfig software utility to configure the printer.
On printers equipped with a display, the same settings can be changed using the
printer’s menu system via the front panel under COMMUNICATIONS > NIC ADAPTER.
1. Connect the host to the printer with a
serial or parallel cable.
2. Turn on the printer.
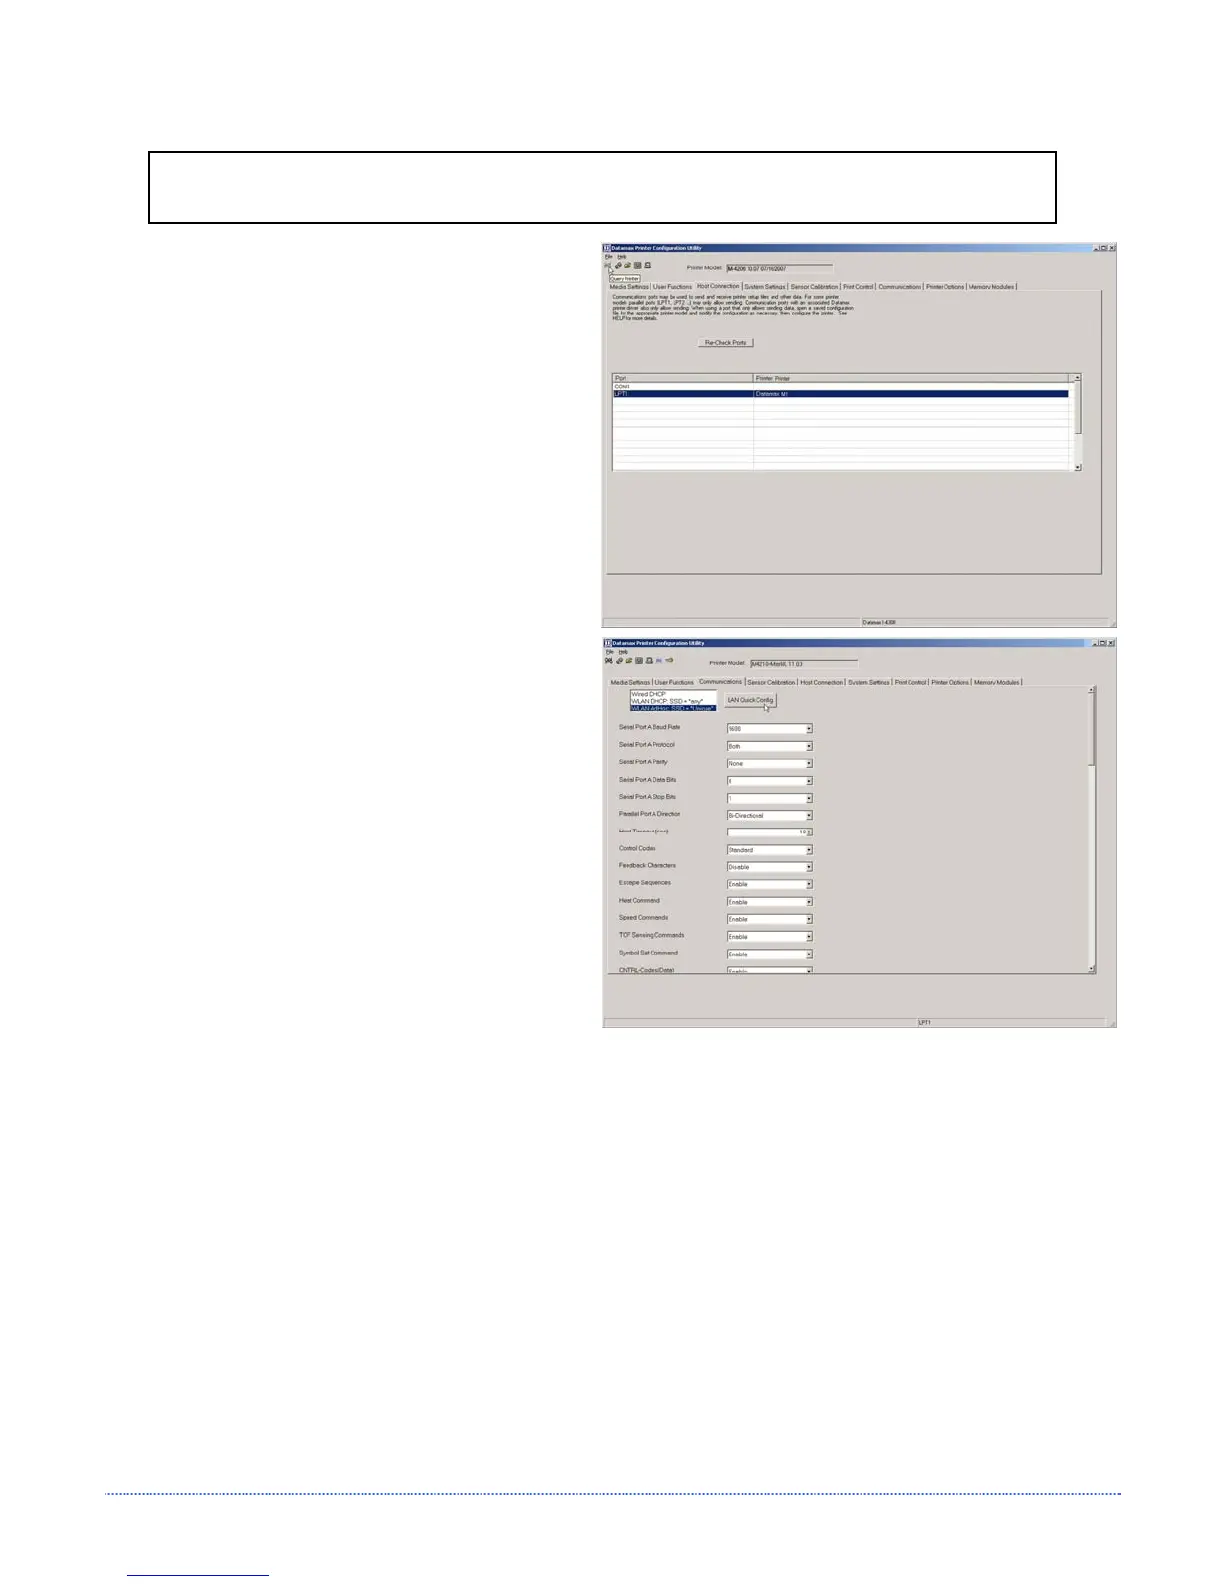
3. Launch the DMXConfig utility. Query
the printer by using the Query Printer
toolbar button (top-left). This will
connect to the printer and get the
current printer settings.
4. Next select the Communications tab.
Select WLAN AdHoc, SSID = “Unique”
and then click the button to the right.
The printer will now reset itself and be
configured to the following settings:
Wireless Mode: Enabled
IP: 192.168.10.26
SSID: MAC Address of the printer
(unique value for each printer, listed
on the Network Report Label).
Subnet Mask: 255.255.255.0
Gateway: 192.168.10.26
BSS: 192.168.10.1 (this is the IP of
the radio card and is not to be used for
data transfer)
Once the previous steps have been successfully completed you may now use the IP Address to:
> Install a printer driver, and start printing from your Windows
applications. See section, C.6 Installing the
Printer Driver.
-or-
> Browse to the printer’s internal web pages for advanced configuration. See section, C.4 Printer’s
Internal Web Pages.