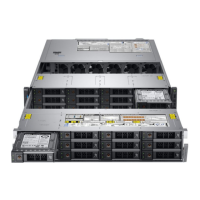
3. Lower the backplane until the blue release tabs click into place.
Figure 50. Installing the drive backplane
Next steps
1. Install the drives in their original locations.
2. Install the drive backplane cover.
3. Follow the procedure listed in After working inside your system on page 44.
Removing the rear drive backplane
Prerequisites
CAUTION:
To prevent damage to the drives and backplane, you must remove the drives from the system before
removing the backplane.
CAUTION: You must note the number of each hard drive and temporarily label them before removal so that you can
replace them in the same locations.
1. Follow the safety guidelines listed in the Safety instructions on page 43.
2. Follow the procedure listed in the Before working inside your system on page 44.
3. Remove all the drives from the rear drive cage.
4. Disconnect all the cables from the backplane.
5. Remove the rear drive cage.
Steps
1. Using a Phillips #2 screwdriver, remove the screws that secure the drive backplane to the rear drive cage.
2. Disengage the backplane from the hooks on the rear drive cage, and remove it from the rear drive cage.
70
Installing and removing system components

 Loading...


