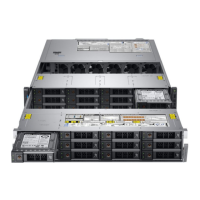
Figure 53. Removing the rear drive cage
Next steps
1. Replace the rear drive cage.
Installing the rear drive cage
Prerequisites
1. Follow the safety guidelines listed in the Safety instructions on page 43.
2. Follow the procedure listed in the Before working inside your system on page 44.
3. Remove the drives.
Steps
1. Align the rear drive cage with the guide pins on the PSU cage.
2. Lower the rear drive cage and slide it to the rear of the system until it is firmly seated.
3. Using a Phillips #2 screwdriver, tighten the captive screws to secure the rear drive cage to the system.
NOTE:
Store the filler bracket for future use. Filler brackets must be installed in empty expansion card slots to
maintain Federal Communications Commission (FCC) certification of the system. The brackets also keep dust and
dirt out of the system and aid in proper cooling and airflow inside the system.
Installing and removing system components 73

 Loading...


