92 Removing and Installing Parts
www.dell.com | support.dell.com
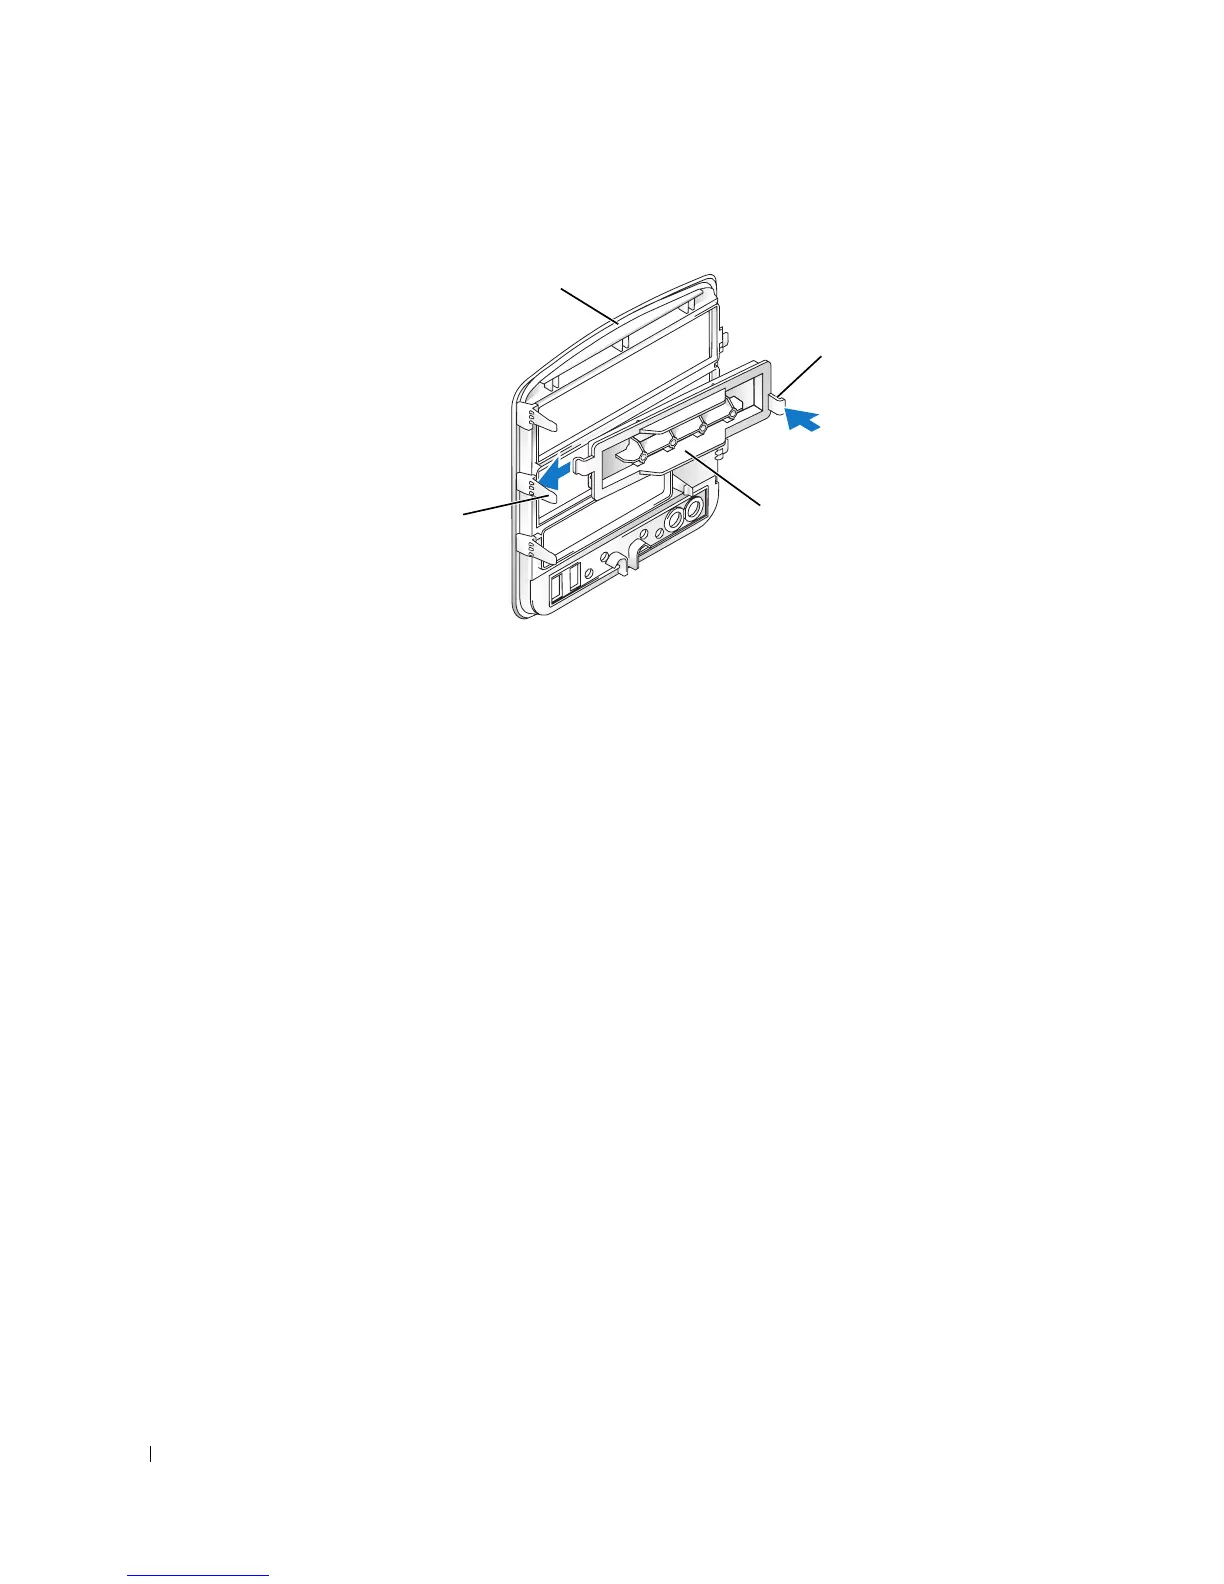
Replacing the Drive-Panel Insert
1
Slide the tab on the left side of the drive-panel insert under the center drive panel tab.
2
Rotate the drive-panel insert into place and snap the drive-panel insert tab over the
corresponding tab on the drive panel.
3
Ensure that the drive-panel insert is correctly seated in the drive panel.
center drive-
panel tab
drive-panel
insert tab
drive panel
drive-panel insert