96 Removing and Installing Parts
NOTICE: To avoid damage to the drive, do not set it on a hard surface. Instead, set the drive on a surface, such as
a foam pad, that will sufficiently cushion it.
1
Check the documentation for the drive to verify that it is configured for your computer.
2
Follow the procedures in "Before You Begin" on page 65.
3
Press in on the blue release tabs on each side of the hard drive bracket and slide it up and out of the
computer.
4
Snap the bracket to the hard drive (see "Installing a Hard Drive" on page 93).
5
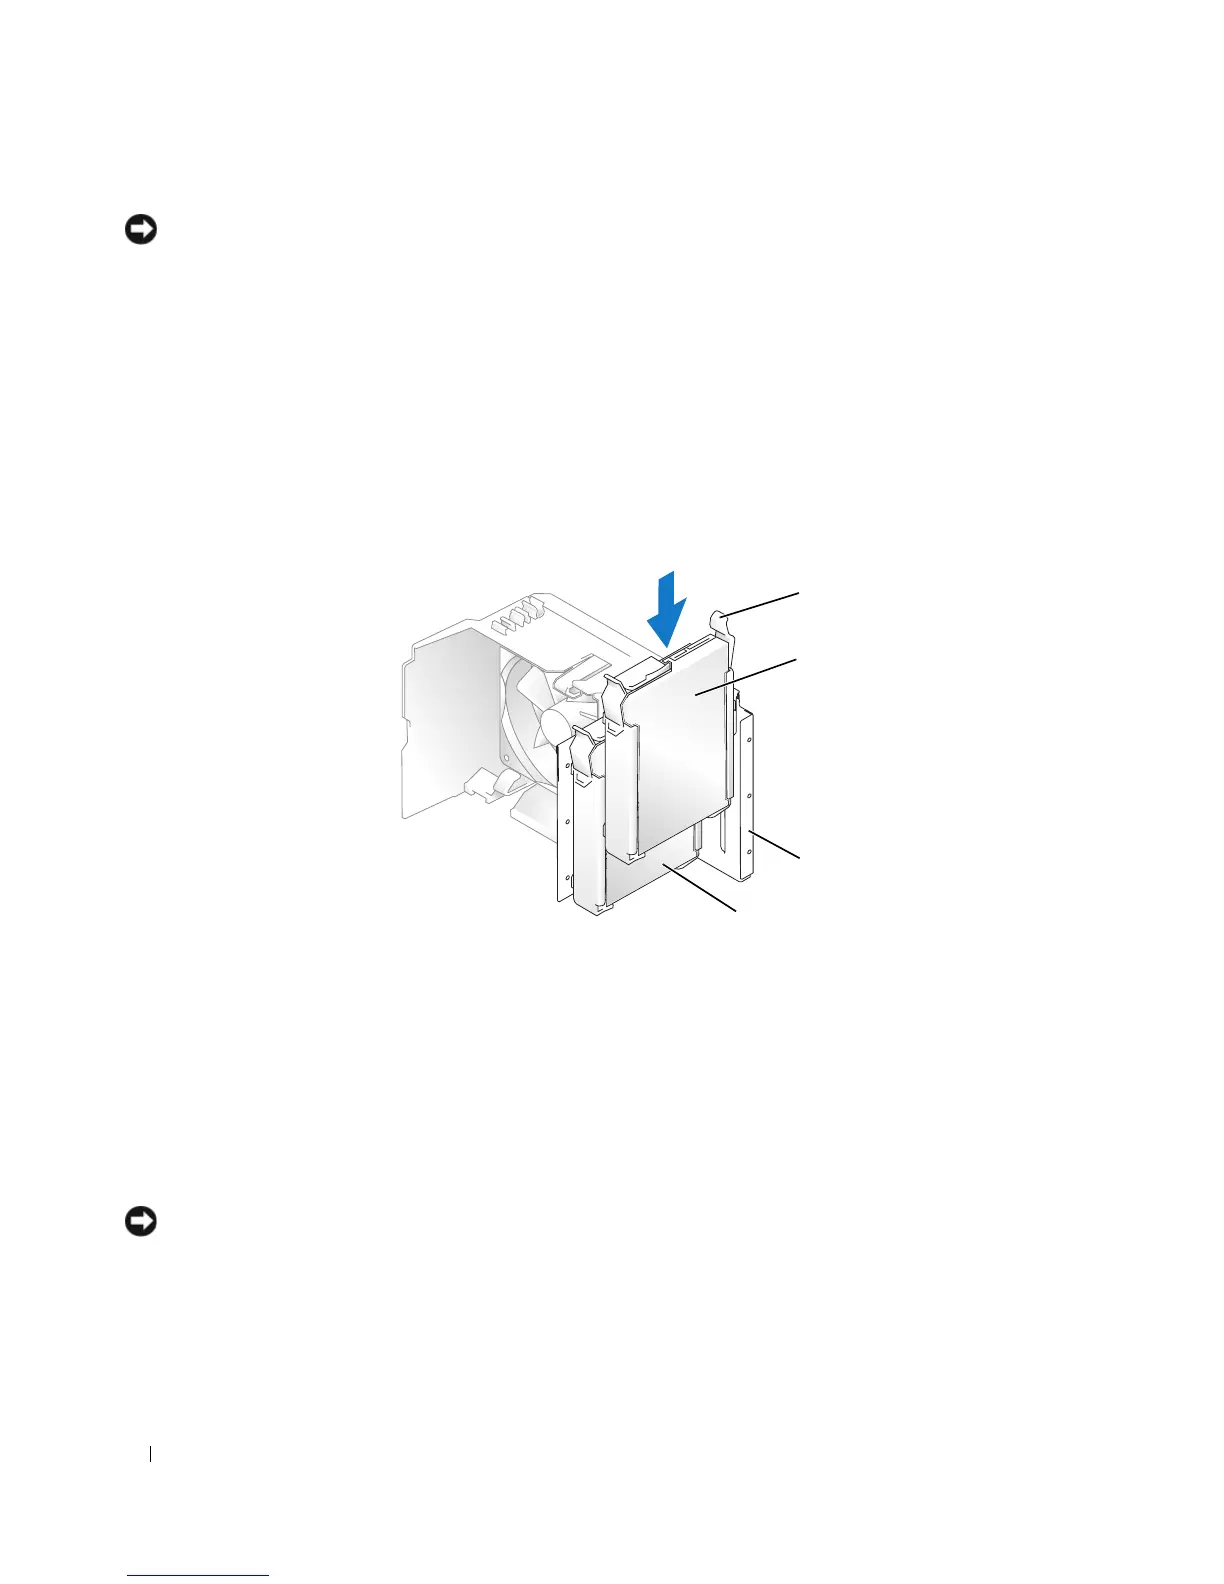
Align the hard drive bracket with the guides in the hard drive bay.
6
Gently slide the new drive (second hard drive) into place until you feel a click or feel the drive securely
installed. Take care not to let the drive free-fall into the drive bay.
7
Connect the power and data cables to the drive (see "Connecting Drive Cables" on page 91).
8
Connect the other end of the data cable to the SATA connector on the system board labeled
SATA0
or
SATA1
(see "System Board Components" on page 69).
9
Check all cables to be certain that they are properly connected and firmly seated.
10
Replace the computer cover (see "Replacing the Computer Cover" on page 110).
NOTICE: To connect a network cable, first plug the cable into the network port or device and then plug it into the
computer.
11
Connect your computer and devices to electrical outlets, and turn them on.
12
See the documentation that came with the drive for instructions on installing any software required for
drive operation.
1 release tabs (2) 2 second hard drive in lower bay 3 hard drive bay
4 primary hard drive in upper bay
1
2
3
4