Removing and Installing Parts 99
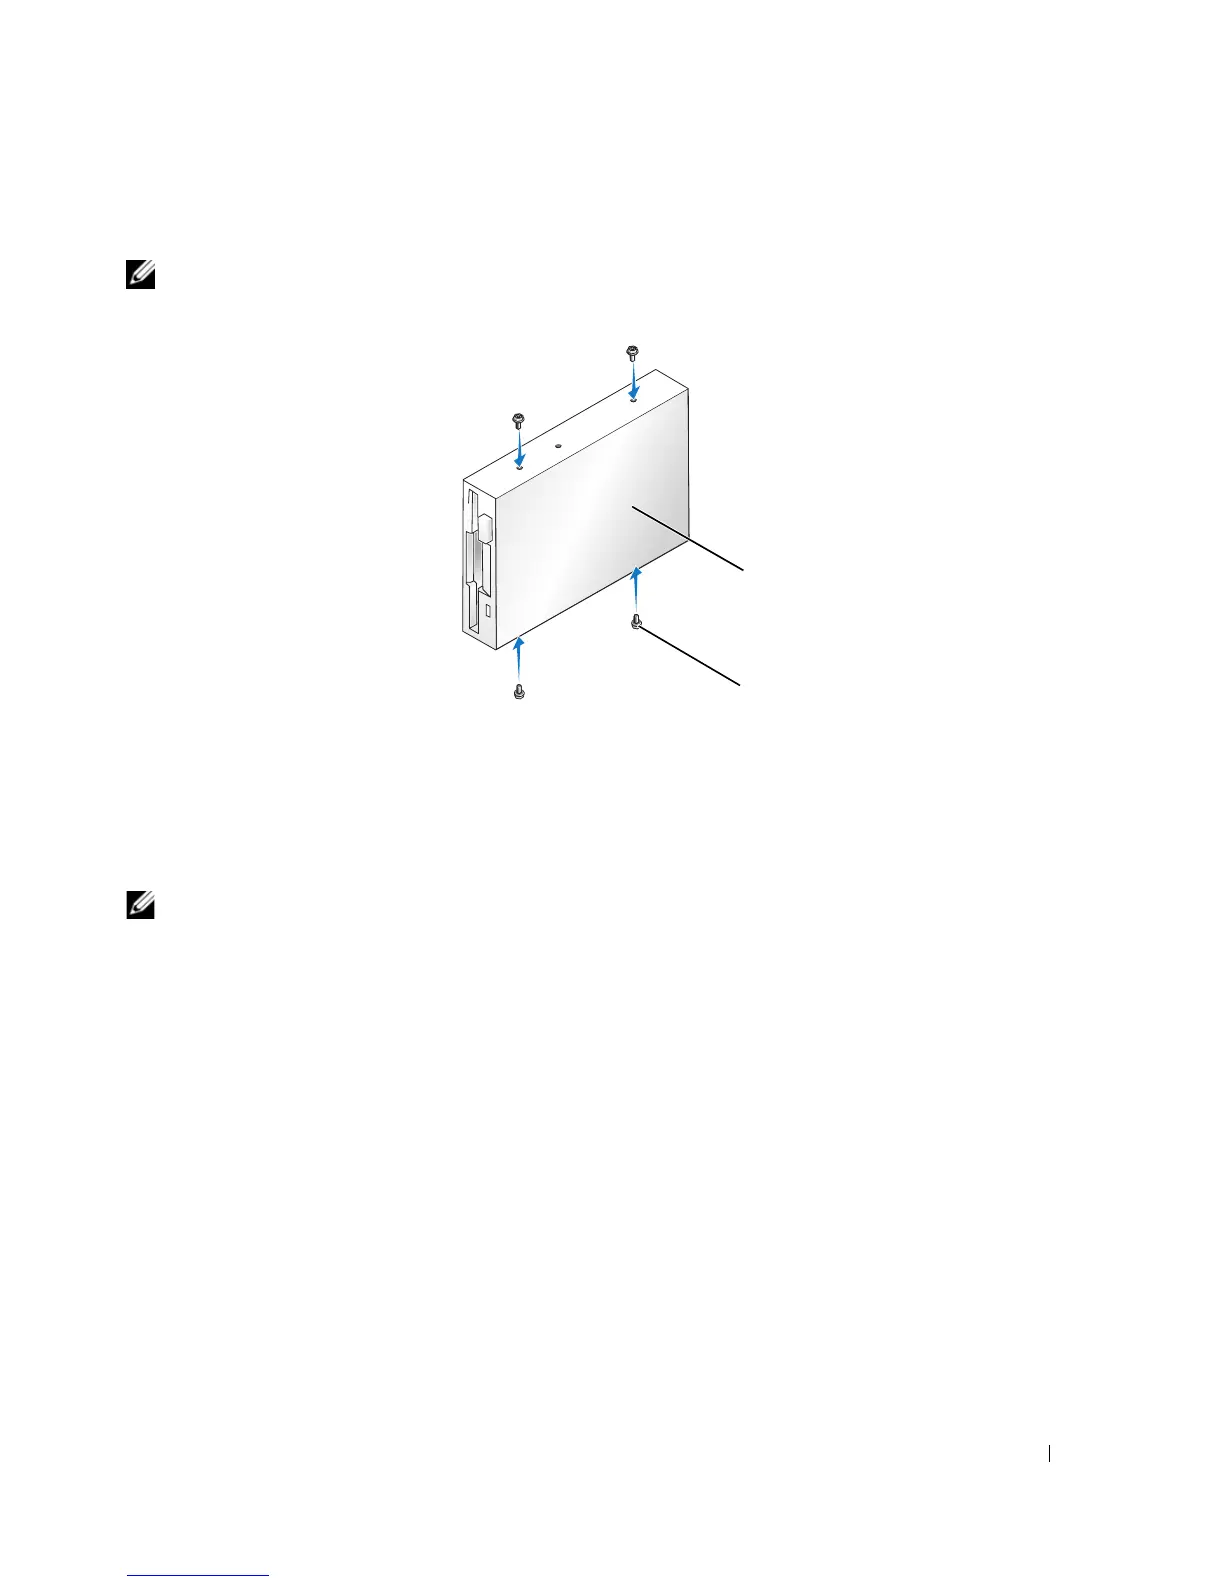
Installing a Floppy Drive
NOTE: In the event that the replacement or new floppy drive does not have shoulder screws, check for the screws
located within the drive panel insert or, if applicable, reuse screws attached to the drive that you are replacing.
1
Follow the procedures in "Before You Begin" on page 65.
2
Remove the drive panel (see "Removing the Drive Panel" on page 86).
3
Gently slide the drive into place until you feel a click or feel the drive securely installed.
NOTE: If you are installing a new floppy drive rather than replacing a drive, remove the drive panel insert where
you want the drive to be installed, insert the shoulder screws located in the back of the drive panel insert into the
drive, and then slide the drive back into place.
4
Attach the power and data cables to the floppy drive.
5
Connect the other end of the data cable to the connector labeled "FLOPPY1" on the system board (see
"System Board Components" on page 69) and route the cable through the clip on the shroud.
1 drive 2 screws (4)
1
2