NOTE: The thermal grease syringe is intended for single use only. Dispose of the syringe after you use it.
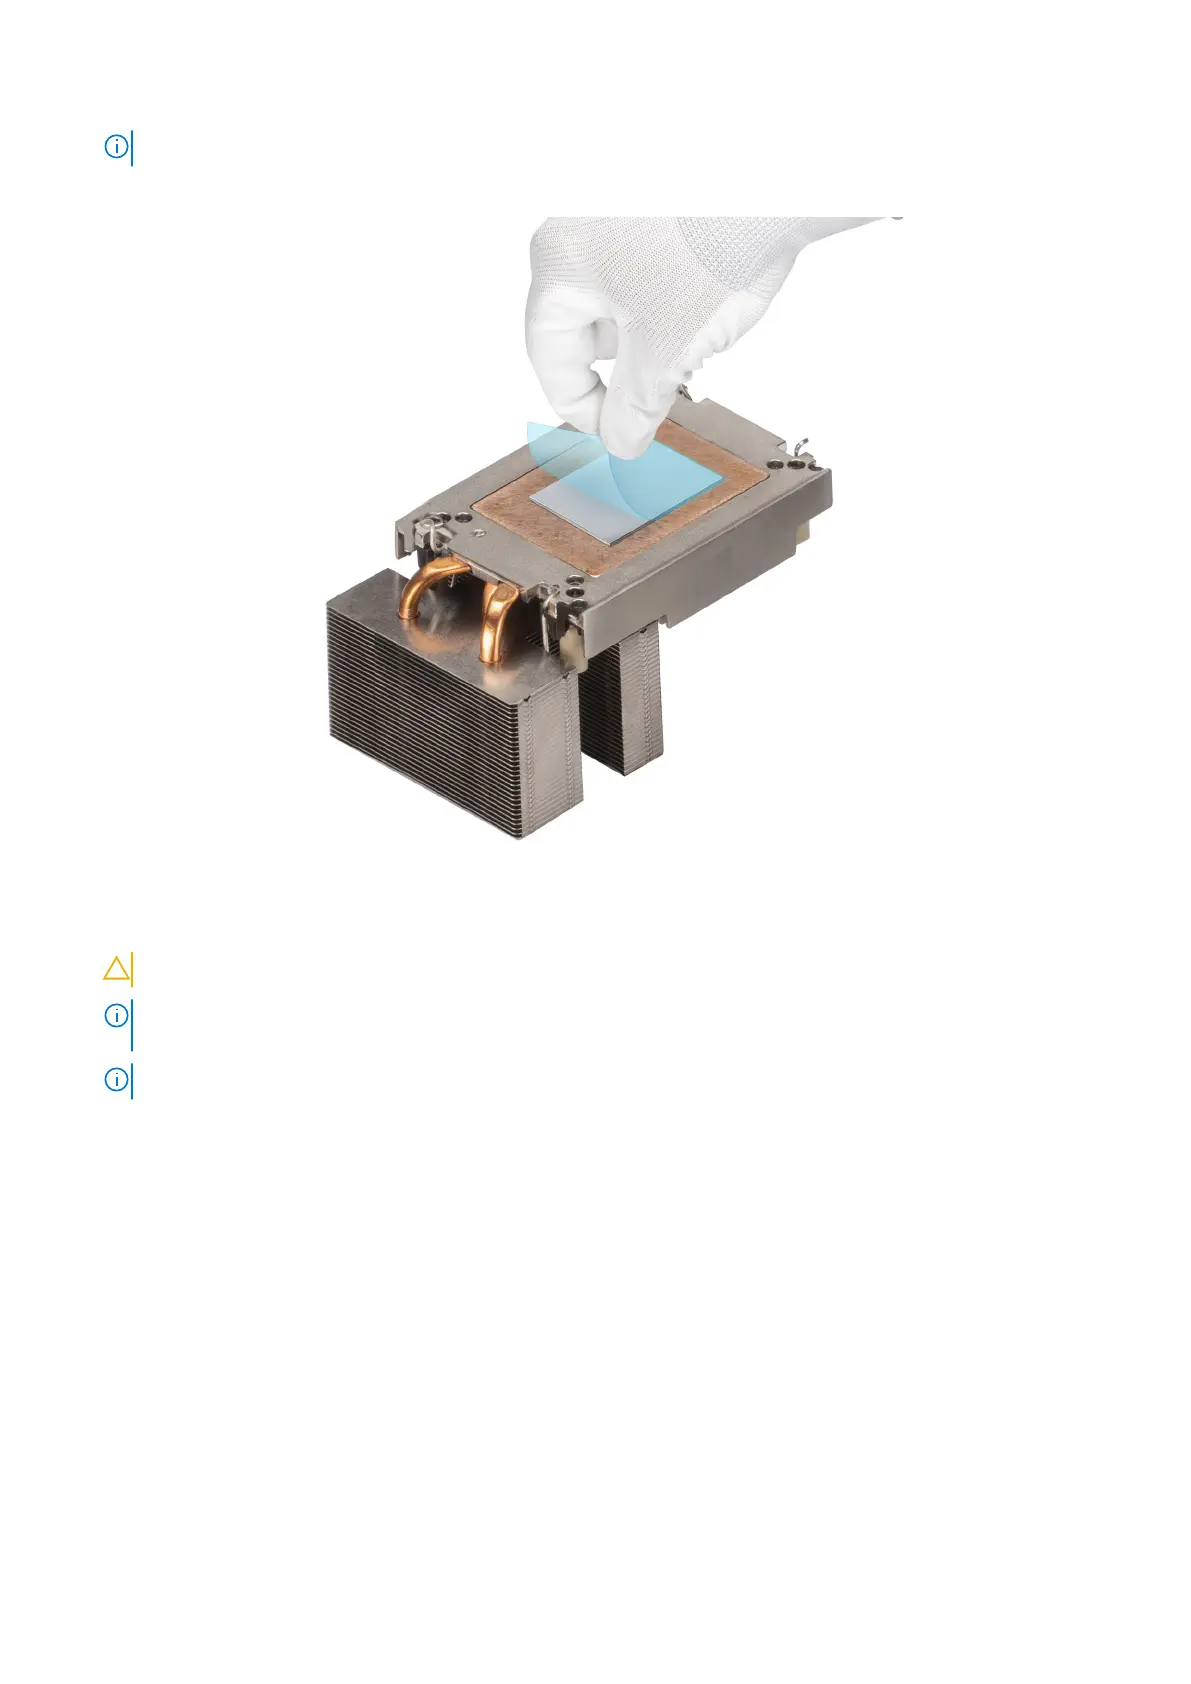
6. For new heat sink. remove the Thermal Interface Material (TIM) protective film from the base of the heat sink.
Figure 73. Remove the Thermal Interface Material (TIM) protective film
7. Place the heat sink on the processor and press the heat sink until the carrier locks onto the heat sink at all the four corners.
CAUTION: To avoid damaging the fins on the heat sink, do not press down on the heat sink fins.
NOTE: Ensure that the pin 1 indicator on the heat sink is aligned with the pin 1 indicator on the carrier before placing the
heat sink onto the processor carrier.
NOTE: Ensure latching features on processor carrier and heat sink are aligned during assembly.
78 Installing and removing system components