Figure 12. Four-post threaded configuration
2. For each rail, attach the front and back flanges to the post flanges with two user-supplied screws at each end, item 2.
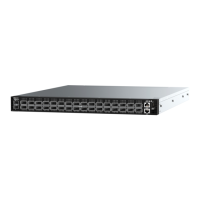
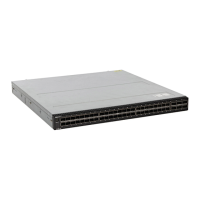
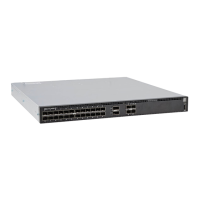
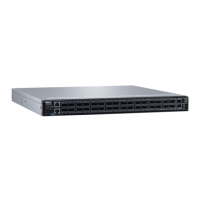
Z9100-ON switch installation
You can mount the switch in the 1U front-rack or 1U two-post flush and center configurations. The following is an example of a
front-rack configuration.
For the 1U two-post flush and center configurations, slide the switch into the rails in the same manner as the four-post
configurations.
1U front-rack installation
Configure the rails that are attached to the switch.
1. Attach the inner switch rails to the Z9100-ON switch.
Item 3 shows the detail for the front standoff with the locking tab.
Z9100–ON installation
23
 Loading...