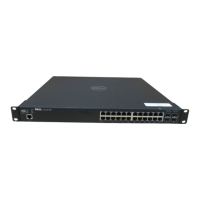
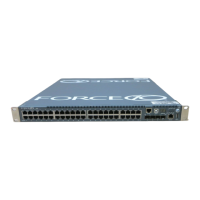
24 | Installing Power Modules
www.dell.com | support.dell.com
LED Status
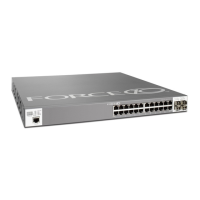
Removing a DC PEM
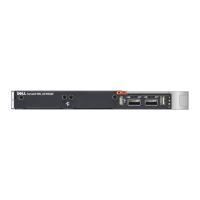
The left chassis PEM slot is labelled “0” and the right chassis PEM slot is labelled “1”. For full
redundancy, each PEM must be attached to a dedicated circuit breaker. For example, PEM “0” connects
to circuit breaker “0” and PEM “1” connects to circuit breaker “1”.
WARNING: Prevent exposure and contact with hazardous voltages. Do not attempt to operate this system
with the safety cover removed.
Status Green—no fault detected
Amber— under voltage
Unlit—circuit not energized or circuit breaker open
Pwr In OK Green—no fault detected
Amber— polarity of (+) and (-) are reversed in external cables
Unlit—no power or power is under voltage
Step Task
1 Switch the Over Current Protector (located on the PEM front panel) to the OFF position.
2 Turn off power to the PEM. Ensure that the remote power source is in the OFF position and that the PEM Status
LED and Pwr In OK LED are off.
3 Loosen the retaining screw and remove PEM safety cover (see
Figure 5-3
).
4 Disconnect power cables attached to the PEM.
5 Slide the PEM out of the slot.
6 If you are not replacing the PEM, replace the empty slot with two blank panels.
CC-E300-PWR-DC
Pwr In
OK
Status
fn00118ch4