24 | Install the Z9000
www.dell.com | support.dell.com
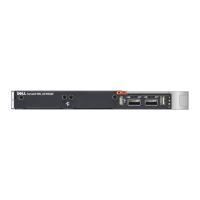
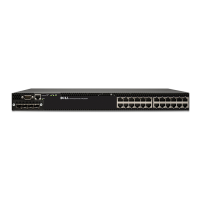
Figure 4-1. The SSD
Remove the Solid State Drive
To remove and replace a SSD, follow these steps:
Supply Power and Power Up the System
Supply power to the Z9000 after the system is mounted in a rack or cabinet.
Dell Force10 recommends re-inspecting your system prior to powering up. Verify that:
• the equipment is properly secured to the rack and properly grounded.
• the equipment rack is properly mounted and grounded.
• the ambient temperature around the system (which may be higher than the room temperature) is within
the limits specified for the Z9000 system.
• there is sufficient airflow around the system.
• the input circuits are correctly sized for the loads and that you use sufficient over-current protection
devices.
• all protective covers are in place.
NOTE: A US AC power cable is included in the shipping container for powering up an AC power supply. You
must order all other power cables separately.
Step Task
1 Shut down the system.
1 Loosen the retaining screws on the SSD.
2 Use the handle to pull the SSD out of the slot.
3 Remove the SSD and set it aside.
4 Use the SSD handle to slide the replacement SSD into the slot and firmly press it in place.
5 Finger tighten the retaining screws.
6 Restart the system.
SSD
Handle

 Loading...