28 | Power Supplies
www.dell.com | support.dell.com
CAUTION: Be sure that the DC power source is turned off before attaching the cables to the DC connectors
on the Z9000.
Power Supply 0 (PSU0) is on the top of the Z9000; power supply 1(PSU1) is on the bottom of the Z9000
system.
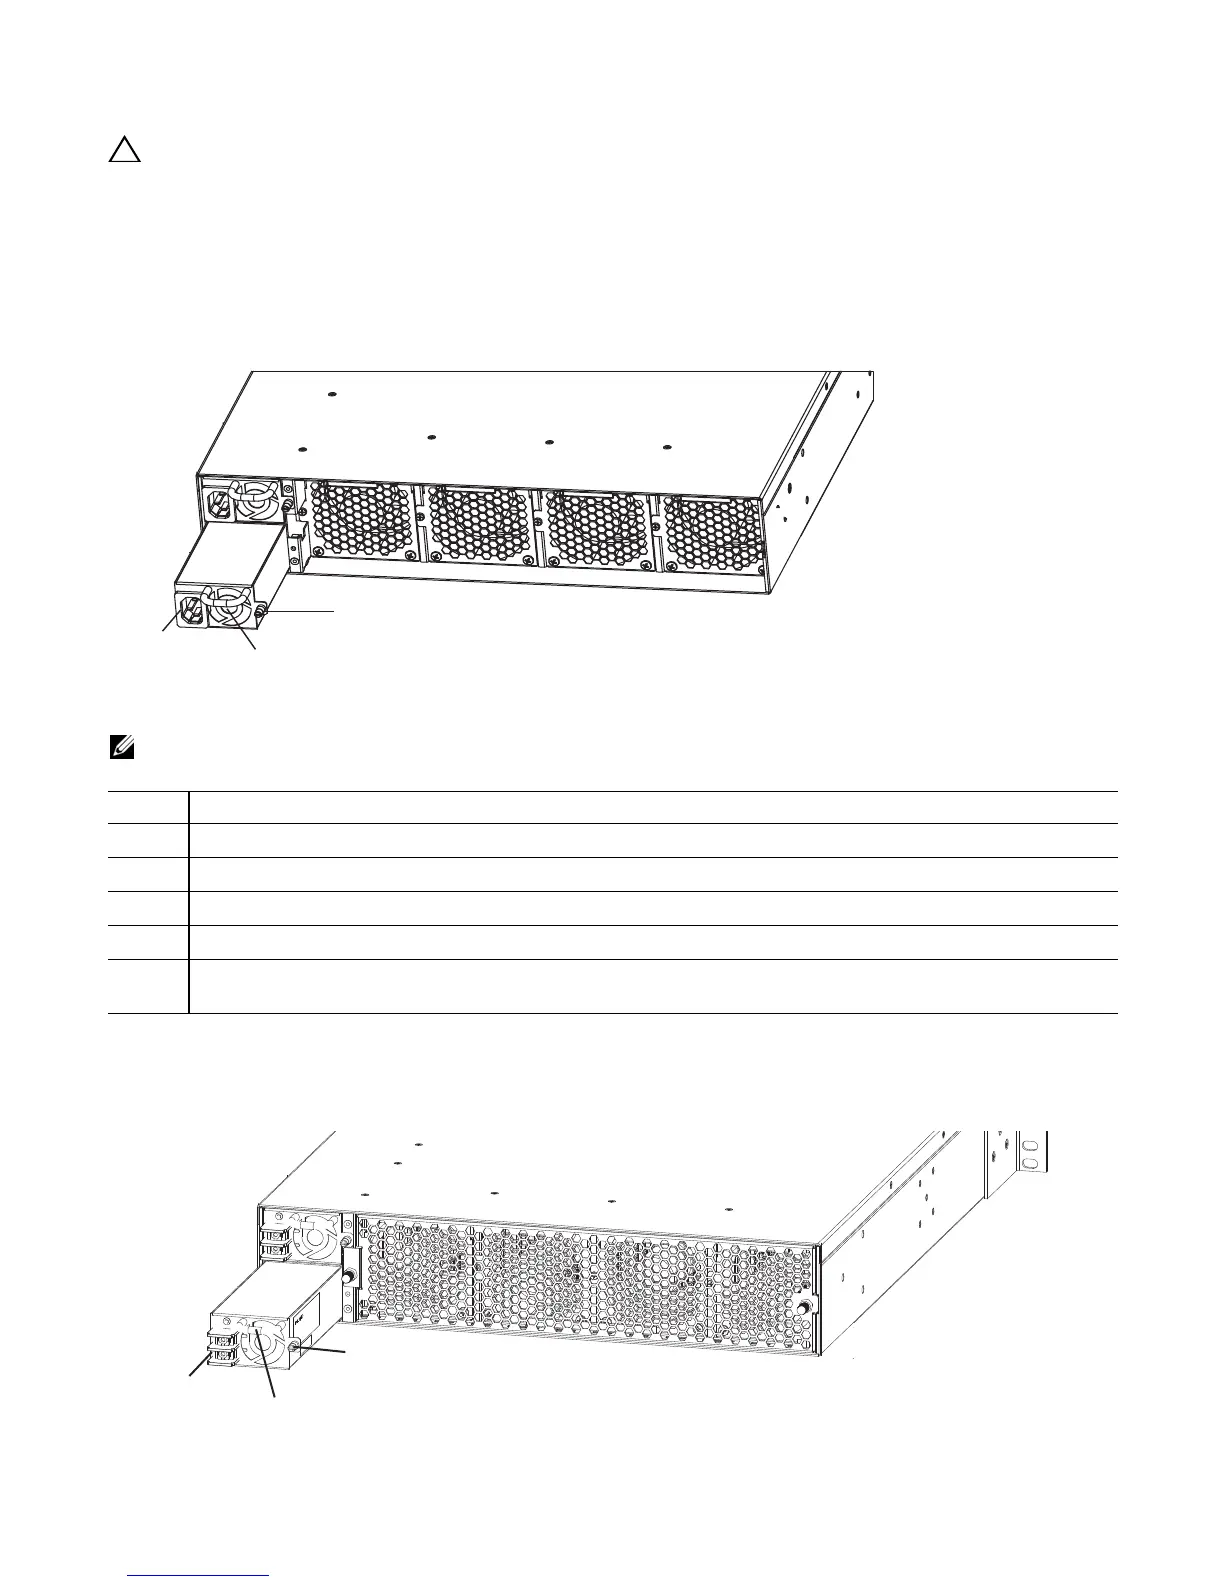
Install a New AC Power Supply
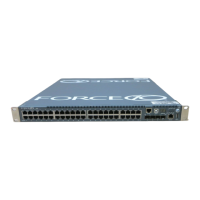
Figure 5-1. AC Power Supply
To install a new AC power supply, follow these steps:
NOTE: The PSU slides into the slots smoothly. Do not force the PSU into a slot as this may damage the PSU
or the chassis.
Install a New DC Power Supply
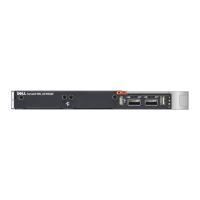
Figure 5-2. DC Power Supply
Step Task
1 Take the PSU out of the shipping box.
2 Use the grab handle to slide the PSU into the power supply bay.
3 Tighten the securing screw on the side of the PSU. Ensure that the PSU is secure.
4 Attach the power cable.
NOTE: The system powers up as soon as the cables are connected between the power supply and the power
source.
PSU1
PSU0
Fan Modules
Cable
Connector
Grab
Handle
Securing
Screw
DC cable
connectors
Grab
Handle
PSU1
PSU0
Fan Modules
Securing
Screw

 Loading...