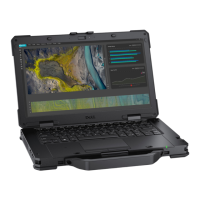
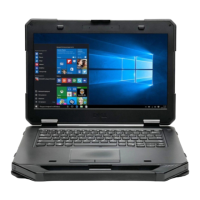
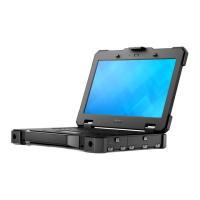
Display assembly
Removing the Display assembly
1. Follow the procedure in Before working inside your computer.
2. Remove the:
a. Batteries
b. Bottom chassis cover
c. PCIe heatsink assembly
d. Docking port assembly
e. WLAN card
f. WWAN card
g. GPS module
h. Heatsink assembly
i. Hinge covers
3. Remove the two 'M2*3' screws [1] on the EDP bracket, and turn it up side down [2].
4.
CAUTION: The following epoxy screw locations will require additional focus. These screws are difficult
to remove and there may be damage during the removal process. To prevent damage to the screws and
surrounding plastics, please use the correct screwdriver for each screw type.
Pull and disconnect the EDP cable from the system board [3] and remove the two 'M2*3' epoxy screws [4] securing the
hinges to base assembly [5].
5. Open the LCD lid.
Removing and installing components
119

 Loading...

