2. Remove the side cover.
3. Remove the front bezel.
About this task
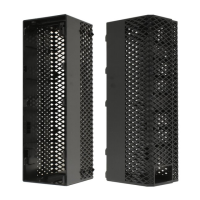
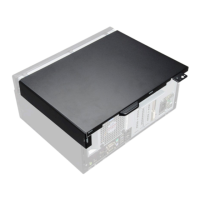
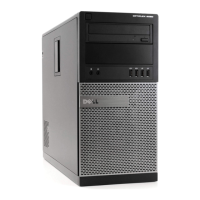
The following images indicate the location of the 3.5-inch hard drive assembly and provide a visual representation of the removal
procedure.
Steps
1. Disconnect the data and power cables from the 3.5-inch hard drive module.
2. Push the 3.5-inch hard drive module into the grommet screws slot to unlock the hard drive from the chassis.
3. Remove the fours (#6-32) grommet screws that secure the hard drive to the chassis.
4. Remove hard drive away from the chassis.
Installing the 3.5-inch hard drive assembly
Prerequisites
If you are replacing a component, remove the existing component before performing the installation procedure.
About this task
The following image indicates the location of the 3.5-inch hard drive assembly and provides a visual representation of the
installation procedure.
22
Removing and installing components
 Loading...


