Steps
1. Remove the three (M2x5) screws that secure the GPU card to the palmrest.
2. Remove the GPU card from the computer.
Installing the GPU card
Prerequisites
If you are replacing a component, remove the existing component before performing the installation procedure.
About this task
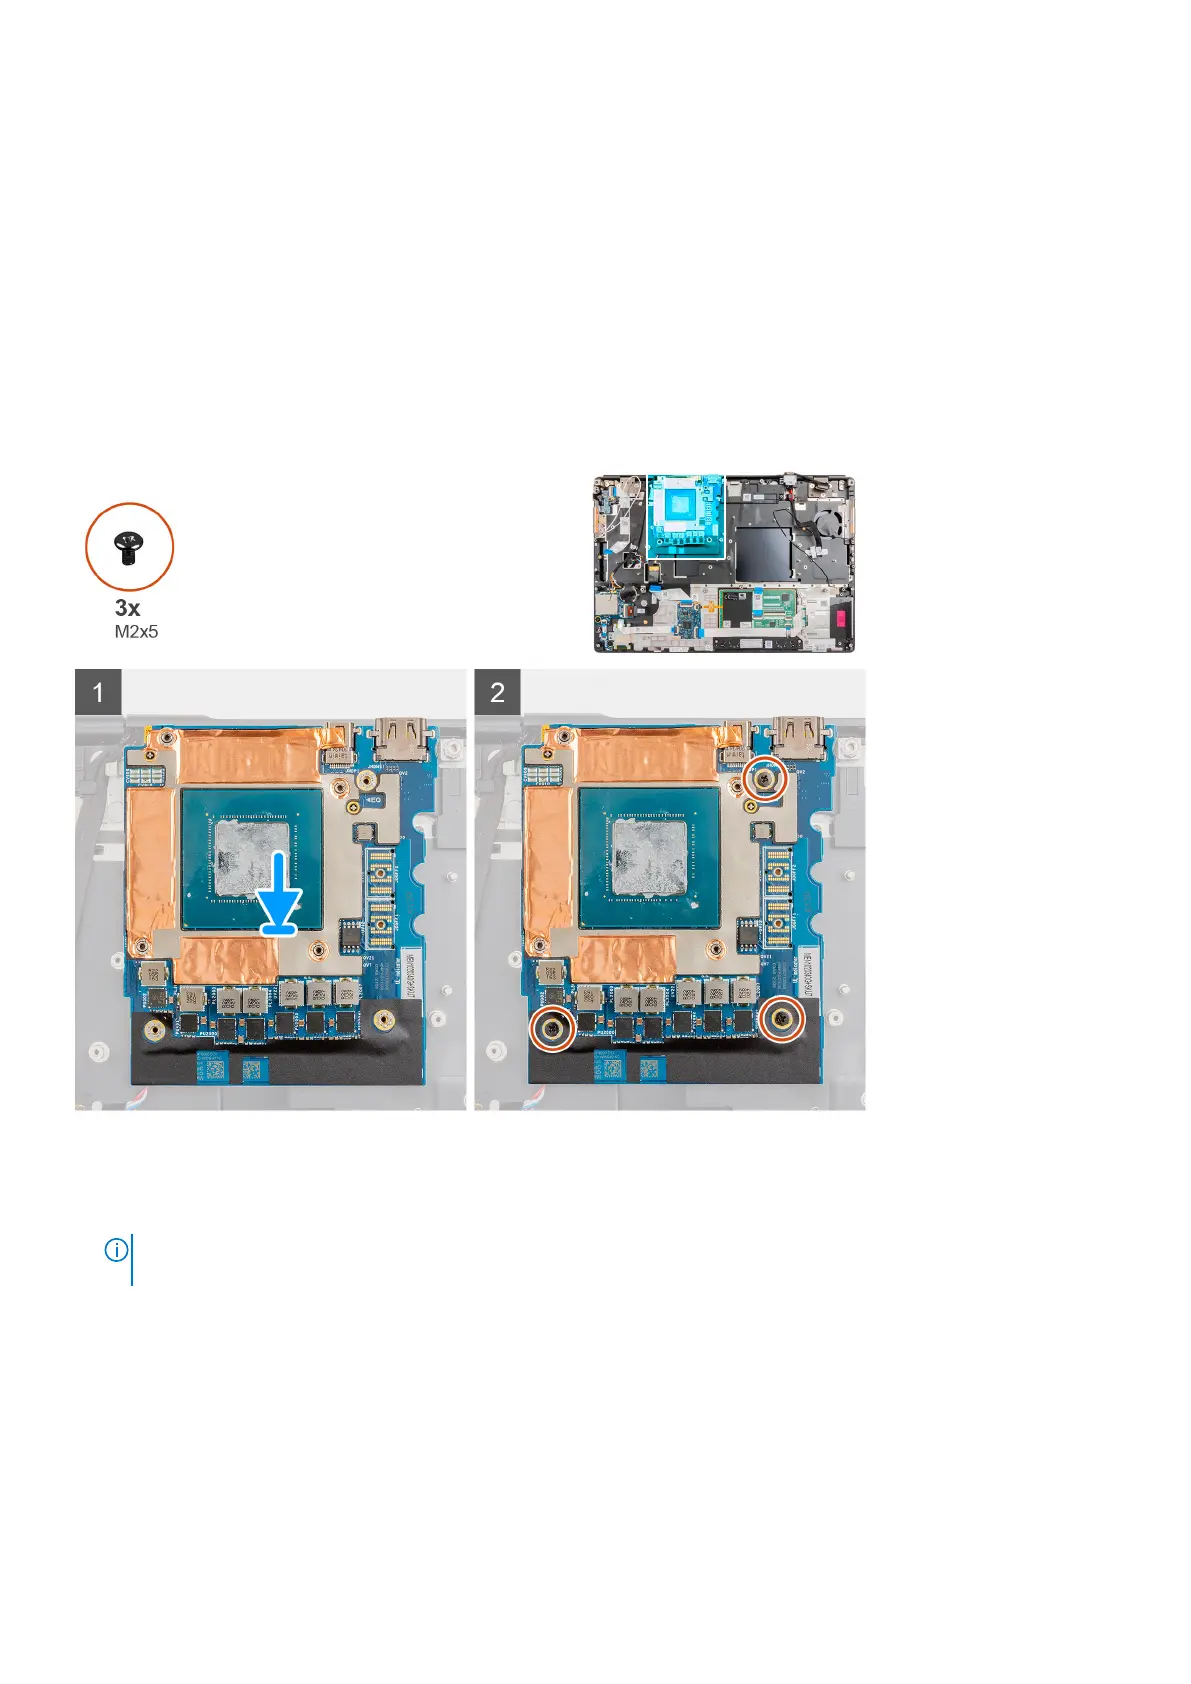
The figure indicates the location of the GPU card and provides a visual representation of the installation procedure.
Steps
1. Align and place the GPU card into its slot on the palmrest.
2. Replace the three (M2x5) screws to secure the GPU card to the palmrest.
NOTE:
When installing an FPC beam connector, ensure that the end marked "MB" is connected to the system board
and that the alignment pins on the connector are inserted into the openings on the boards.
Next steps
1. Install the inner frame.
2. Install the heat-sink assembly.
3. Install the GPU power cable.
4. Install the keyboard.
5. Install the keyboard lattice.
6. Install the SIM card.
7. Install the primary memory.
80
Removing and installing components