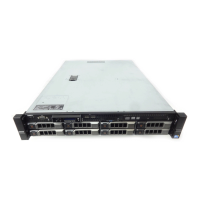
NOTE: You must remove the hard-drive or SSD backplane to replace a faulty hard-drive or SSD
backplane or service other components inside the system.
Steps
1. Align the retention screws on the SATA hard-drive or SSD backplane cable connector with the screw
holes on the system board connector (SATA_BP).
2. Tighten the two retention screws to secure the hard-drive or SSD backplane cable connector on the
system board.
3. Perform the following steps:
a. Route the SATA hard-drive or SSD backplane cable through the retention clip on the chassis and
close the retention clip.
b. Lower the SATA hard-drive or SSD backplane cable into the chassis until the slot on the cable
engages with the standoff on the chassis.
4. Align the retention screws on the PCIe SSD backplane cable connector with the screw holes on the
system board connector (J_PERC).
5. Tighten the two retention screws to secure the PCIe SSD backplane cable connector on the system
board.
6. Install the hard drive or SSD cage.
7. Align the retention screws on the hard-drive or SSD backplane with the screw holes on the hard drive
or SSD cage.
8. Lower the hard-drive or SSD backplane into place until the retention screws on the hard-drive or
SSD backplane engage with the screw holes on the hard-drive or SSD cage.
9. Tighten the retention screws to secure the hard-drive or SSD backplane on the system board.
10. Connect the power cable to the backplane.
134
 Loading...
