Installing System Components 85
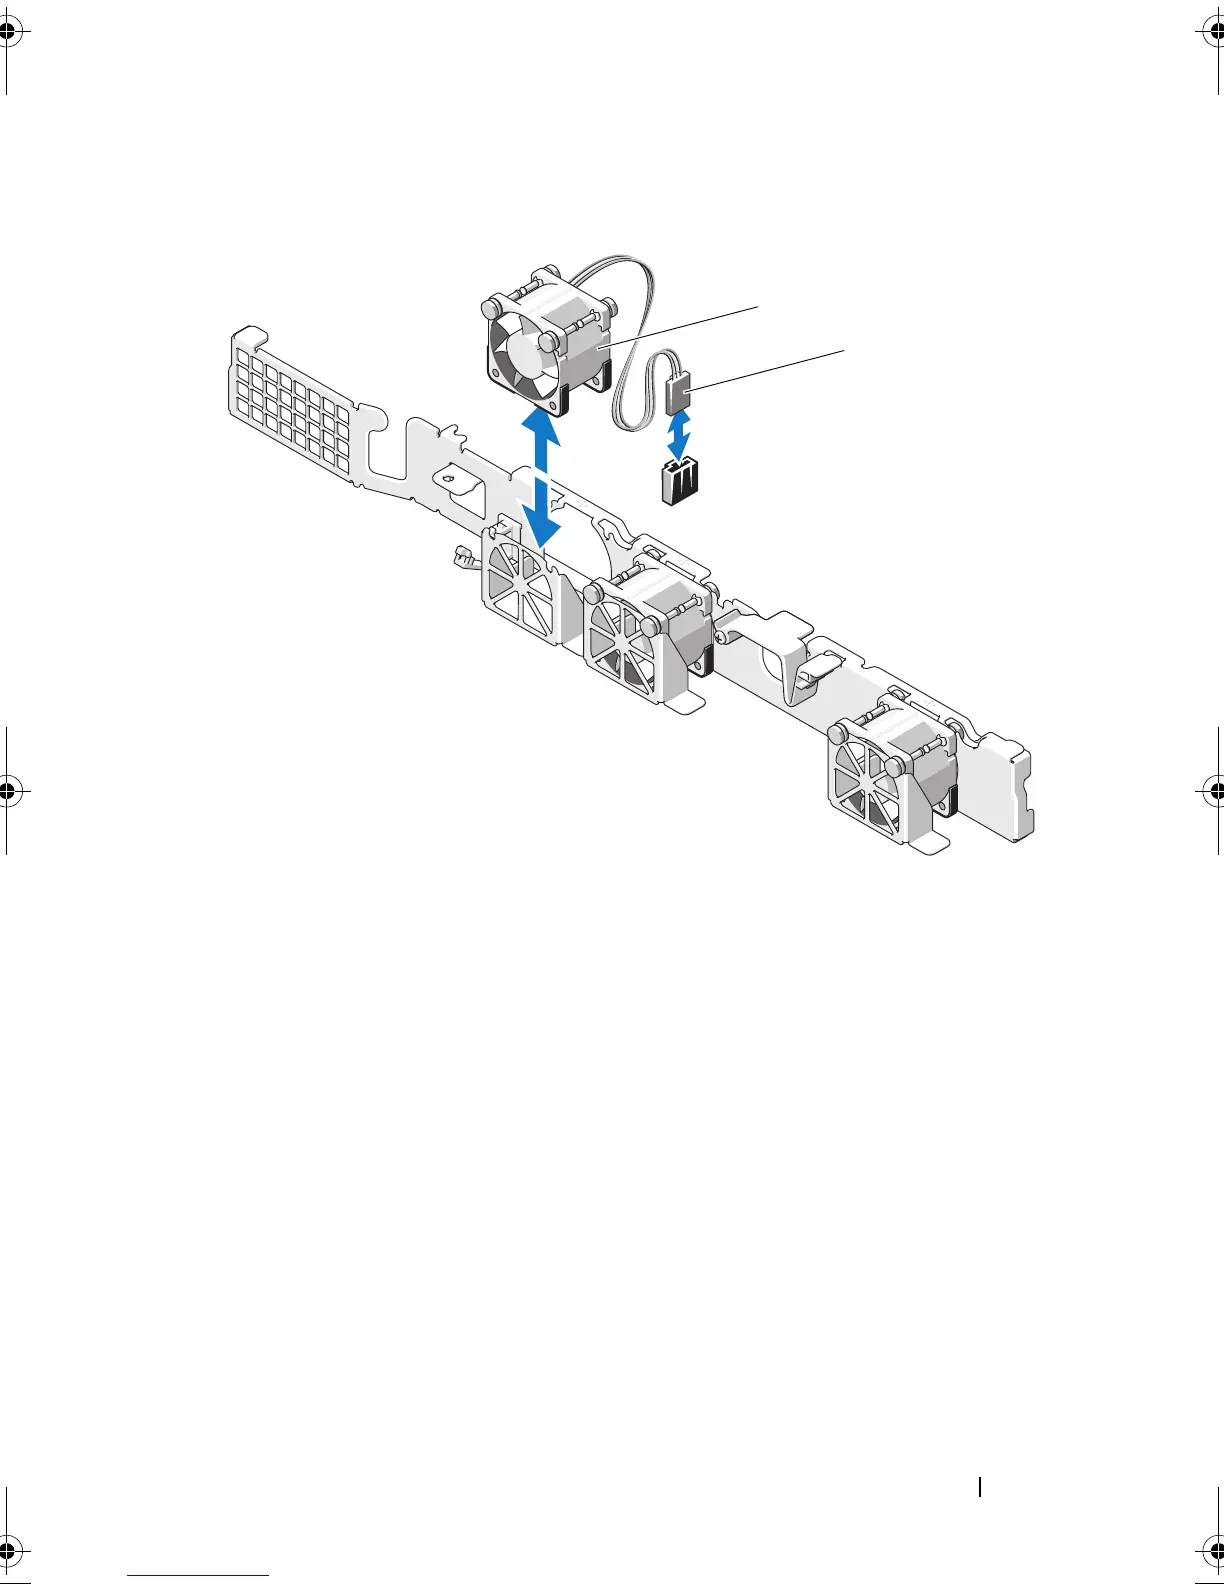
Figure 3-12. Removing and Installing a Fan
Installing a Cooling Fan
1
Ensure that the fan is oriented correctly.
Orient the fan module so that the side with the power cable faces toward the
back of the system.
2
Lower the fan into the fan assembly until the fan is fully seated.
See Figure 3-12.
3
Connect the fan’s power cable to the power connector on the system board.
4
If applicable, replace the
cooling
shroud. See "Installing the Cooling Shroud"
on page 79.
5
Close the system. See "Closing the System" on page 63.
6
Reconnect the system to its electrical outlet and turn the system on, including
any attached peripherals.
1 fan 2 power cable
1
2
book.book Page 85 Wednesday, August 12, 2009 4:51 PM