CAUTION: When a replacement hot swappable hard drive is installed and the system is powered
on, the hard drive automatically begins to rebuild. Make absolutely sure that the replacement
hard drive is blank or contains data that you wish to have over-written. Any data on the
replacement hard drive is immediately lost after the hard drive is installed.
NOTE: Hot swappable hard drives are supplied in hot swappable hard drive carriers that fit in the
hard drive slots.
1. If installed, remove the front bezel.
2. If installed, remove the hard drive carrier blank.
3. Install a hot swappable hard drive into the hot swappable hard drive carrier.
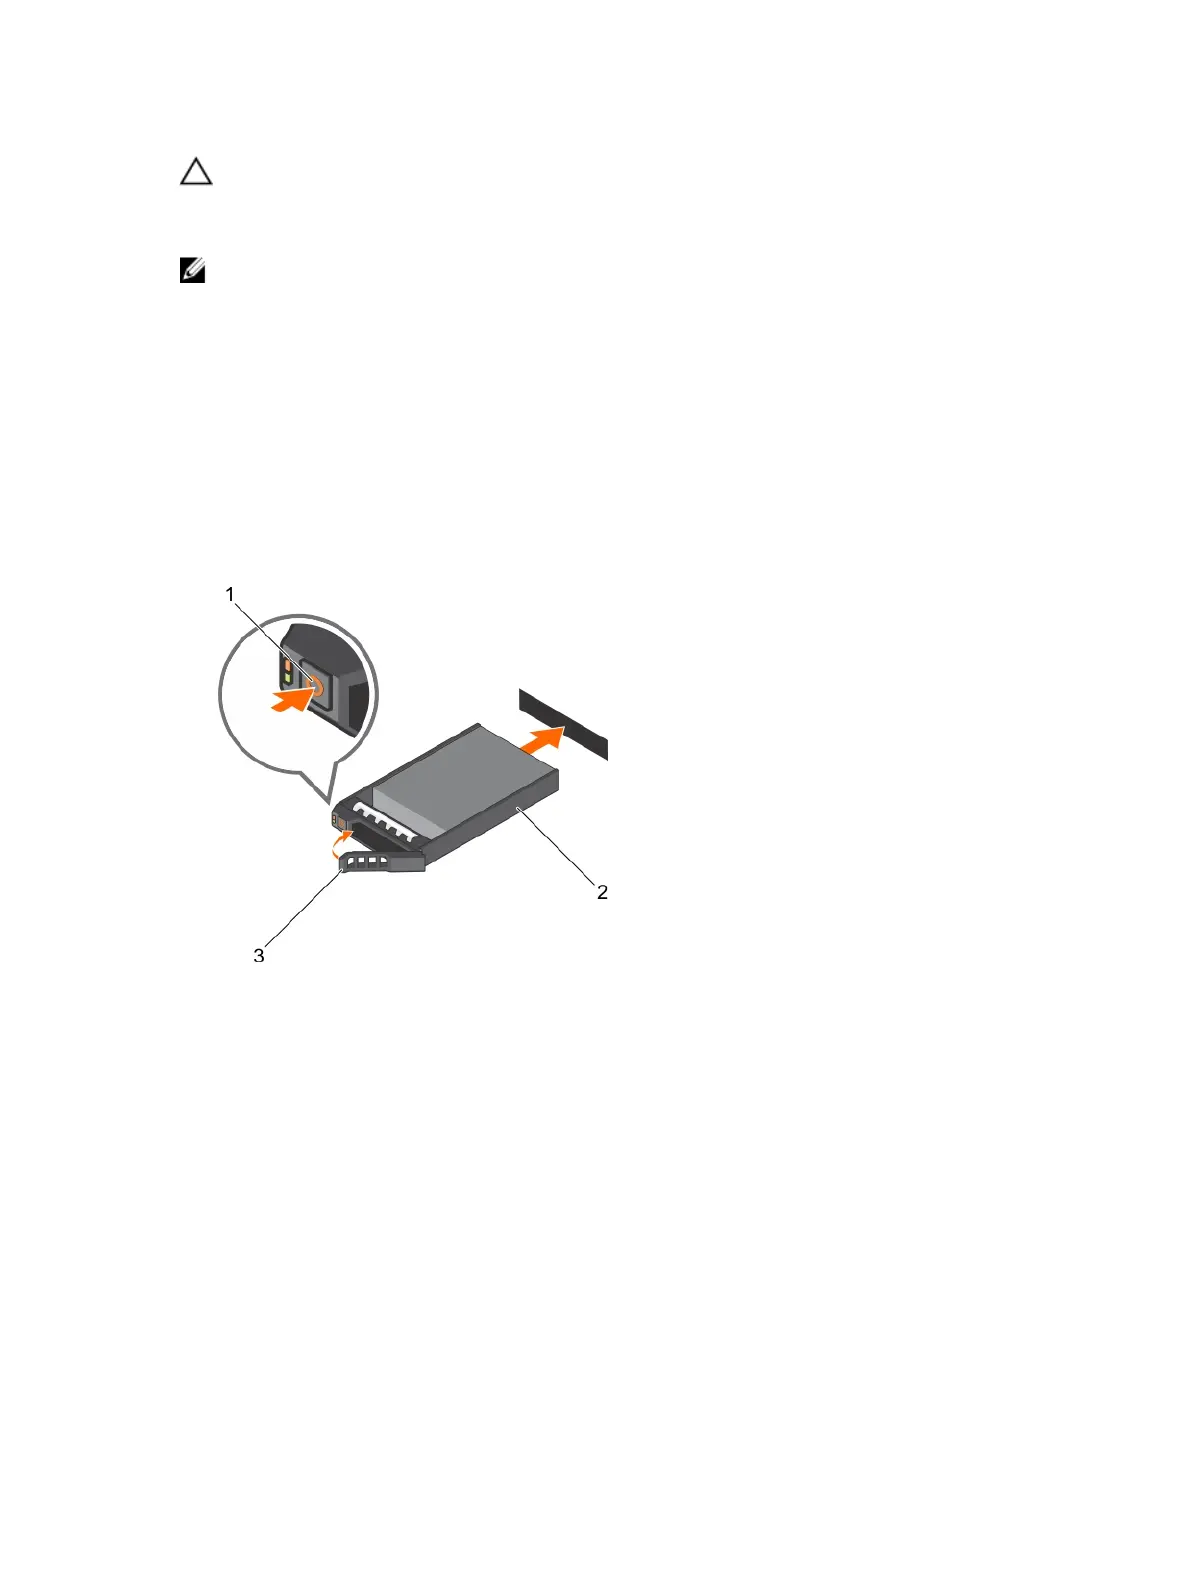
Steps
1. Press the release button on the front of the hot swappable hard drive carrier and open the hot
swappable hard drive carrier handle.
2. Insert the hot swappable hard drive carrier into the hard drive slot, and push the hot swappable hard
drive carrier until it comes in contact with the backplane.
3. Close the hot swappable hard drive carrier handle to lock the hot swappable hard drive carrier in
place.
Figure 29. Installing a hot swappable hard drive carrier
1. release button 2. hard drive carrier
3. hard drive carrier handle
Next steps
If removed, install the front bezel.
101