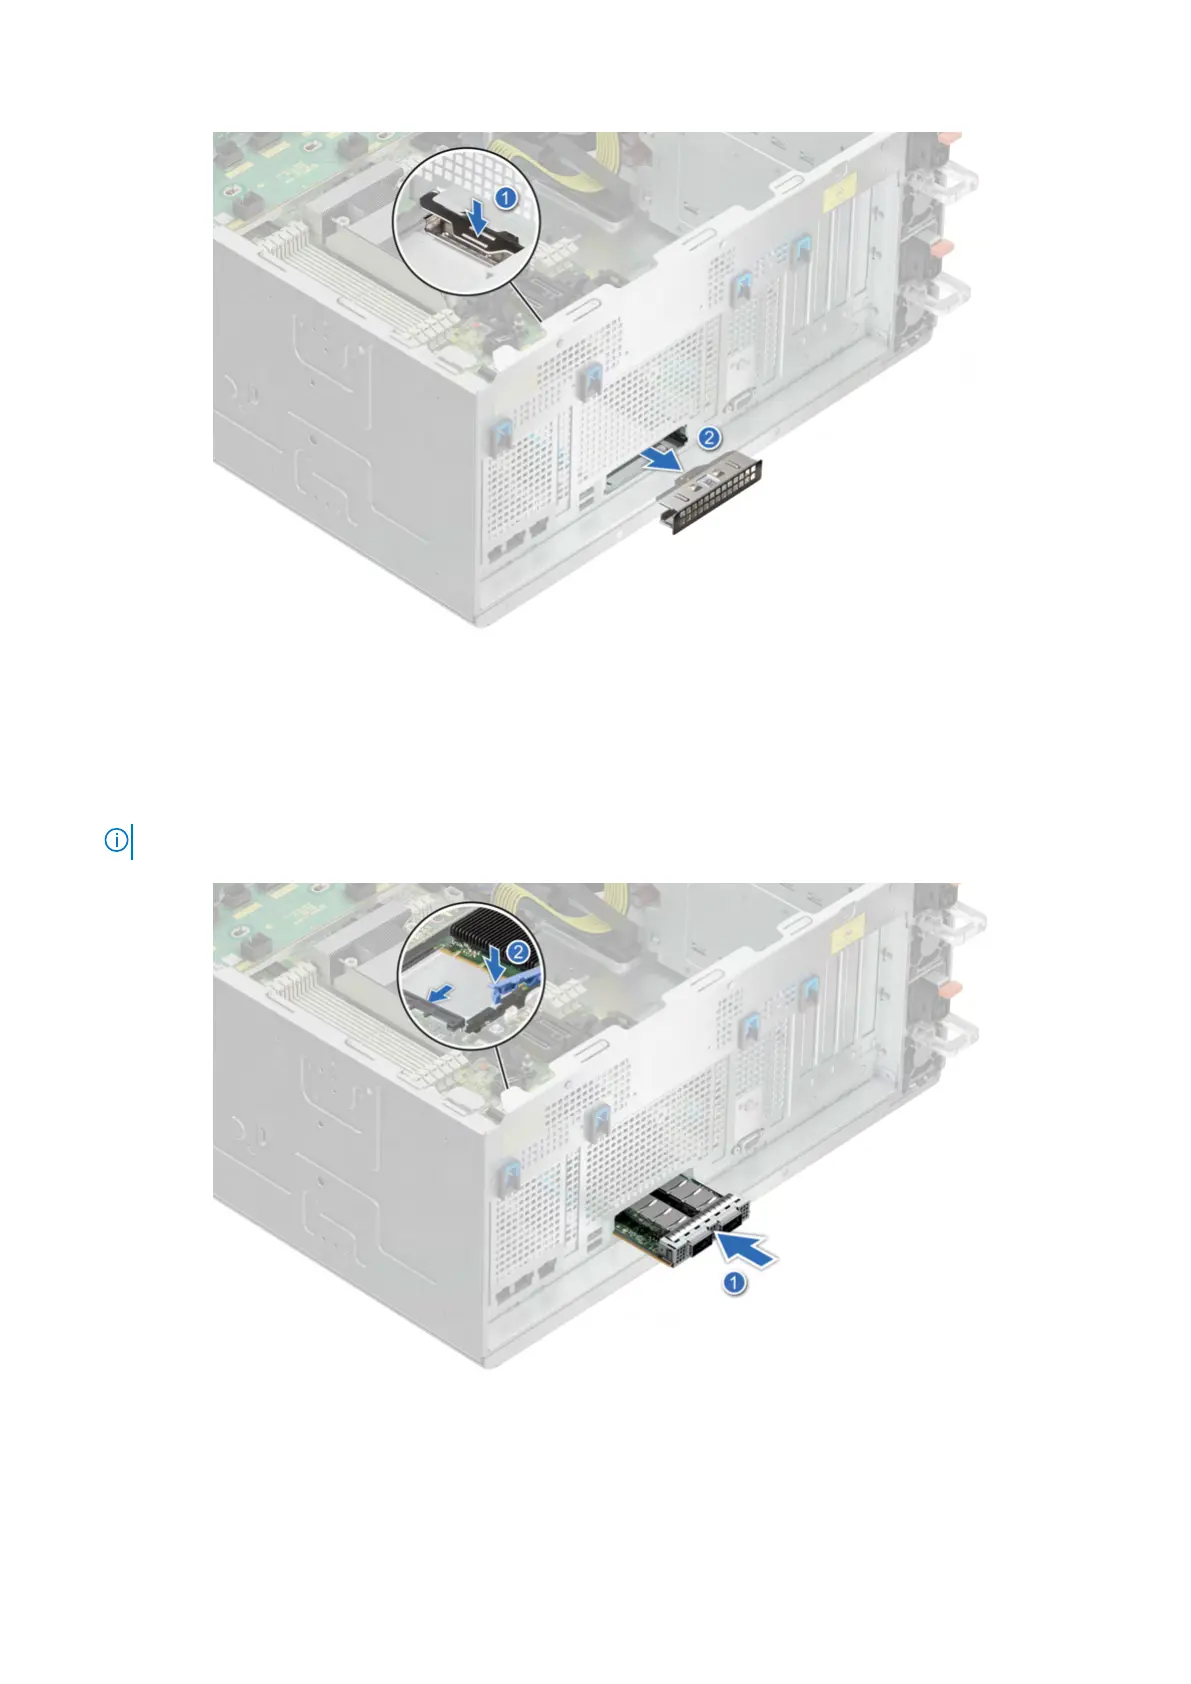
Figure 175. Removal of the OCP card blank
2. Open the blue latch on the system board.
3. Slide the OCP card into the slot in the system.
4. Push until the OCP card is connected to the connector on the system board.
5. Close the blue latch to lock the OCP card to the system.
NOTE: The numbers on the image do not depict the exact steps. The numbers are for representation of sequence.
Figure 176. Installing the OCP card
6. A
lign the OCP air shroud to the guide pins on the chassis and lower the OCP air shroud.
Installing and removing system components 221