• Two sets of rail kits, no tools required
• Two PSUs
• Four fan units
• Two country- and region-specic AC power cords
• S5048F-ON Set-up Guide
• Safety and Regulatory Information
• Warranty and Support Information
1 Place the container on a clean, at surface and cut all straps securing the container.
2 Open the container.
3 Carefully remove the switch from the container and place it on a secure and clean
surface.
4 Remove all packing material.
5 Inspect the product and accessories for damage.
Rack or cabinet installation
You may either place the switch on a rack shelf or mount the switch directly into a 19" wide,
EIA-310- E-compliant rack. Rack mounting includes four-post, two-post, round threaded
holes, or square holes. The ReadyRails system is provided for 1U front-rack and two-post
installations.
The ReadyRails system includes two separately packaged rail assemblies. To begin
installation, separate each rail assembly by sliding the inside rail out of the outside rail.
WARNING
: This guide is a condensed reference. Read the safety instructions in your
Safety, Environmental, and Regulatory
information booklet before you begin.
NOTE: The illustrations in this section are not intended to represent a specic
switch.
NOTE: Do not the use the mounted ReadyRails as a shelf or a workplace.
Rack mount safety considerations
• Rack loading—Overloading or uneven loading of racks may result in shelf or rack failure,
possibly damaging the equipment and causing personal injury. Stabilize racks in a
permanent location before loading begins. Mount the components starting at the bottom
of the rack, then work to the top. Do not exceed your rack’s load rating.
12
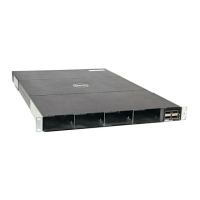
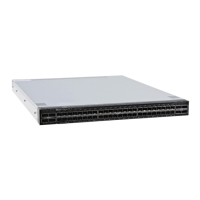
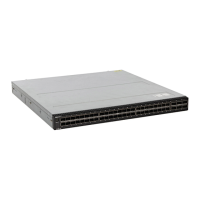
S5048F-ON switch installation
 Loading...