3
~1,50 m
Mini 20 cm
PROG x 1
PROG x 7
NL
123
R CT
123
R CT
Th
Ø max. 1,5 mm²
OFF
ON
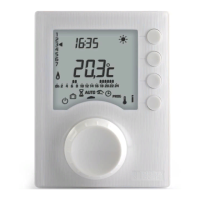
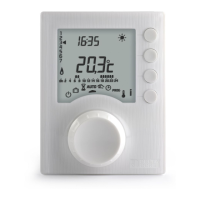
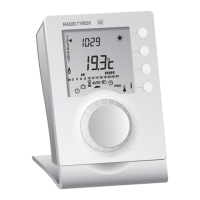
1. Installing the transmitter
1.1 Location
The thermostat can be mounted on the wall in
a room whose temperature is representative
of the location’s average temperature, with a
recommended height of 1.5m and it should also
be nowhere near any heat sources (reworks,
sunlight, etc.) or air ows (window, door, etc.).
To avoid unwanted air movements that would
distort the sensor measurement, the wire entry
into the ush-mounted box must be plugged
(mastic, glass wool, etc.).
IMPORTANT: Do not install the thermostat on a
wall in contact with the outside or with an
unheated room (e.g. garage, etc.).
1.2 Mounting/Connection
❶ Switch o the power to your setup.
❷ Separate the box from its base.
❸ Connect and secure the base. Your Tybox
must be connected with exible or rigid cables
with a maximum cross-section of 1.5 mm².
❹ Insert the baeries
WARNING: make sure you insert the baeries
facing the right way and that they are the right
type (no lithium baeries).
❺ Toggle the switch to choose the programme
type: weekly (A) or daily (B).
❻❼ Close and lock the box.
❽ Turn on the power to your setup.
Thermostat input control
Circulator control
INSTALLATION