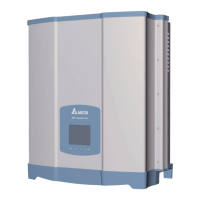
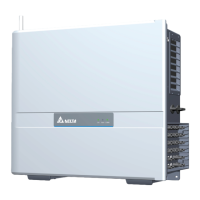
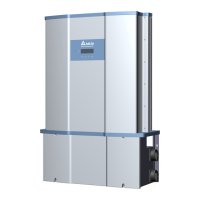
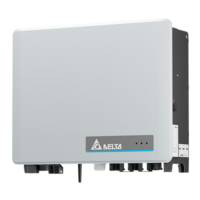
This unit is designed to be wall-mounted per Section 3.2.1 or ground mounted
Section 3.2.2.
Refer to Figures 3-5 through Figures 3-9.
1. Ensure the surface to which the unit is to be mounted is sufficiently strong
enough to carry the weight.
2. Orient the wall bracket horizontally (perpendicular to the floor), with the large
plate at the bottom, and mark required mounting hole locations per Figure 3-5.
3. Secure the mounting bracket on the wall with 6 M10 screws.
4. Hang the inverter on the wall mounting bracket.
5. Secure the inverter by inserting and tightening 2 M10 screws per Figure 3-9.
3.2 Mechanical Installation
3.2.1 Vertical Wall Mount
- The mounting bracket shipped with the unit is specially designed and is the only
certified mounting device for mounting the inverter.
- Secure the mounting bracket on the wall with 6 M10 screws.
(5 screws at least)
CAUTION !
Protection cover
CAUTION !
To avoid malfunction of inverter caused by extreme
weather (ex: snow, hail…etc) or non-proper installation/
maintenance, an additional protection cover is strongly
recommended to be installed by DELTA.
For more details, please contact local service team.
21
Installation

 Loading...