0
Getting Started Connections Settings Playback Remote ControlMulti-zone Information Troubleshooting SpecificationsSettings
ENGLISH
Setting items Setting contents
i/p Scaler
The input source’s resolution
is converted to the resolution
set at “Resolution”.
Analog : Use i/p scaler function for analog video signal.
Analog & HDMI : Use i/p scaler function for analog and HDMI video signal.
OFF : Do not use i/p scaler function.
This can be set when “Video Convert” is set to “ON”.
“Analog & HDMI” can be set for input sources for which an HDMI input
terminal is assigned.
This function is not effective when the input signal is x.v.Color or
computer resolution.
•
•
•
Resolution
Set resolution of the video
signal output to HDMI.
Auto : The number of pixels the TV connected to the HDMI output terminal
supports is detected automatically and the appropriate output resolution
is set.
480p/576p / 1080i / 720p / 1080p / 1080p:24Hz : Set the output resolution.
This can be set when “i/p Scaler” is set to anything other than “OFF”.
When “i/p Scaler” is set to ”Analog & HDMI”, the resolution of both the
analog video input signal and HDMI input signal can be set.
To watch 1080p/24Hz pictures, use a TV that supports 1080p/24Hz video
signals.
When set to “1080p/24Hz”, you can enjoy film-like pictures for film
sources (in 24 Hz). For video sources and mixed sources, we recommend
setting the resolution to “1080p”.
It is not possible to convert a 50 Hz signal into 1080p/24Hz. It is output
at a resolution of 1080p/50Hz.
•
•
•
•
•
Progressive Mode
Select optimum progressive
mode for video material.
This can be set when the input source is
DVD
HDP
TV
SAT/CBL
VCR
DVR
V.AUX
.
Auto : The video material is automatically detected and the appropriate
mode is set.
Video 1 : Select mode suitable for video playback
Video 2 : Select mode suitable for video and 30-frame film material
playback.
This can be set when “i/p Scaler” is set to anything other than
“OFF”.
Aspect
Set the aspect ratio for the
video signals output to the
HDMI.
This can be set when the input source is
DVD
HDP
TV
SAT/CBL
VCR
DVR
V.AUX
NET/USB
.
Full : Output at 16:9 aspect ratio.
Normal : Output at 4:3 aspect ratio.
This can be set when “i/p Scaler” is set to anything other than “OFF”.
Setting items Setting contents
Video Select
Change video input to your
preferred input source.
SOURCE : Play the picture and sound of the input source.
DVD / HDP / TV / SAT/CBL / VCR / DVR / V.AUX : Select video input
source to view. This can be set for individual input sources.
Set by either pressing VIDEO SELECT on the main unit or VIDEO SELECT
on the main remote control unit.
When operating from the main remote control unit
Press VIDEO SELECT on the main remote control unit repeatedly until
the picture you want to see is displayed.
To cancel, press VIDEO SELECT on the main remote control unit, and
select “SOURCE”.
When operating from the main unit
After pressing VIDEO SELECT on the main unit, turn the SOURCE SELECT
on the main unit until the picture you want to see is displayed.
To cancel, press VIDEO SELECT on the main unit, then turn SOURCE
SELECT on the main unit and select “SOURCE”.
NOTE
It is not possible to select HDMI input signals.
The video select function does not work with HDMI signals.
Input sources for which “Delete” is selected at “Source Delete”
(vpage 52) cannot be selected.
•
•
•
•
•
Video Convert
The input video signal is
converted automatically in
function of the connected
TV (vpage 10 “Converting
Input Video Signals for
Output (Video Conversion
Function)”).
This can be set when the input source is
DVD
HDP
TV
SAT/CBL
VCR
DVR
V.AUX
.
ON : The input video signal is converted.
OFF : The input video signal is not converted.
When a non-standard video signal from a game machine or some other
source is input, the video conversion function might not operate. In this
case set “Video Convert” to “OFF”.
When “Video Convert” is set to “OFF”, the video conversion function
does not work. In this case, connect the AVR-4810 and TV with the same
type of cable.
•
•
Making the Video Settings (Video)
Default settings are underlined.
Making the Input Settings (Source Select)
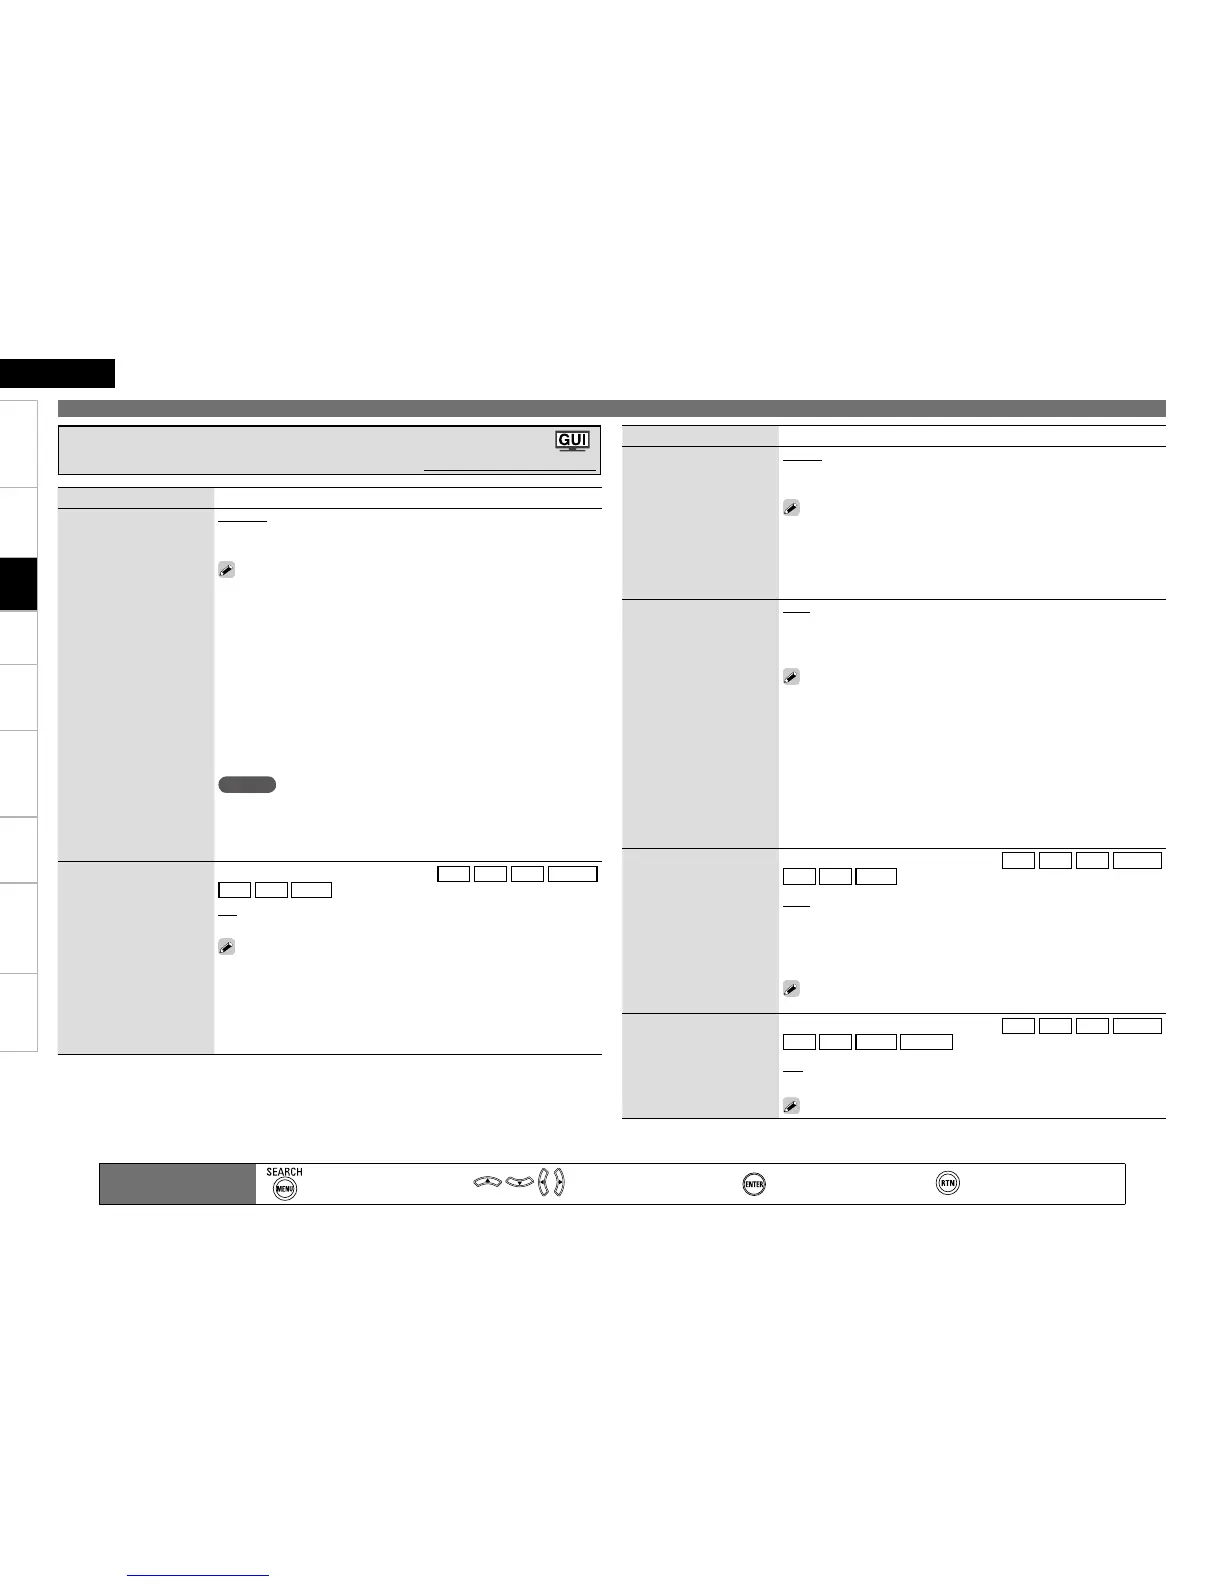
Main remote control unit
operation buttons
:Displaying the menu
Cancel the menu
:Moves the cursor
(Up/Down/Left/Right)
:Confirm the setting :Return to previous menu

 Loading...