18
How to Assemble Wizzybug
Assembling Wizzybug Care must be taken to ensure that
you do not place your ngers in-between mating parts while
assembling Wizzybug.
Wizzybug consists of the following component parts:
• Body
• Rear Wheel Assembly
• Battery
• Tray
REAR WHEEL ASSEMBLY
Attaching the rear wheel assembly to the body
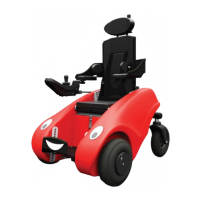
1. Lift up the rear end of the body
using the webbing handle.
2. Locate the prongs securely into
the two holes in the rear wheel
assembly beam. Please note that
the wheel bar only locates in one
way round, the label should be
facing outward, as shown to the
right and the two metal pins on
the bar should face inwards.
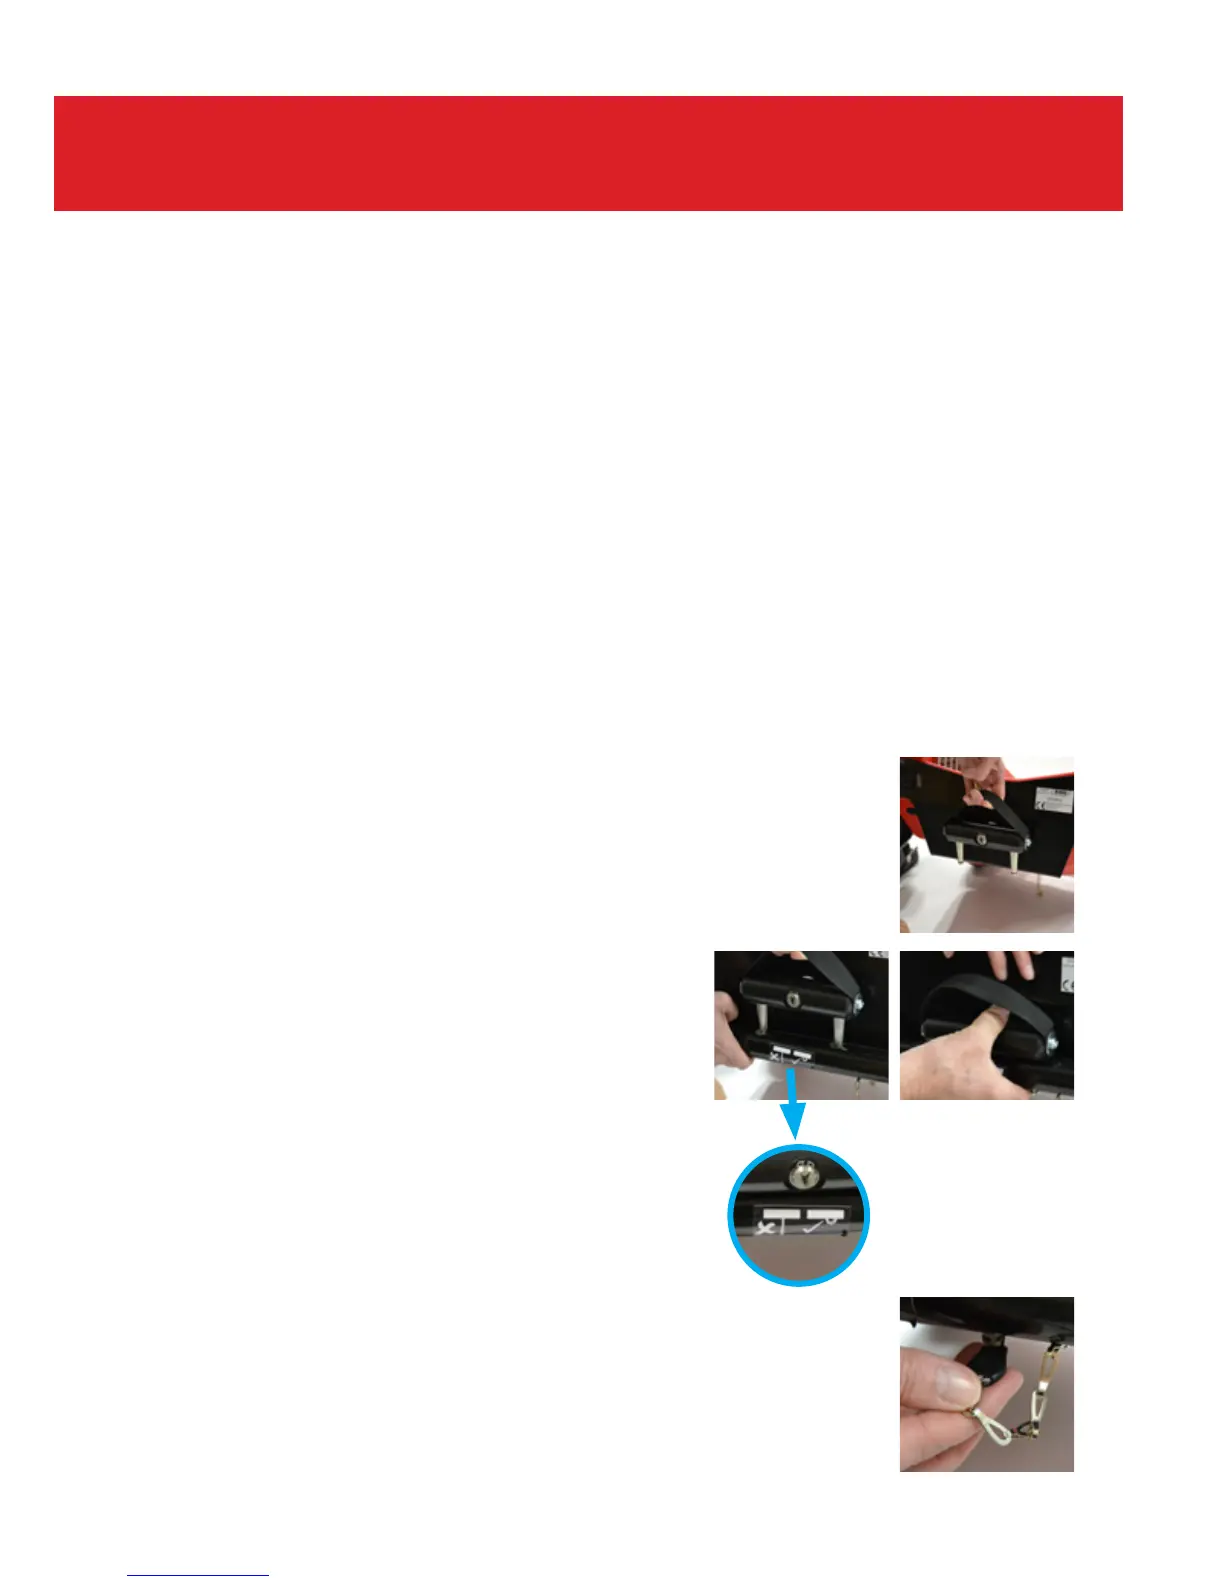
3. Fit the spring clip horizontally in the
groove (attached by a short chain) to the
protruding tapered pin as shown. This
secures the rear wheel assembly beam to
the body.
• Seating System
• Footrest
• Carer Control System