44
FUEL PUMP MAINTENANCE
Cleaning
Cleaning the pump is the best method to ensure it will remain in
good working order over its lifetime. The pump comprises a tube
inside which a magnetic plunger moves up and down to draw
fuel, while several check valves inside ensure fuel flows in the
desired direction. If fuel delivery from the pump becomes
inconsistent, check and lubricate each check valve to ensure they
can open letting fuel enter and leave the pump.
4
5
Insert upside-
down then
flip!
1
Plunger
Spring
Spring
Check-valve
2
3
6
7
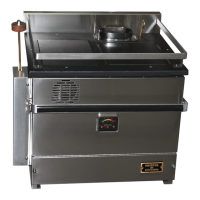
FUEL PUMPS
In order to supply the appliance reliably a fuel pump
must receive filtered fuel. It is best to orient the fuel
pump so that it must draw fuel upwards from a source
below.
The electrical components inside the fuel pump are
permanently sealed to isolate them from the fuel
running through the pump.
Air Leaks
Vibrating or chattering pump activity
means that the pump is drawing in
air as well as fuel. The location of
such a leak will always be on the
pressure side of the pump –
between the pump and the fuel
source. Any leaks must be carefully
located and fittings tightened or
lines repaired to eliminate the issue.
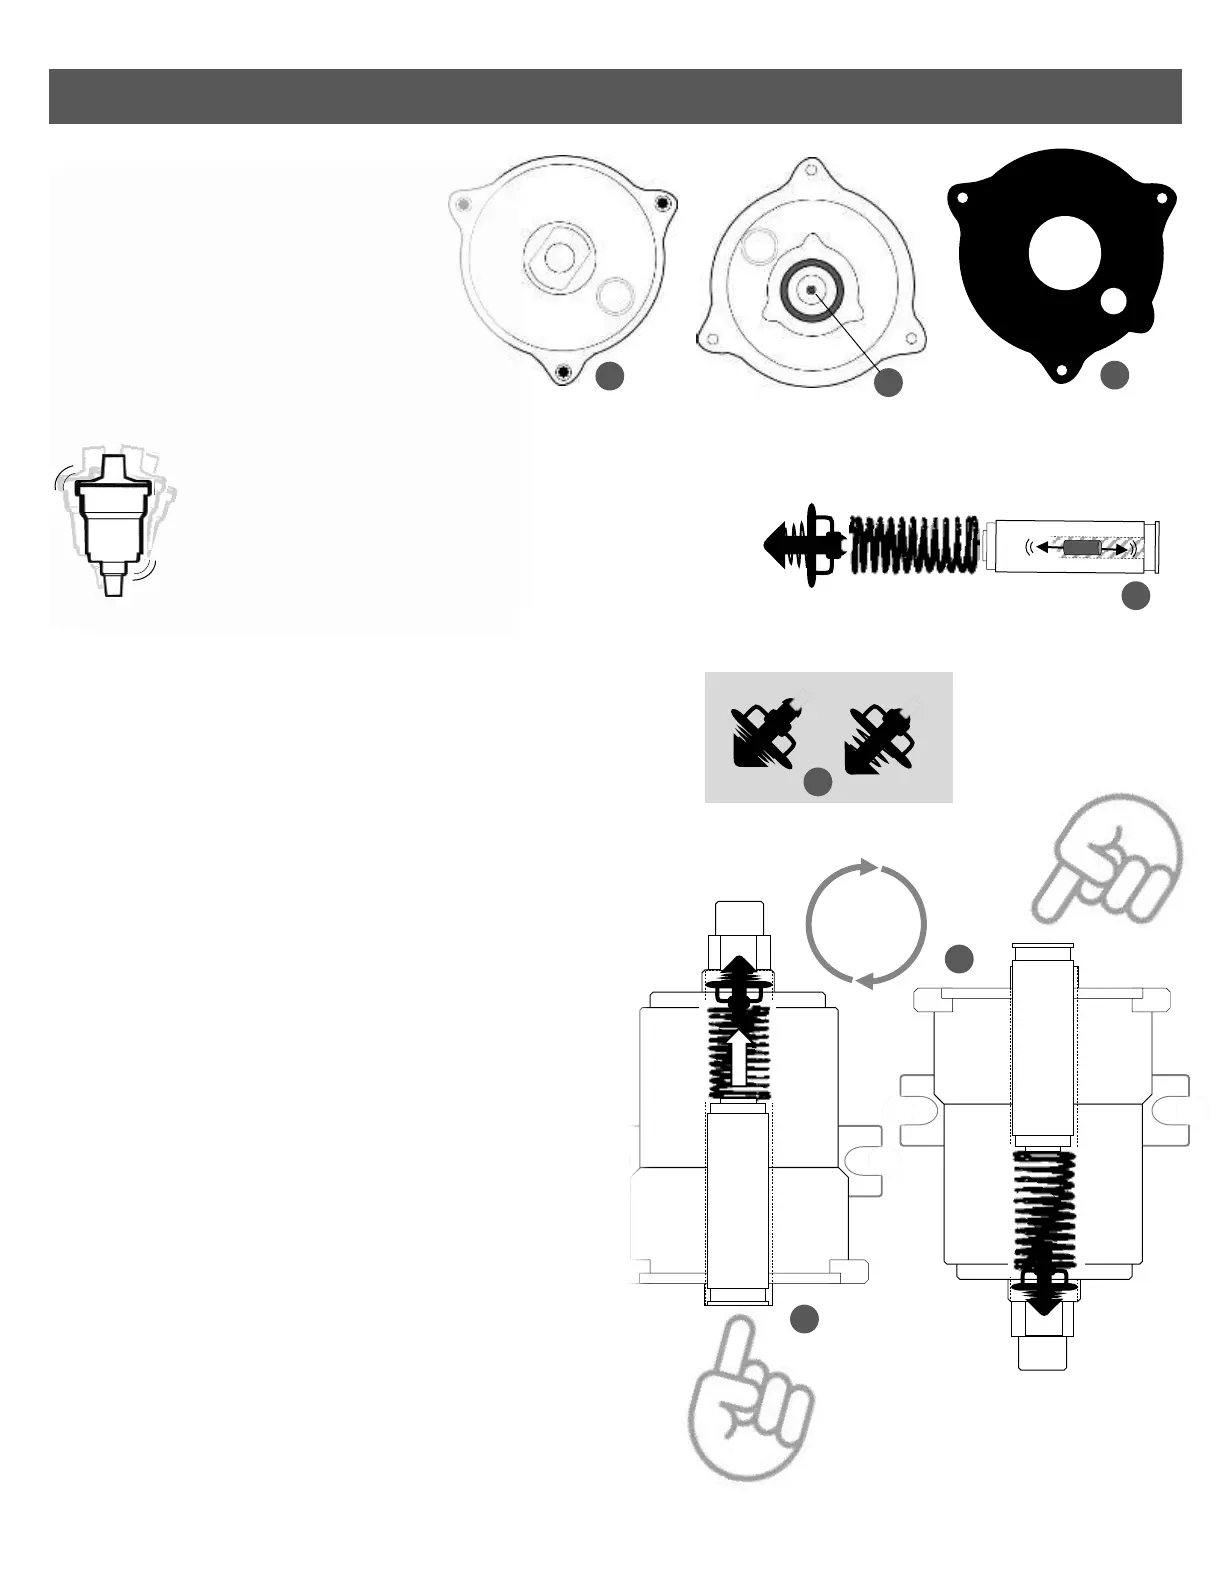
Disassembly & Cleaning
• The lid of the pump is held on by 3 torx screws (1) Remove these &
hold the pump with its inlet upwards and twist to remove the lid.
Inside you’ll find all the pumps moving parts – spring plunger and
spring check valve.
• Remove and shake the magnetic plunger (2) – movement should be
heard and felt inside it. This movement indicates that the check
valve inside the plunger is working
• The spring check valve should be assembled with a small spring and
able to compress and spring back to shape (3)
• Verify that both these check valves are operational, then turn the
pump upside-down and carefully reinstall the pumps parts in the
order shown (4) Insert the components all the way with a finger
and hold them in place while you flip the pump back to right side
up (5) This will prevent the spring check valve from becoming
dislodged inside the pump.
• Before reinstalling the lid press on the small hole in its center (6) –
the small steel ball located here is the 3
rd
check valve, and should
give way when pressed in and spring back into place.
• Lubricate the inside of the pump thoroughly with WD-40 before
reassembling. Line up the lid gasket (7) carefully under the pump lid
before tightening the screws in place.
FIG 92
FIG 93
FIG 94
FIG 95
FIG 96
FIG 97