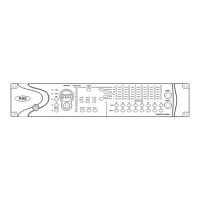
PRE Guide20
Declaring Multiple PREs
You can configure additional PREs (for a total of
nine) by repeating the above steps. Make sure
that none of the PREs are assigned to the same
MIDI source and destination ports in the
Pro Tools Peripherals dialog or in OMS Setup
(unless you want them linked).
Additional Options in the Peripherals Dialog
The following options can be set while you are
declaring PRE in Pro Tools, but are also useful
during sessions to lock out front panel controls
or to globally change PRE settings.
Reset Press Reset to return PRE parameters to
their defaults. Resetting takes place immedi-
ately; you do not need to press OK to reset pa-
rameters
Retain Current Settings Check this box to retain
PRE channel settings when an existing session
with different settings is loaded. New sessions
will automatically retain the current settings.
The front panel settings that Pro Tools can re-
motely control are stored with the session,
whereas the number of PREs declared, their
lockout and retain current settings states, as well
as the online/offline status and output assign-
ments are stored in the global preferences file.
Remote Lock-Out Mode Select Remote Lock-Out
Mode to place PRE in Remote Lock-Out mode,
where front panel controls can no longer be
used to control PRE. Lock-Out mode does not
occur until you click OK to close the Peripherals
dialog.
PRE can be taken out of Remote Lock-Out mode
by unchecking the Remote Lock-Out Mode box
in the Pro Tools Peripherals dialog, or by power-
ing PRE off, and then back on.
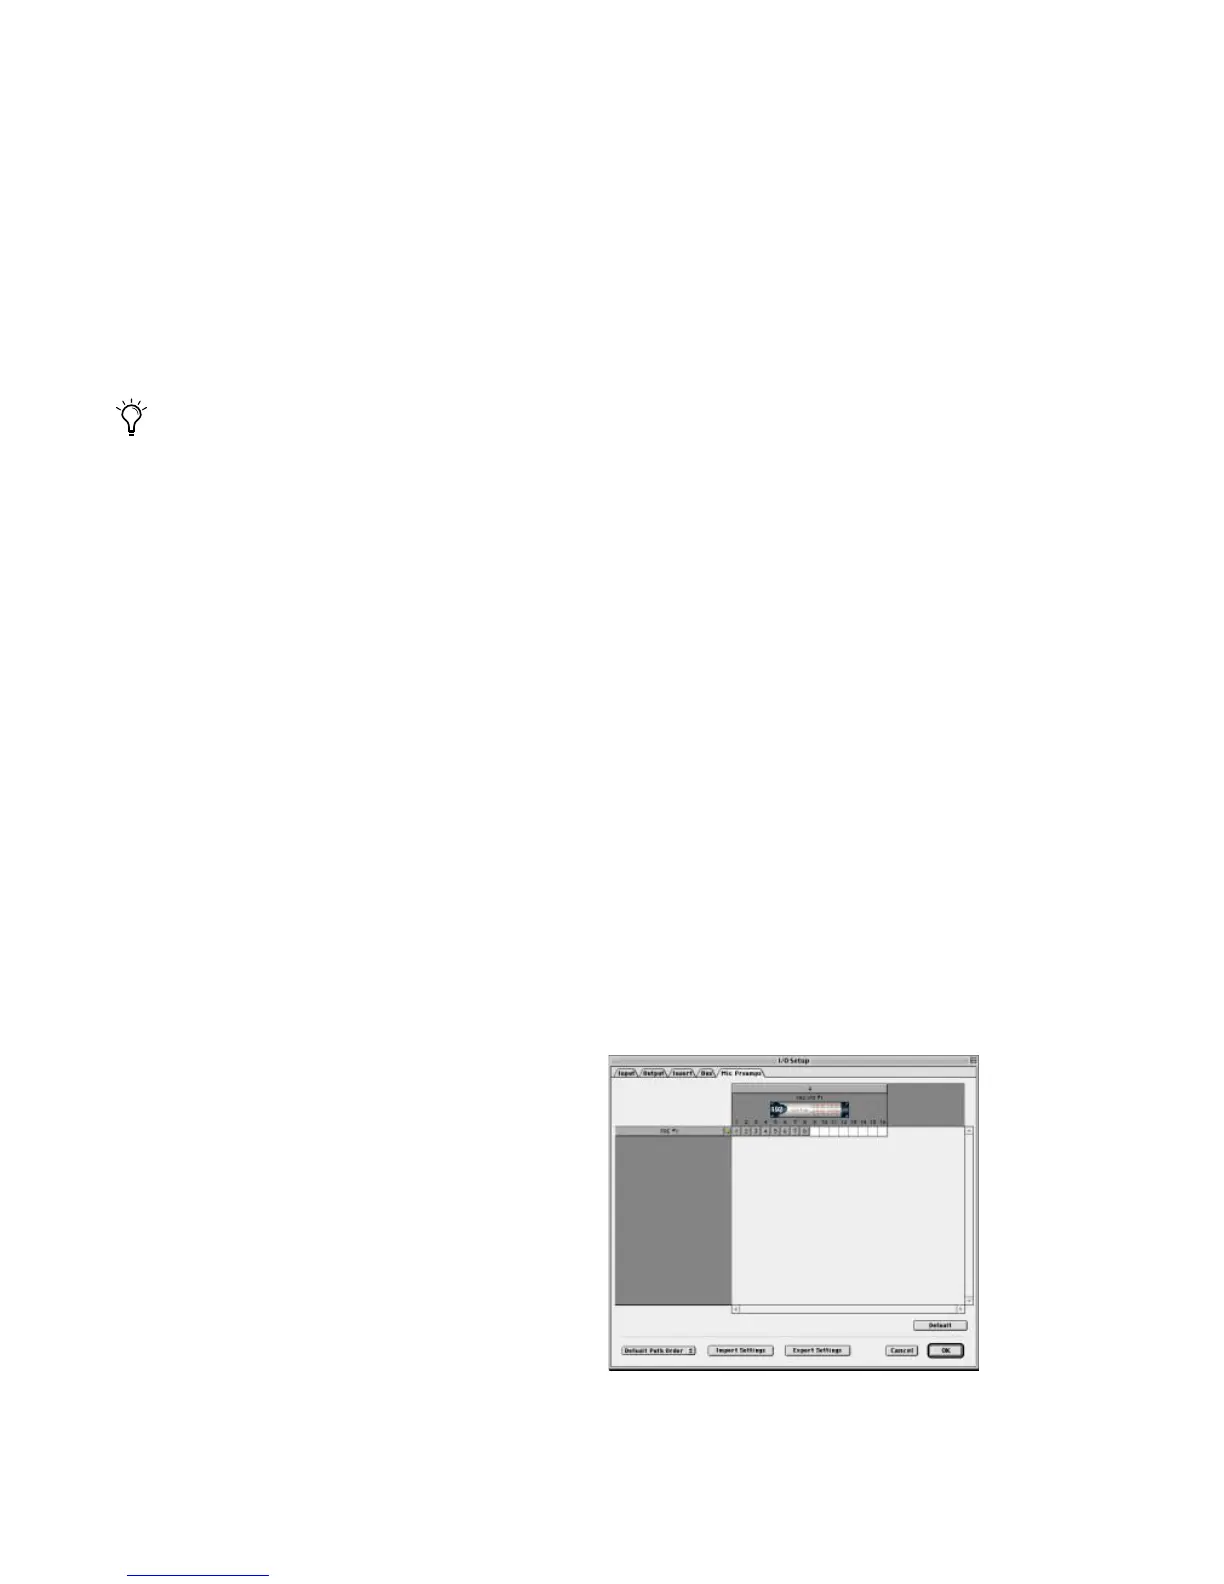
Mapping PRE Outputs to Audio
Interface Inputs in Pro Tools
PRE outputs must be manually mapped to audio
interface inputs before their audio and remote
controls will be available within Pro Tools.
After mapping PRE channels to Pro Tools analog
input paths, whenever you associate a track
with an input path (created in I/O Setup) which
is also a physical input that the PRE channel was
mapped to, the PRE controls (identified as Mic
Preamps) appear on top of the channel strip,
giving you audio and control.
For each declared PRE, the I/O Setup PRE page
includes the PRE path name, and provides tools
to map PRE output channels to an audio inter-
face.
The Option key can be used to simulta-
neously apply changes to a selected Mic
Preamp and all Mic Preamps below it. Press
and hold the Option key while making
changes.
When changing Mic Preamp sources and
destinations with the Option key, updates
are applied sequentially (for example,
changing the Receive From destination in
the second row to PRE #2-2, will update the
destination in the third row to PRE #3-2,
and so on).
PRE path in I/O Setup