31
twnsprng - Based on a Fender
®
Twin Reverb
lexambnc - Lexicon
®
Ambience
lexstudo - Lexicon Studio
lex room - Lexicon Room
lex hall - Lexicon Hall
emtplate - Based on an
EMT240 Plate
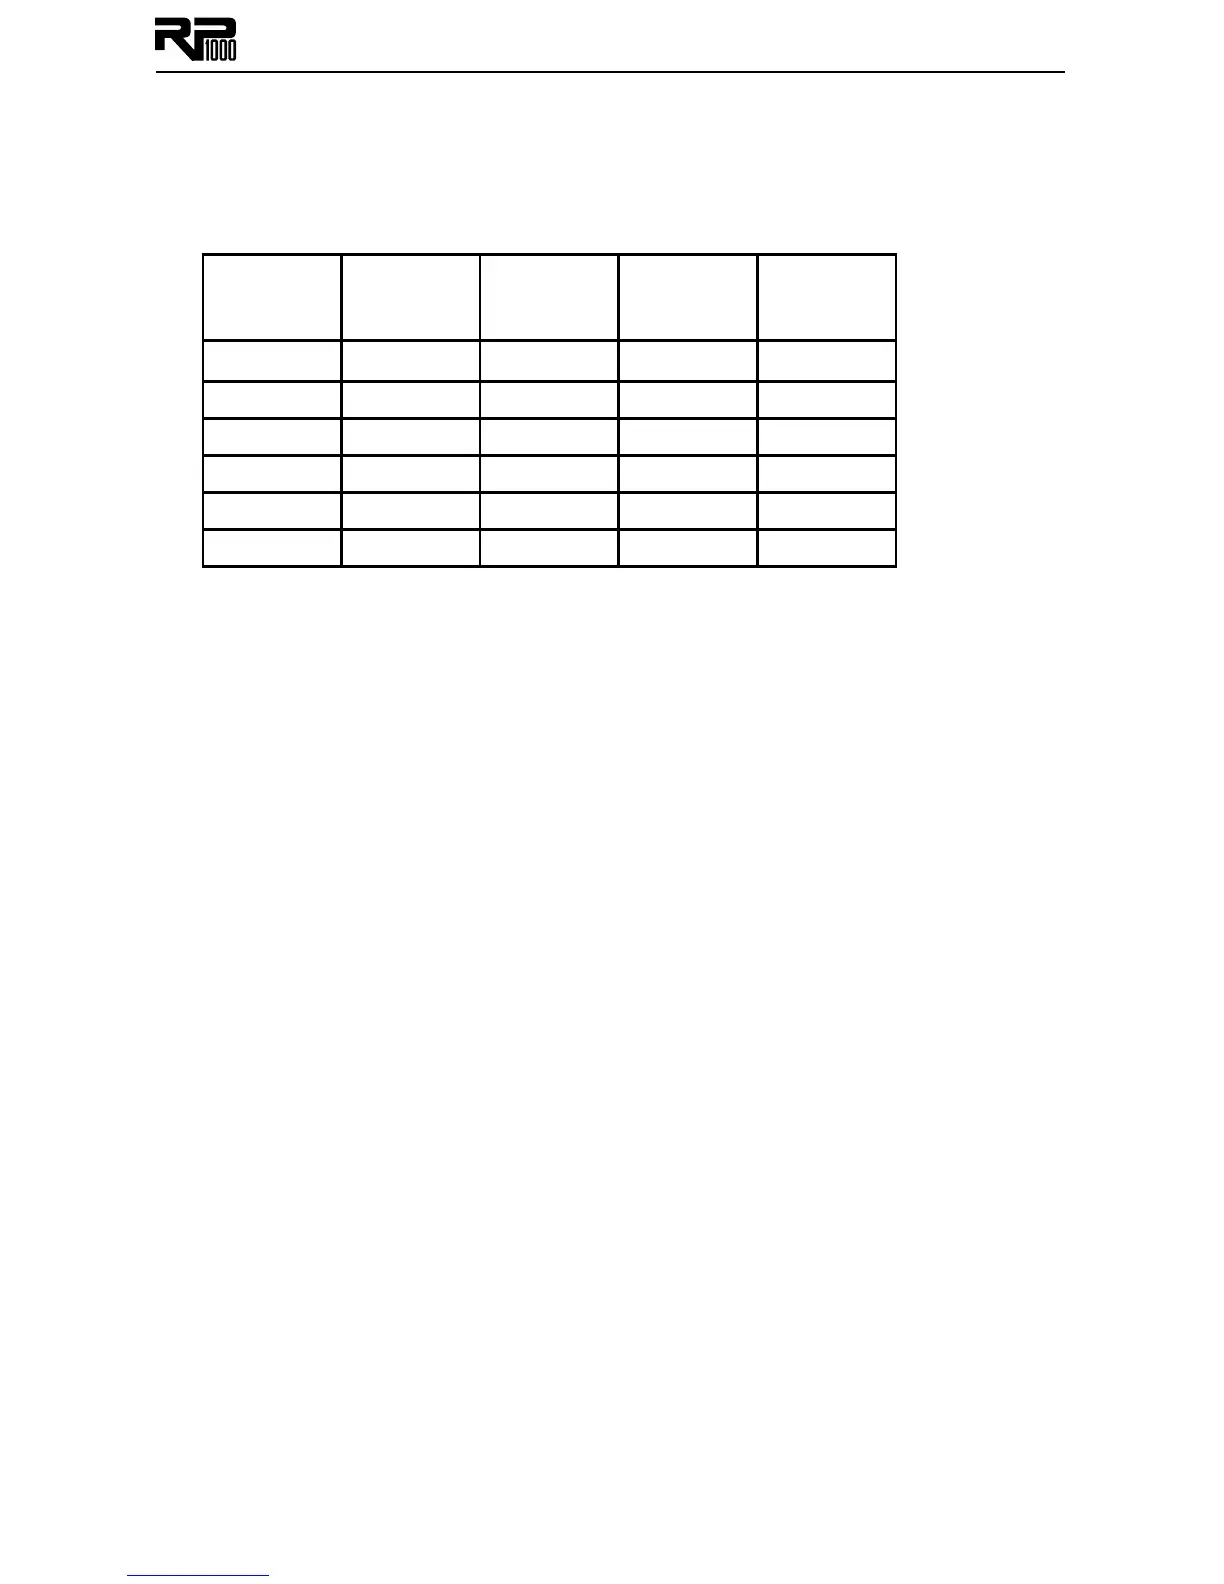
Knobs 2-6 have the following functions for the various Reverb Effects:
Reverb Knob 2
(Pre Delay)
Knob 3
(Decay)
Knob 4
(Liveliness)
Knob 6
(Reverb
Level)
twnsprng
-- -- -- Reverb
lexambnc
Pre Delay Decay Liveliness Reverb Level
lexstudo
Pre Delay Decay Liveliness Reverb Level
lex room
Pre Delay Decay Liveliness Reverb Level
lex hall
Pre Delay Decay Liveliness Reverb Level
emtplate
Pre Delay Decay Liveliness Reverb Level
Section Four - Other Functions
Expression Pedal
You can link the Expression Pedal on the RP1000 to control the RP1000’s Volume, Wah,
Whammy™, YaYa™, or almost any of the RP1000’s other parameters in real time with your foot.
When a parameter has been linked to the Expression Pedal, you can also set the minimum (heel)
and maximum (toe) value for the range. When you push down hard on the toe of the Expres-
sion Pedal to activate the V-switch, the Expression Pedal switches between the linked parameter
and the Wah. To link a parameter to the Expression Pedal, follow these steps:
1. Press either Edit button until the Expression row is selected (indicated by the LED lighting
on the Expression row).
2. Rotate Knob 1 until EXP PeDL appears in the Display.
3. Rotate Knob 2 until the desired parameter to be linked appears in the Display.
4. Rotate Knob 3 to select the minimum (heel) value the assigned parameter will reach with
the Expression Pedal in the toe up position.
5. Rotate Knob 4 to select the maximum (toe) value the assigned parameter will reach with
the Expression Pedal in the toe down position.
6. Store your Expression Pedal assignment to your preset. See page 16 for more information
on the storing procedure.
Footswitch Assign
You can link footswitches 6-10 to almost any of the RP1000’s parameters or to enable and dis-
able the Amp Loop. From the factory, footswitches 6-10 are set to turn on and off the Com-
pressor, Distortion, Chorus/FX, Delay, and Reverb respectively when the Pedalboard button is
enabled. If a parameter other than these on/off parameters is linked to these footswitches, you
can specify a minimum value (LED off) and maximum value (LED on) for the parameter. That way
you can toggle a parameter like chorus speed between two distinct values while you’re perform-
ing. Footswitch assignments are stored with the preset so they can be different for every preset.
To link a parameter to the footswitches 6-10, follow these steps:
1. Press either Edit button until the Expression row is selected (indicated by the Expression
row’s LED lighting).
2. Rotate Knob 1 until FS6 ASN - FS10 ASN appears in the Display. This selects which
footswitch you are about to change the assignment for.
3. Rotate Knob 2 until the desired parameter to be linked appears in the Display.
4. Rotate Knob 3 to select the minimum value the assigned parameter will reach when the
footswitch is off (LED off).
5. Rotate Knob 4 to select the maximum value the assigned parameter will reach when the
footswitch is on (LED on).
 Loading...