22
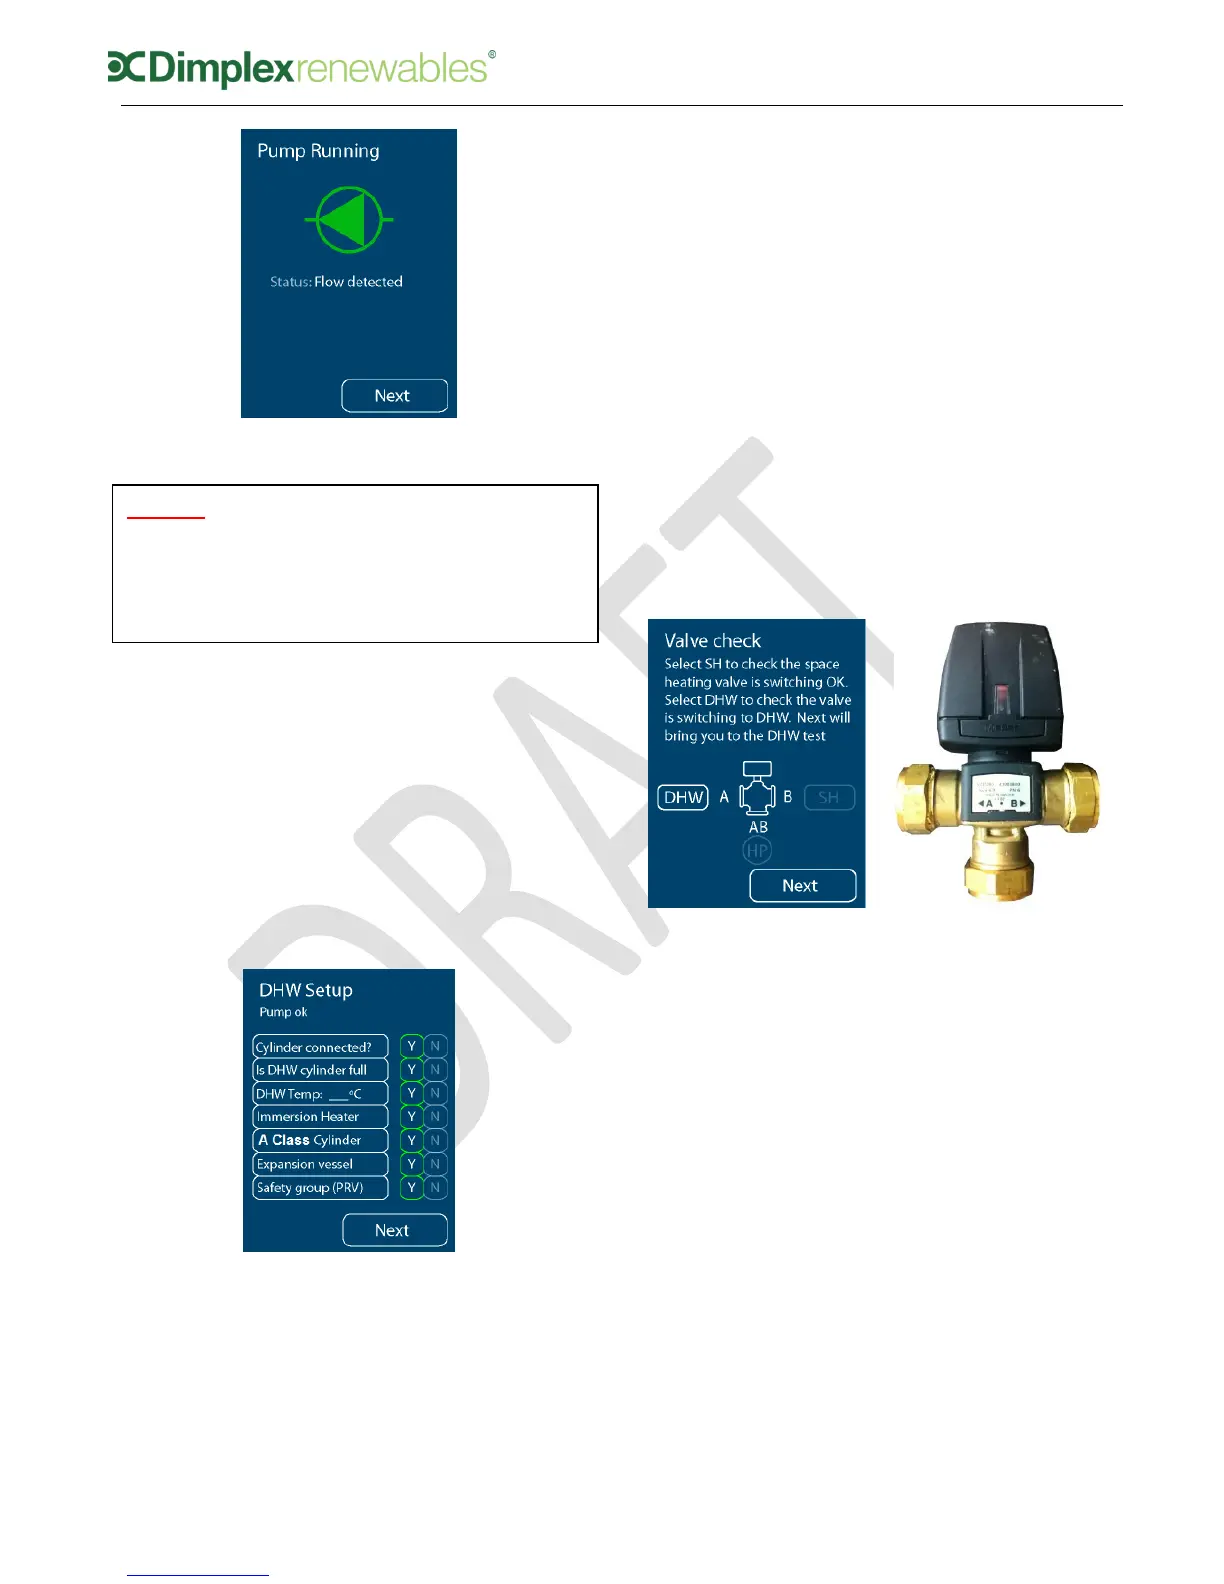
Figure 18: Green symbol on successful
compressor test
If you have selected Schematic 1 or 3
(Space heating only or Bivalent space
heating), move now to section 7.1.9
‘Heating Curves’ to complete the
commissioning process.
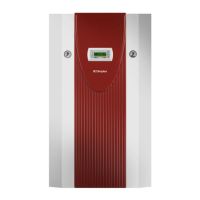
7.1.5 DHW setup
Before commissioning the DHW side, a
number of checks must be carried out,
as shown in figure 19.
Figure 19: DHW checks
When you have ticked each box to
confirm each DHW check, ‘Next’ will
bring you back to the installer menu,
where you can now select ‘Electrical
Connections (DHW)’.
7.1.6 Electrical connections (DHW)
This menu provides a list of electrical
connections that should be made prior
to commissioning the domestic hot
water cylinder. You must check and
confirm all connections in order to
make the ‘DHW Test’ available in the
installer menu.
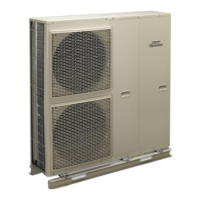
7.1.7 DHW Test
Before you run the DHW test, you will
be asked to check that the valve is in
the DHW position, as shown in the
screen in figure 20. Check that the red
actuator marker changes to the correct
position.
Figure 20: Valve check screen
When you have completed the valve
check and select ‘Next’, you will see the
DHW test screen, which informs that
the test can take up to 90 minutes.
Selecting ‘Run test’ begins the DHW
test and shows you the time remaining.
If the test fails, you will see the screen
shown in figure 21, which provides
information on why the test failed, and
advice on checks to carry out.
If the test is complete and has been
successful, you will see the screen
shown in figure 22, which shows the
maximum temperature that the cylinder
can achieve.