6
Figure No. 3
Installation
WARNING: Unpack the product in an area with sufficient room to work. Do not allow children, animals or
individuals with impaired cognitive or physical abilities near the product until it has been completely set up
and the work area has been cleared of all debris
Unpacking
1. Carefully remove indicator from shipping carton and inspect it for any damage that may have taken
place during shipment. If the indicator is damaged, DO NOT USE INDICATOR and immediately contact
your distributor for further instruction. Keep carton and packing material for return shipment if it should
become necessary.
Should your indicator come already installed on a scale, the following installation information does
not apply to you.
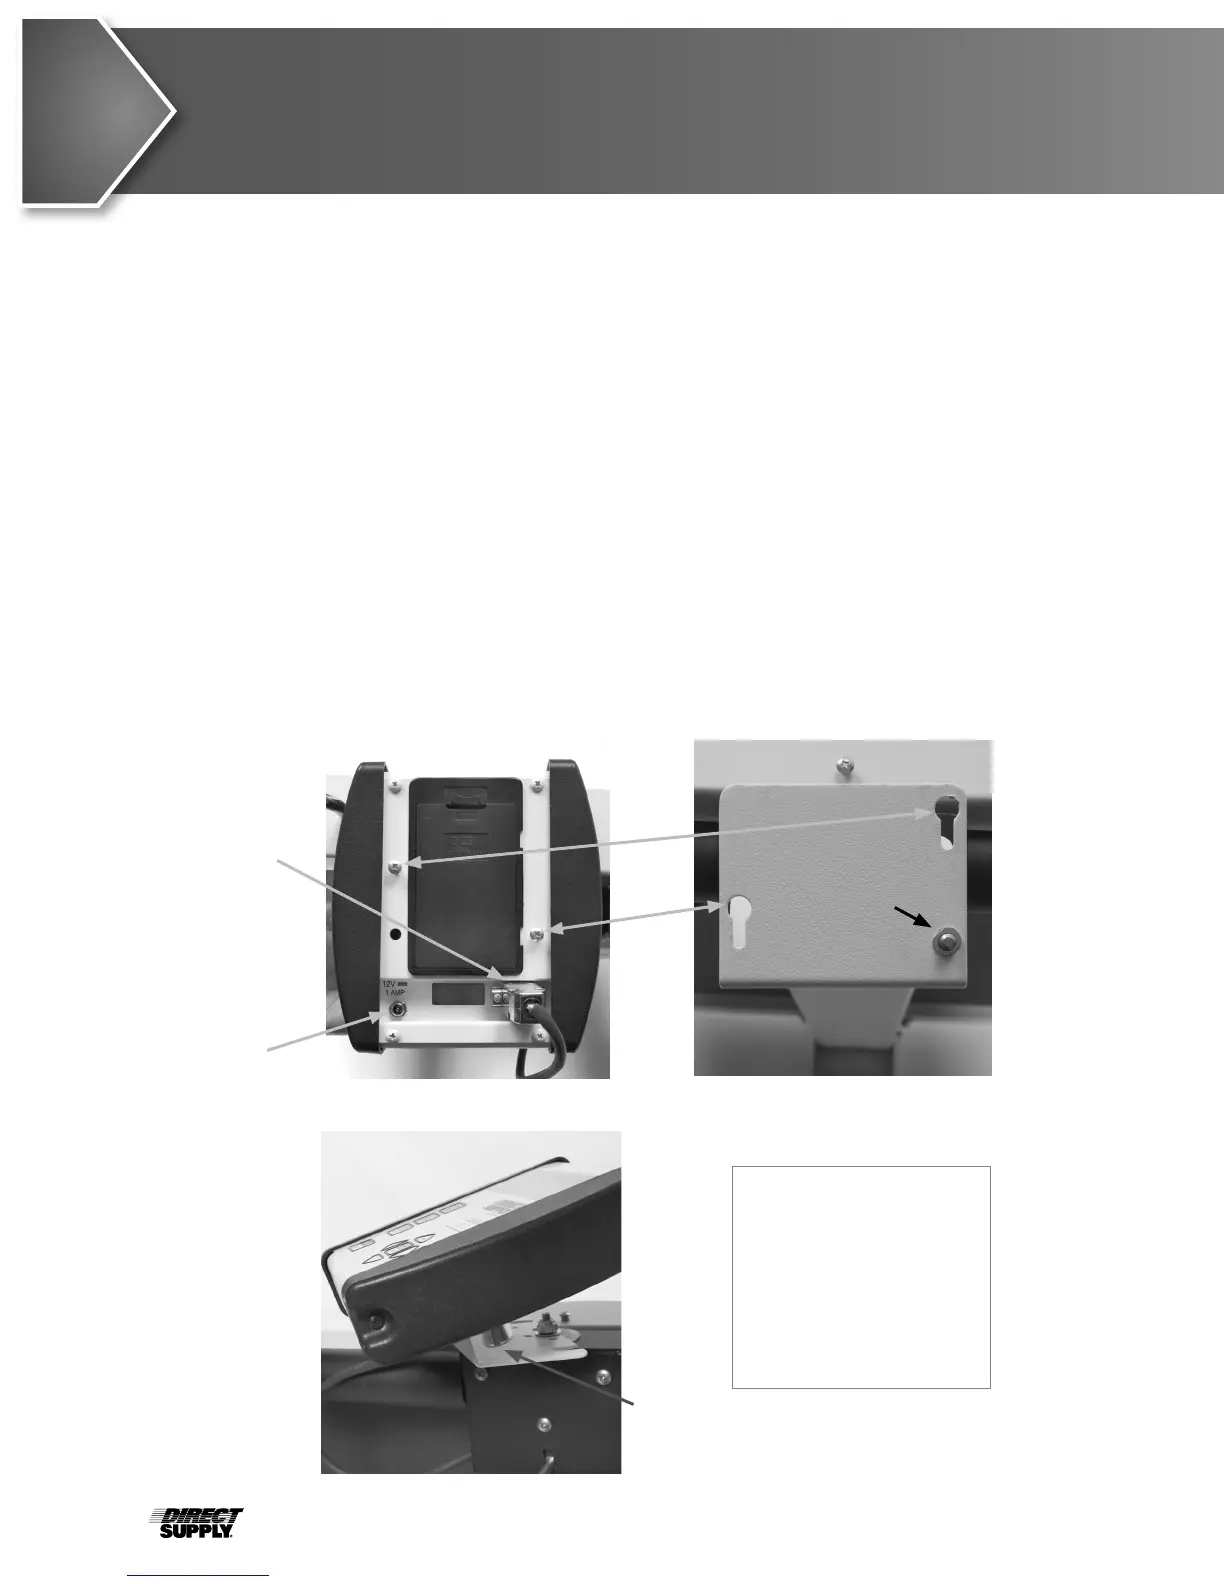
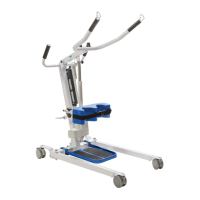
Mounting
To install the indicator on the bracket, place the screw heads on the back of the indicator into the large
end of the slotted holes in the bracket. Pull down to secure the indicator. The spring plunger will lock the
indicator to the bracket. (See Figures No. 1, 2 and 3.)
Figure No. 1
NOTE! The mounting
bracket on your scale
may be different than
the one shown in
Figures No. 2 and 3.
Refer to Appendix A for
other bracket types.
Spring
Plunger
Release
Load
Cell Cable
AC Power
Adapter
Spring
Plunger
Figure No. 2