1835-065-N-1-21
5
SECTION 1 - INSTALLATION
Prior to installing the telephone entry system, we suggest that you become familiar with the instructions,
illustrations, and wiring guidelines in this manual. This will help insure that you installation is performed
in an efficient and professional manner.
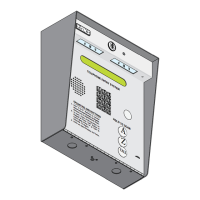
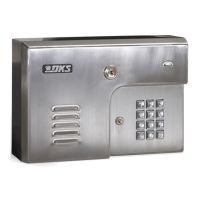
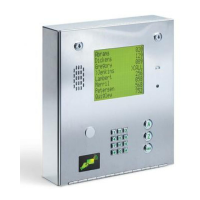
There are 2 different models of the 1830 telephone entry system (Surface and flush mounts), and many different ways to mount them (On a
wall, in a wall, attached to a architectural style post, kiosk, etc). Specific models will vary a little from the general installation described in this
manual and minor modifications will need to be made depending on which one of the entry system models has been chosen and where it will
be mounted. They will ALL need power and communication wires run to them in conduit or inside a architectural style post. Feed all of the
wires through the back or bottom of the entry system using the existing knock-outs provided in the enclosures. DO NOT make any new holes
in the enclosure to feed wires through. Keep ALL the entry system’s wires away from any existing high voltage power wires a minimum of 6”
to help prevent any noise and hum pickup in the system’s phone line. The system MUST also be properly grounded to function correctly.
WARNING If this telephone entry system is used to control a vehicular gate with an automatic gate operator, the telephone entry system
must be mounted a minimum of six (6) feet away from the gate and gate operator, or in such a way that the user cannot come into
contact with the gate or gate operator when using this entry system.
The telephone entry system contains a number of static sensitive components that can be damaged or destroyed by static discharges during
installation. Discharge any static prior to removing the circuit board by touching a proper ground device. GREAT care must be taken after
removing the components from the enclosure to protect them throughout the installation. Carelessness on your part is NOT covered under
warranty.
Make sure ALL dirt, metal or wood debris is removed from inside the enclosure after mounting it. A through cleaning of the enclosure is
needed before re-installing the components back into the system and wiring it. Any debris left inside could damage the control board and
cause the telephone entry system to malfunction during operation.
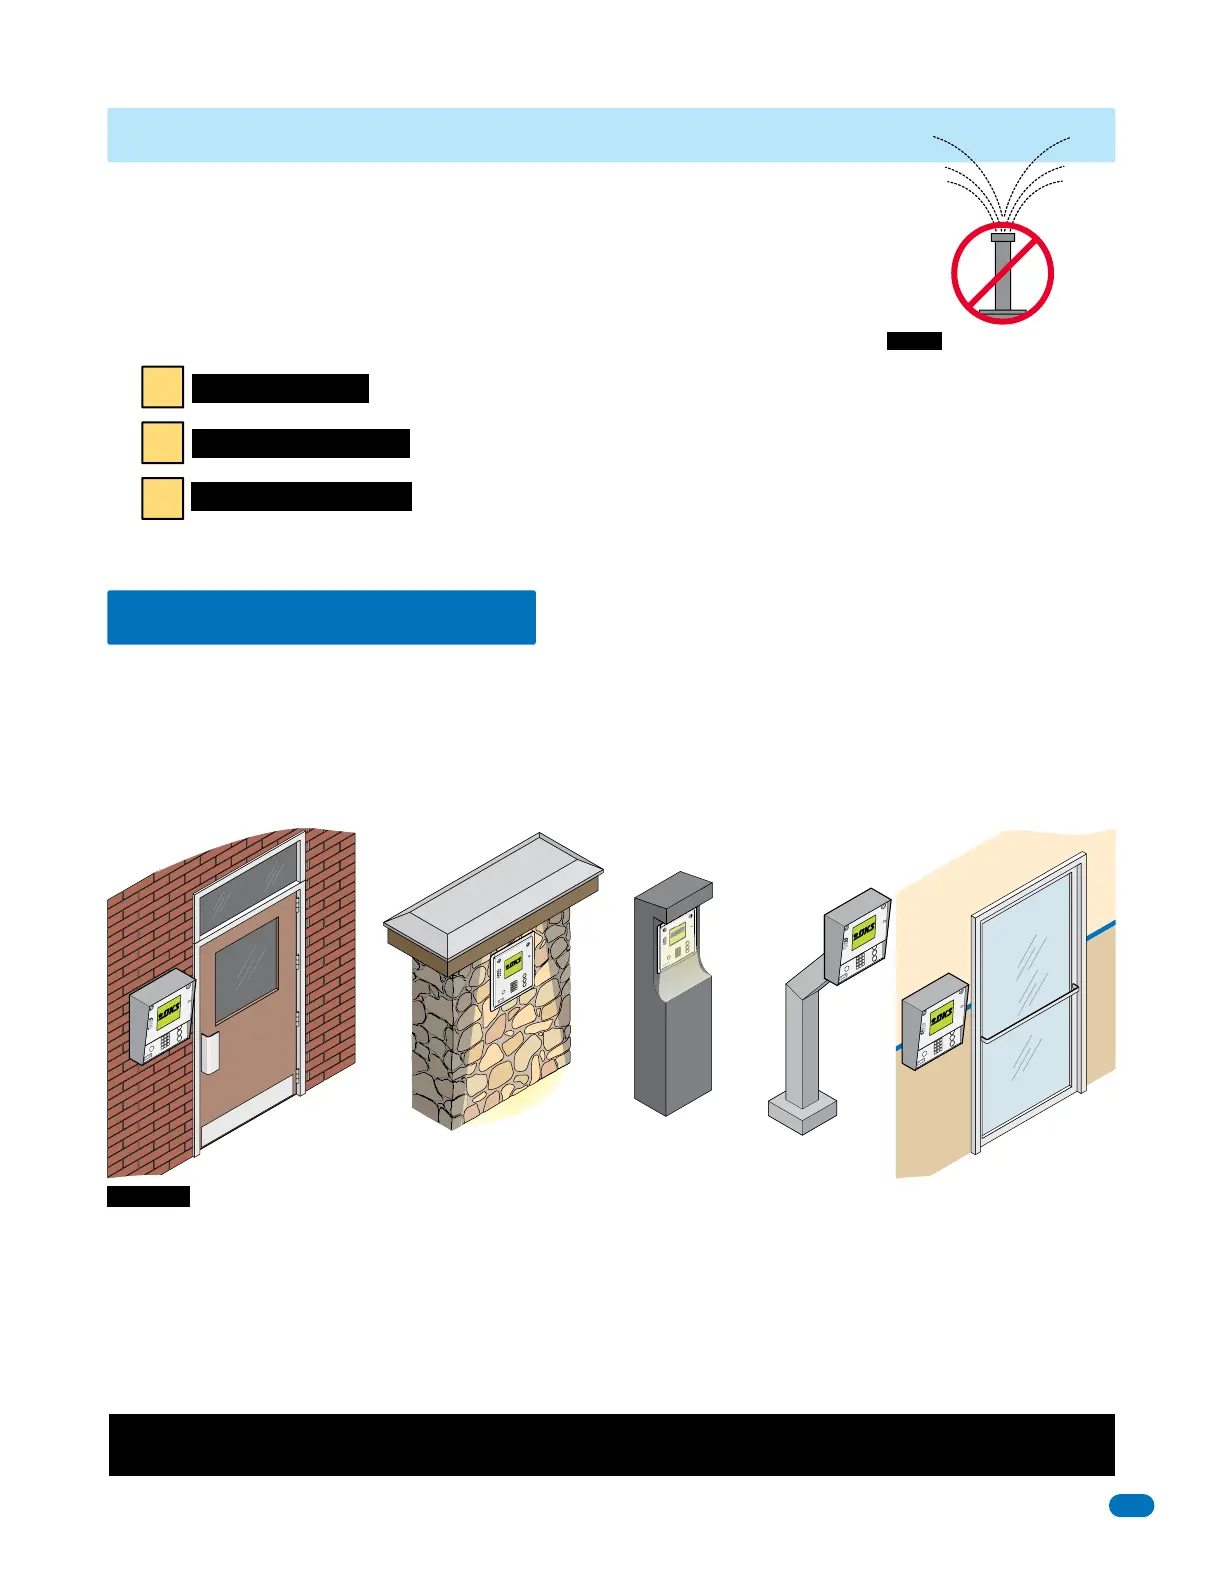
1.1 General Installation
On a Architectural
Style Post
On an Outside Wall On an Inside
Wall
In a Lighted-Covered
Kiosk
DoorKing Self-Standing
Lighted Kiosk,
Flush Mounts Only
Included with the system is an extra random keyed cabinet lock. If desired, for added security against unauthorized entry into the system,
the standard lock may be replaced with the random lock. Note: DoorKing cannot replace this specific lock or keys if lost.
DO NOT install the telephone entry
system next to landscape sprinklers
or in any area that may expose the
system to direct driven water.
First you must determine how you would like to connect your telephone entry system for voice
and data communication. The method you choose is dependent on the type of connection
available at the entry system location. There are THREE types of connections:
(See Section 2.4 PC (Data) and Voice (Phone) Connection Options for more information)
Note: After choosing your connection type, you may need to purchase additional equipment
or devices before your installation can be completed.
No wired connection – uses DKS cellular service.
1
Network cable connection – uses DKS Data over the Internet or third party providers of your own choosing.
2
Telephone line connection – uses DKS IM Server Modem or your own modem.
3