DORAN MFG. LLC 2851 Massachusetts Ave Cincinnati, OH 45225 866-816-7233
Doranmfg.com
6
II. SETUP AND INSTALLATION
DORAN suggests that all users install a remote antenna to receive maximum performance
from the system
1. Installing the Monitor
The 360HD comes standard with the hook and loop mounting option. You can purchase the
option to place on the sun visor, attach to the windshield, fasten to the dash, attach it to the
pedestal mount, or use the hook and loop pads to fasten the monitor to a flat surface. If you are
using the hook and loop pads, we suggest that the surfaces that you are applying the pads to be
cleaned with alcohol to remove any grease or oils that
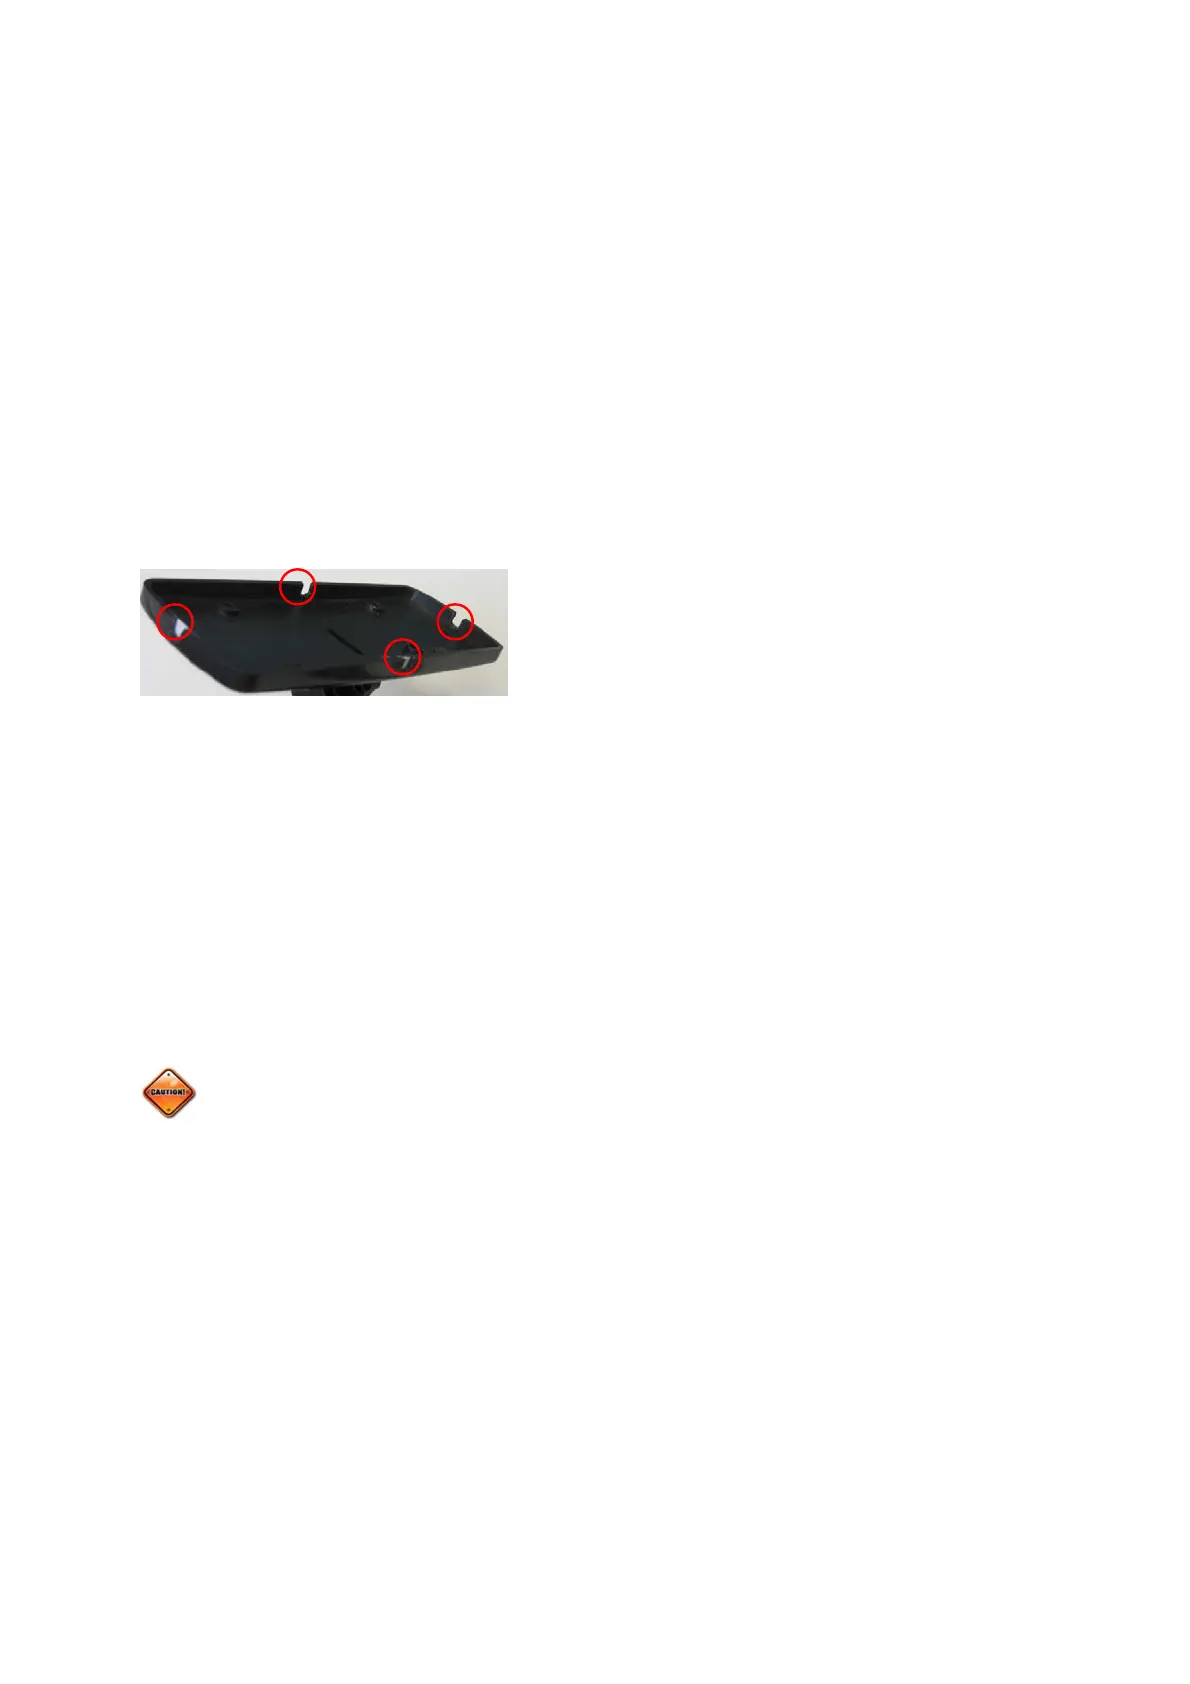
could be present. Choose the monitor back panel
which will work best for your mounting application.
Then remove the appropriate small breakaway tab to
allow the cord to exit in the best direction. (see Figure
1-1).
In order to access the full benefits of the system, you will need to hard wire the monitor to the
vehicle’s electrical system. You will see that there are three wires in the harness. Red is the
12/24-volt positive constant connection. This should be connected to a 12/24-volt power source
that is always “on”. The Blue wire will be the “switched” 12/24-volt positive connection. This wire
should only be live when the key is in the “ON” position. The BLACK wire is to be connected to
a good ground. This hookup will allow the monitor to receive signals when the vehicle is not
running, and update the monitor in real time. When the key is turned on you will have the current
information for your tire condition immediately before you begin your next trip.
The monitor is fused internally, however some installers would still prefer to install an
inline fuse for precautions. We suggest an optional 2-amp fast blow fuse be used for this
purpose.
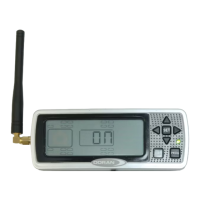
The first time the monitor is powered up the display will show “
ns
P”. This is saying that there
are “No Sensors Programmed” to the monitor. It could be that the sensors that were programmed
to the monitor have not reported into the monitor in order to lock the sensors into the memory. If
this is the case it could take up to 8 minutes for this to happen. If this is the first time you have
attempted to install the system and the sensors have not been programmed into the monitor, the
system will need to be programmed per the following section.
Figure
1-1