Operation
Dräger Polytron 5000 7
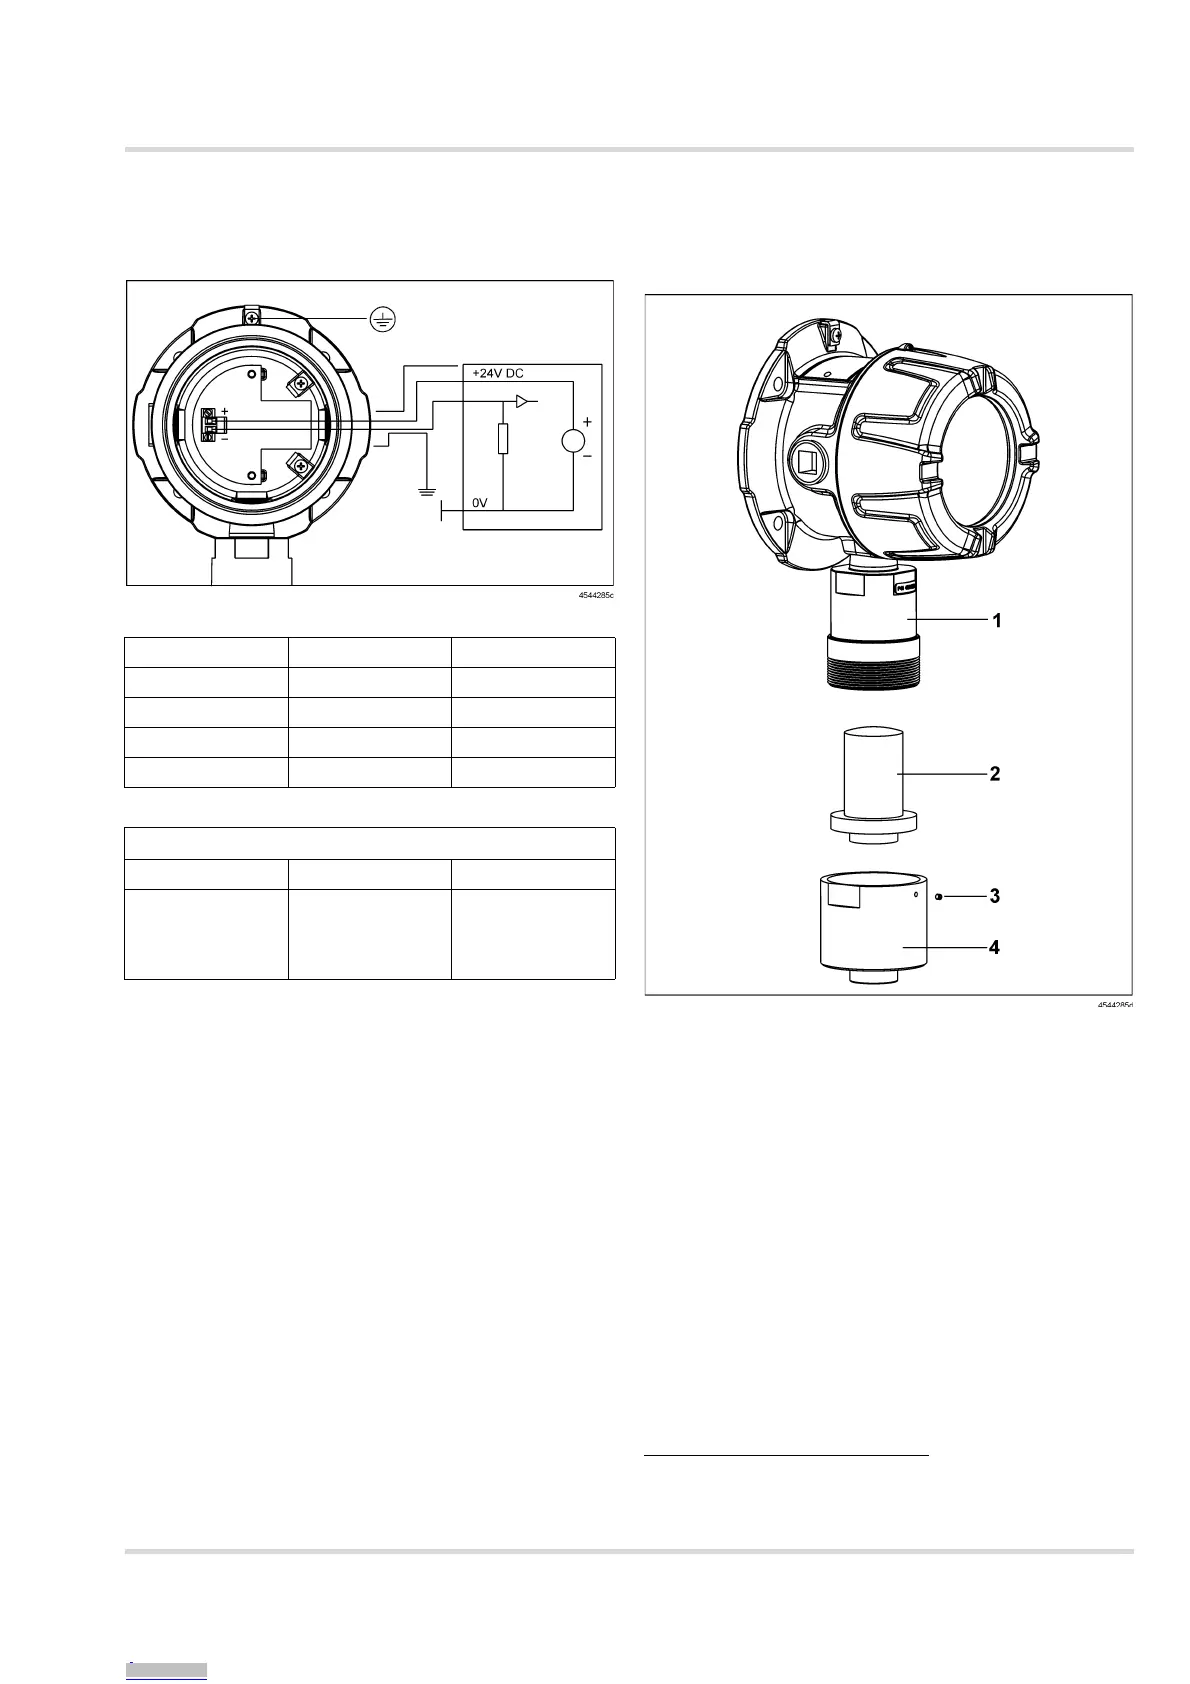
z Connect the wires as shown below.
Secondary circuit intended to be supplied from an
isolating source.
Tightening torque
Tightening torque and wire size for field wiring terminals
z In case of optional increased safety terminal box, securely
screw the transmitter onto the e-box using 4 screws with a
tightening torque of 8 Nm.
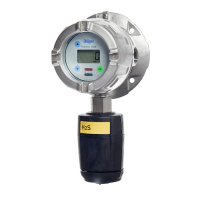
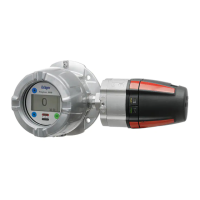
3.3 Installing the sensor
The Polytron 5000 sensor connector is keyed and can only be
installed one way. Use only DrägerSensors in this instrument.
To install the sensor, see the following figure for details:
1 Sensor housing
2 Sensor
3 Set screw
4 Sensor cover
1. Loosen the set screw in the stainless steel sensor cover.
2. Unscrew the stainless steel sensor cover at the end of the
sensor housing.
3. Insert the ribbon cable connector into the socket in the
DrägerSensor
®1
.
4. Push the DrägerSensor into the sensor housing.
5. Screw the stainless steel sensor cover back on.
6. Tighten the set screw to secure the sensor cover.
7. Allow the sensor to warm-up according to the sensor data
sheets.
z Always test a newly-installed sensor with target gas to
verify proper operation.
z When installed at locations exceeding ambient
temperatures of 55
°C, use only appropriate wiring
specified for at least 25
°C above the maximum ambient
temperature.
Part TQ Lb. In. TQ Nm
lid min. 266 min. 30
sensors min. 266 min. 30
plugs min. 266 min. 30
conduit hubs min. 443 min. 50
Electronic
TQ Lb. In. Wire Size AWG Wire Size mm
2
All field wiring
terminals
4.4 - 7.0
(0.5 - 0.8
Nm)
24 - 12 0.2 - 2.5
1) DrägerSensor
®
is a registered trademark from Dräger
Downloaded from Arrow.com.Downloaded from Arrow.com.Downloaded from Arrow.com.Downloaded from Arrow.com.Downloaded from Arrow.com.Downloaded from Arrow.com.Downloaded from Arrow.com.