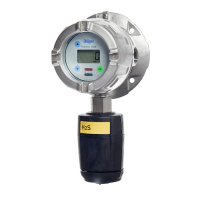
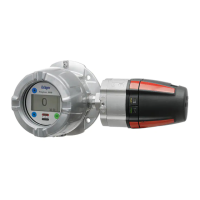
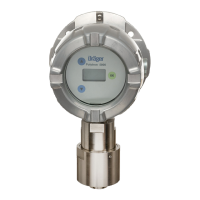
8 Dräger Polytron 5000
Operation
3.4 Replacing the sensor
1. Loosen the set screw in the sensor cover.
2. Unscrew the stainless steel sensor cover at the end of the
sensor housing.
3. Pull the ribbon cable out of the sensor connector and
remove the old sensor.
4. Insert the ribbon cable connector into the socket of the
replacement DrägerSensor.
5. Push the DrägerSensor into the sensor housing.
6. Screw the stainless steel sensor cover back on.
7. Tighten the set screw to secure the sensor cover.
8. Always test a newly-installed sensor with target gas to
verify proper operation.
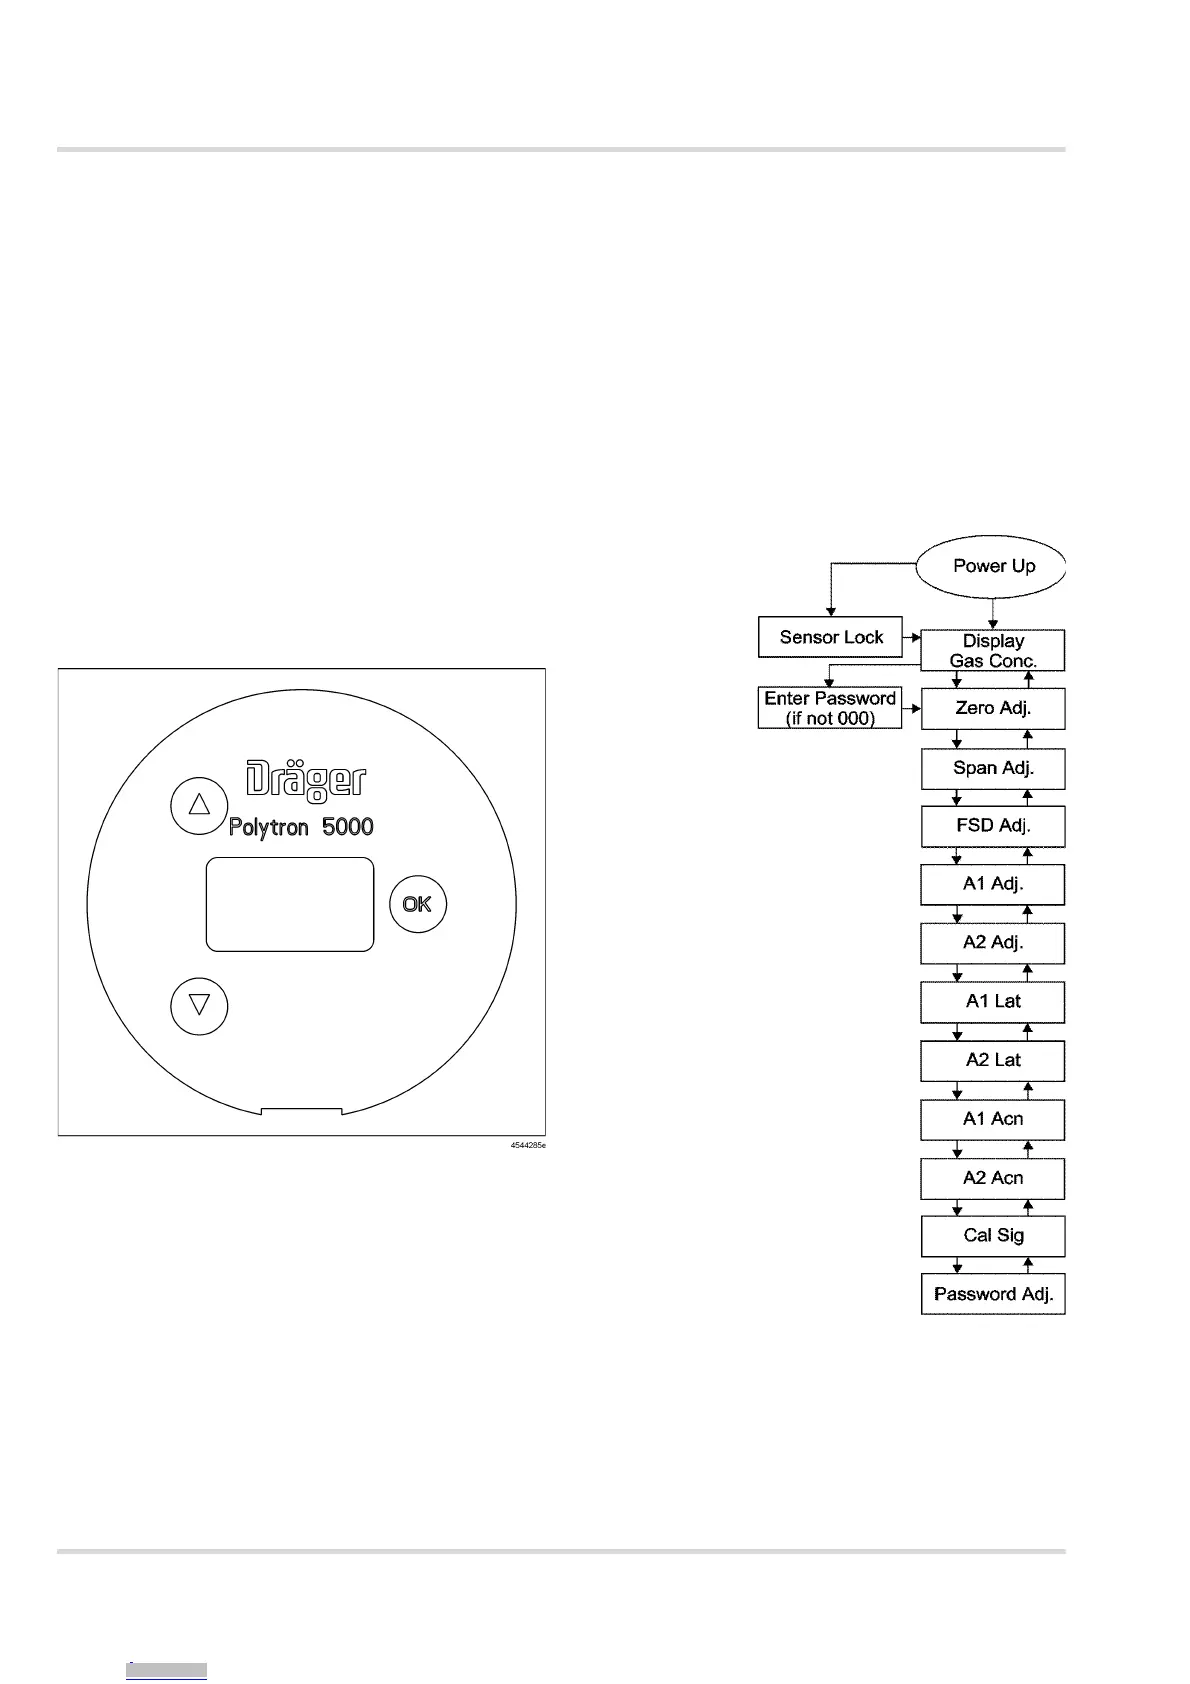
3.5 Menu
In the standard operating mode, the gas concentration of the
target gas will be displayed. To access the software menu, tap
the magnetic wand once against the glass viewport above the
Down arrow. The display shows the first menu item, Zero Adj.
The displays flashes ‘-0-’, ‘Adj’, and then shows the target gas
concentration.
3.5.1 Menu navigation
Tap the magnetic wand over the Up and Down arrows to scroll
through the menu selections. If the magnetic wand is held over
the switch for > 0.5 second, this will be considered multiple
taps and the menu will scroll. When you reach the last item
Password Adj, the menu will bottom-out, and you will have to
use the Up arrow to scroll back up through the menu. The
active menu item as well as its current value or status will flash
on the display as it scrolls.
3.5.2 Changing parameter values/status
To enter a new value, or change a status, tap OK with the
magnetic wand when the desired menu item is displayed. The
current value or status will flash to indicate a change to data
entry mode. The Up and Down arrows allow you to adjust the
value of a numerical parameter or to toggle between preset
choices. Once the display shows the desired value or choice,
tap OK to validate the new parameter. This will take you back
to the menu, where you can scroll to another menu item, if
desired.
3.5.3 Exiting the Menu
To get back into the standard measurement mode, just scroll to
the gas concentration menu item at the top of the menu. The
actual gas concentration will be displayed.
3.6 Menu items
3.6.1 Sensor lock
Upon power up, the
Polytron 5000
checks to see if the
correct sensor is
installed in order to
prevent accidental
installation of the
wrong sensor type.
If the correct sensor
type is installed, the
software goes
directly to
measurement
mode, displaying
the gas
concentration (
see
Section 3.6.2 on
Page 9).
If the installed
sensor differs from
the sensor installed
previously, the
message ‘sns’,
‘loc’, ‘on’ (sensor
lock on) will flash.
You then have two
choices: install a
sensor of the
correct type, or
verify that you are
purposely changing
to a different
sensor.
To verify the switch
to a different
sensor, hold the
magnetic wand
over OK. The
flashing message
will change to ‘sns’,
‘loc’, ‘5’, then to
‘sns’, ‘loc’, ‘4’, counting down from 5 to 1. You must hold the
magnetic wand on OK during the entire countdown. If you
remove the magnet at any time during the countdown, ‘sns’,
‘loc’, ‘on’ will begin flashing again. After counting down to
‘sns’, ‘loc’, ‘1’, the instrument will switch to the measurement
mode, accepting the new sensor type.
Downloaded from Arrow.com.Downloaded from Arrow.com.Downloaded from Arrow.com.Downloaded from Arrow.com.Downloaded from Arrow.com.Downloaded from Arrow.com.Downloaded from Arrow.com.Downloaded from Arrow.com.