- 52 -
***********************************
SELF TEST
PLEASE WAIT
************************************
PLAN Address : 1
Up : Increase
Down : Decrease
Enter : Save & Exit
Display address
Setting……… : 17
I/o Board address: 01
P:01 Adr Priv/Shared
Trm1 17 Pr
Trm2 32 Sh
Trm 3 None --- OK? NO
Display address
Setting……… : 18
I/o Board address: 02
Terminal config
Press ENTER
To continue
Terminal config
Press ENTER
To continue
Vision 2020i
5 sec
4.0 ELECTRICAL
The following mask will appear. Set pLAN
address to 1 (or accordingly) using “Up” and
“Down” arrow key. Press “Enter” key to save and
exit.
The terminal display will become blank after
“Enter” key is pressed. Please proceed to next
section on Addressing the Vision 2020i DBG1
Terminal.
4.8.2 ADDRESSING THE VISION
2020I DBG1 TERMINAL
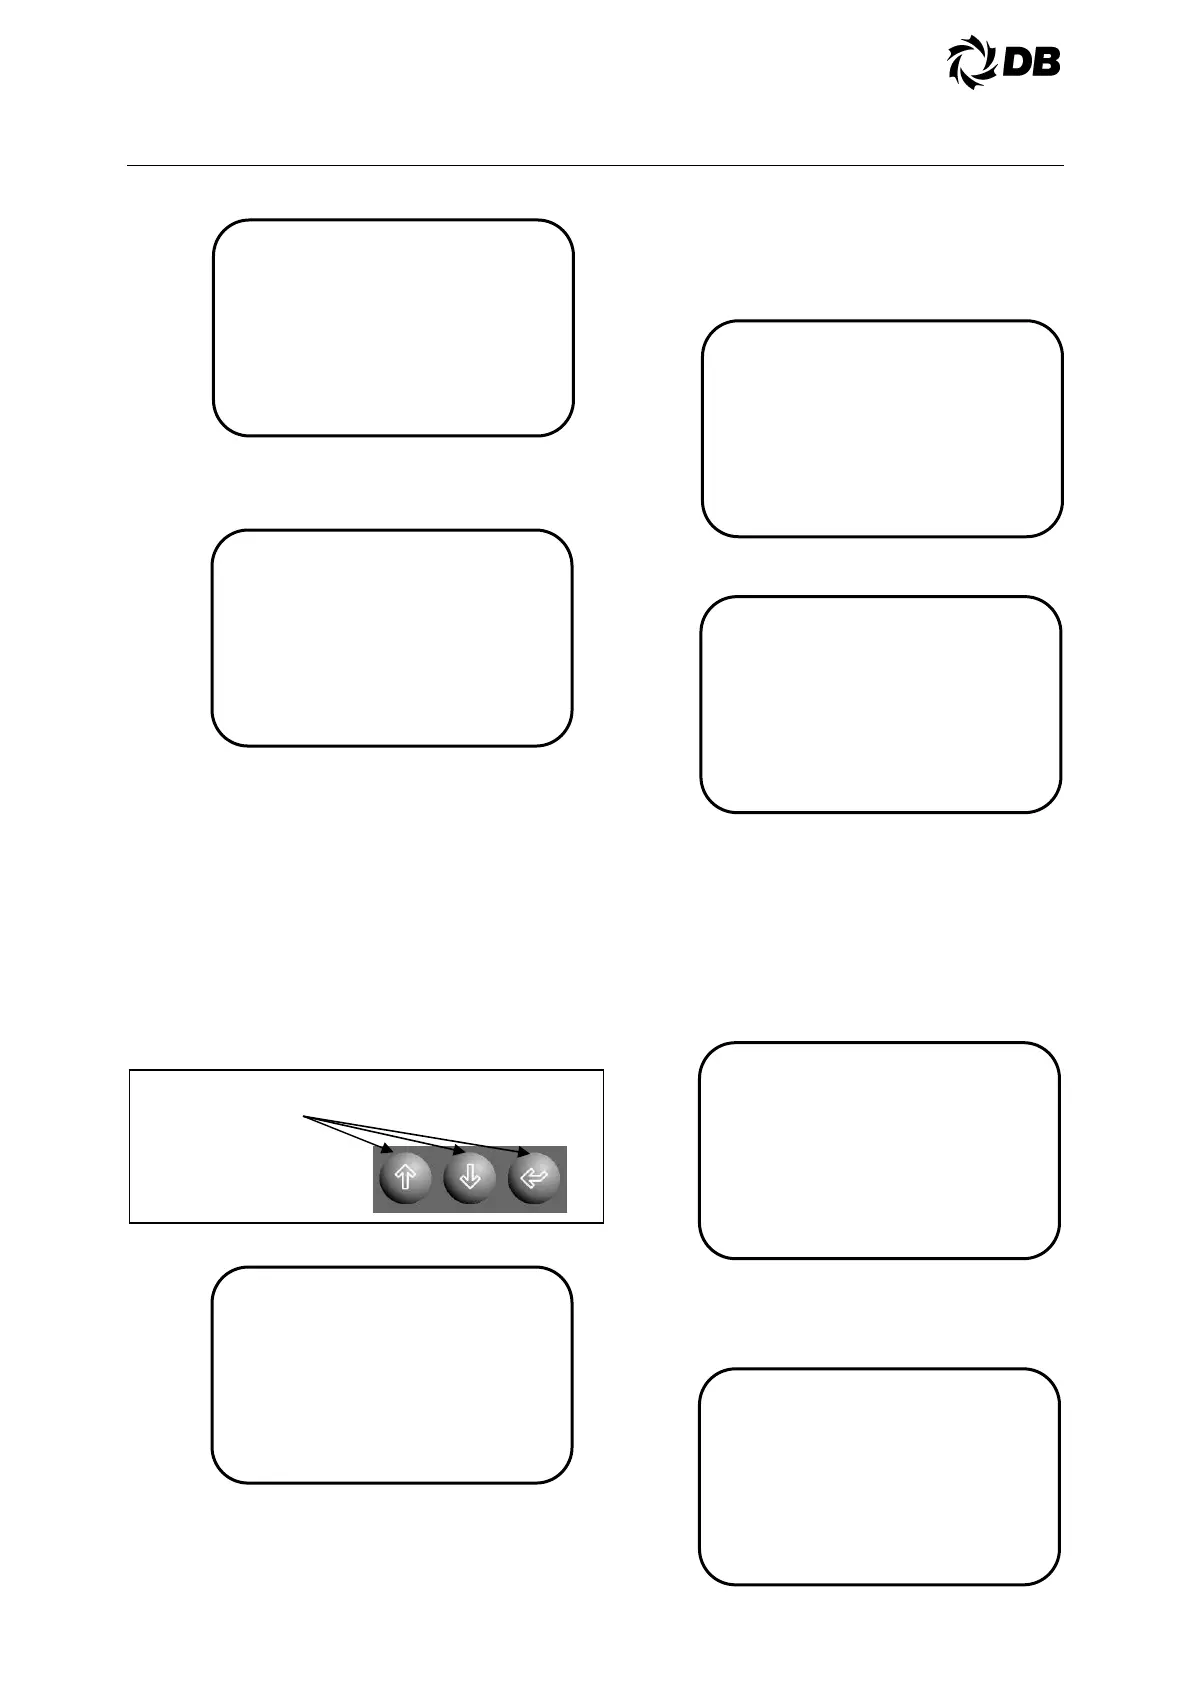
At the Vision 2020i DBG1 terminal, hold
simultaneously the last three keys on the lower
right corner of the Vision 2020i terminal keyboard.
Hold them for at least 5 seconds.
The display will appears:
The first line is the address of the terminal display
that you are using, (for first chiller, it is 17). The
next line allows you to select the Vision 2020i
controller address (for first chiller, it is 01) that you
want to configure. Once you select the address
then press ‘enter’ button
The display will appears:
Push ‘enter’ to continue.
Then the display appears:
Set Trm1, Trm2 and Trm3 to ’17 Pr’,’32 Sh’ and
‘None ---’, change the 'NO' to 'YES'(to confirm
and save) and press ‘enter’.
Note: Pr = Private, Sh = Share.
For multiple units with master-slave sequencing
control features, at the second chiller unit Vision
2020i terminal; repeat step 1 by holding the three
keys again. The display will appears:
The address display (18) is the correct setup for
the second chiller unit with the controller address
of two (P:02).Press ‘enter’ to confirm the settings
and the display will appears: