6.9 Direction of Turn of the Sewing Drive
NOTE !
Before commissioning the special sewing machine it is
essential to check the direction of turn of the sewing drive.
The operation of the special sewing machine with an
incorrect direction of turn can lead to damage.
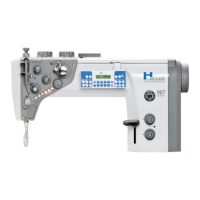
The illustration shows the normal direction of turn of the sewing drive.
(Counterclockwise rotation = Counterclockwise when viewing the belt pulley)
6.9.1 Checking the Direction of Turn with a DC1600/DA82GA Direct-current
Positioning Drive.
The direction of turn of the direct-current positioning drive is set to counterclockwise
rotation via the factory setting of the preset value (= 1) of the parameter F-161.
However, the first action during commissioning must be to check the direction of turn.
For this proceed e.g. as follows:
–
The synchronizer must be mounted. See Chapter 6.7
–
The plugs of the set-point adjuster, commutation adjuster, synchronizer and control
panel must be inserted. See picture 6.6
–
Do not insert the 37-pin plug of the sewing machine head.
–
Turn the main switch on.
The control panel shows "Info A5" , this means that no valid autoselect resistor was
found and the maximum speed is thus limited.
–
Press the pedal forward slightly; the drive turns; check the direction of turn.
–
Insert the 37-pin plug of the sewing machine head again.
6.9.2 Changing the Direction of Turn with a DC1600/DA82GA Direct-current
Positioning Drive.
If the sewing drive runs with an incorrect direction of turn, the parameter
F-161
of the
"Technician Level" must be set to the value 1.
With V810 control panel see Chapter 6.11.4
With V820 control panel see Chapter 6.11.5
NOTE !
After a change in the direction of turn the positions must be
reset. See Chapter 6.10
GB
21

 Loading...


