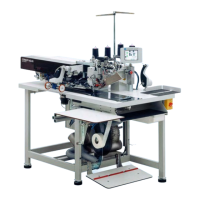
3.3 Fitting the covers above the table
Make absolutely sure to assemble the covers in the order described
below.
Cover 1 folding station
–
Put the cover in place from above.
At the same time pay attention to the control-panel guide.
–
Put the control in place from above.
–
Fix the control using the fixing screws.
Cover 5 carriage
–
Put on the cover from above so that it is nested in the
folding-station cover.
Cover 6 sewing head
–
Put the cover into the guide of the carriage cover from the right.
–
Insert the reel stand from above.
–
Tighten the fixture on the reel stand.
–
Secure the cover with the lock.
3.4 Fitting the covers below the table
Cover 10 on the left at the back and cover 11 on the right at the
back
–
Put the cover into the guiding hooks below.
–
Pull the cover up and insert it into the guiding hooks above.
The cover is locked by the springs on the lower guiding hooks.
Cover 4 on the left at the front and cover 7 on the right at the front
–
Pull the covers up and remove them towards the front.
–
Secure the cover 7 with the lock.
Cover 2 left-hand side
–
Put the cover into the guiding hooks below.
–
Pull the cover up and insert it into the guiding hooks above.
The cover is locked by the springs on the lower guiding hooks.
–
Assemble the stacker plates.
Cover 9 right-hand side
–
Put the cover into the guiding hooks below.
–
Pull the cover up and insert it into the guiding hooks above.
The cover is locked by the springs on the lower guiding hooks.
–
Secure the cover with the 2 locks.
Cover 8 Stacker
–
Swing the stacker forward.
–
Put on the cover from above.
–
Tighten all 7 fixing screws.
–
Swing the stacker back.
9

 Loading...


