Assembling the remaining thread monitor
8 Additional Instructions 867/867-M PREMIUM - 00.0 - 07/2018
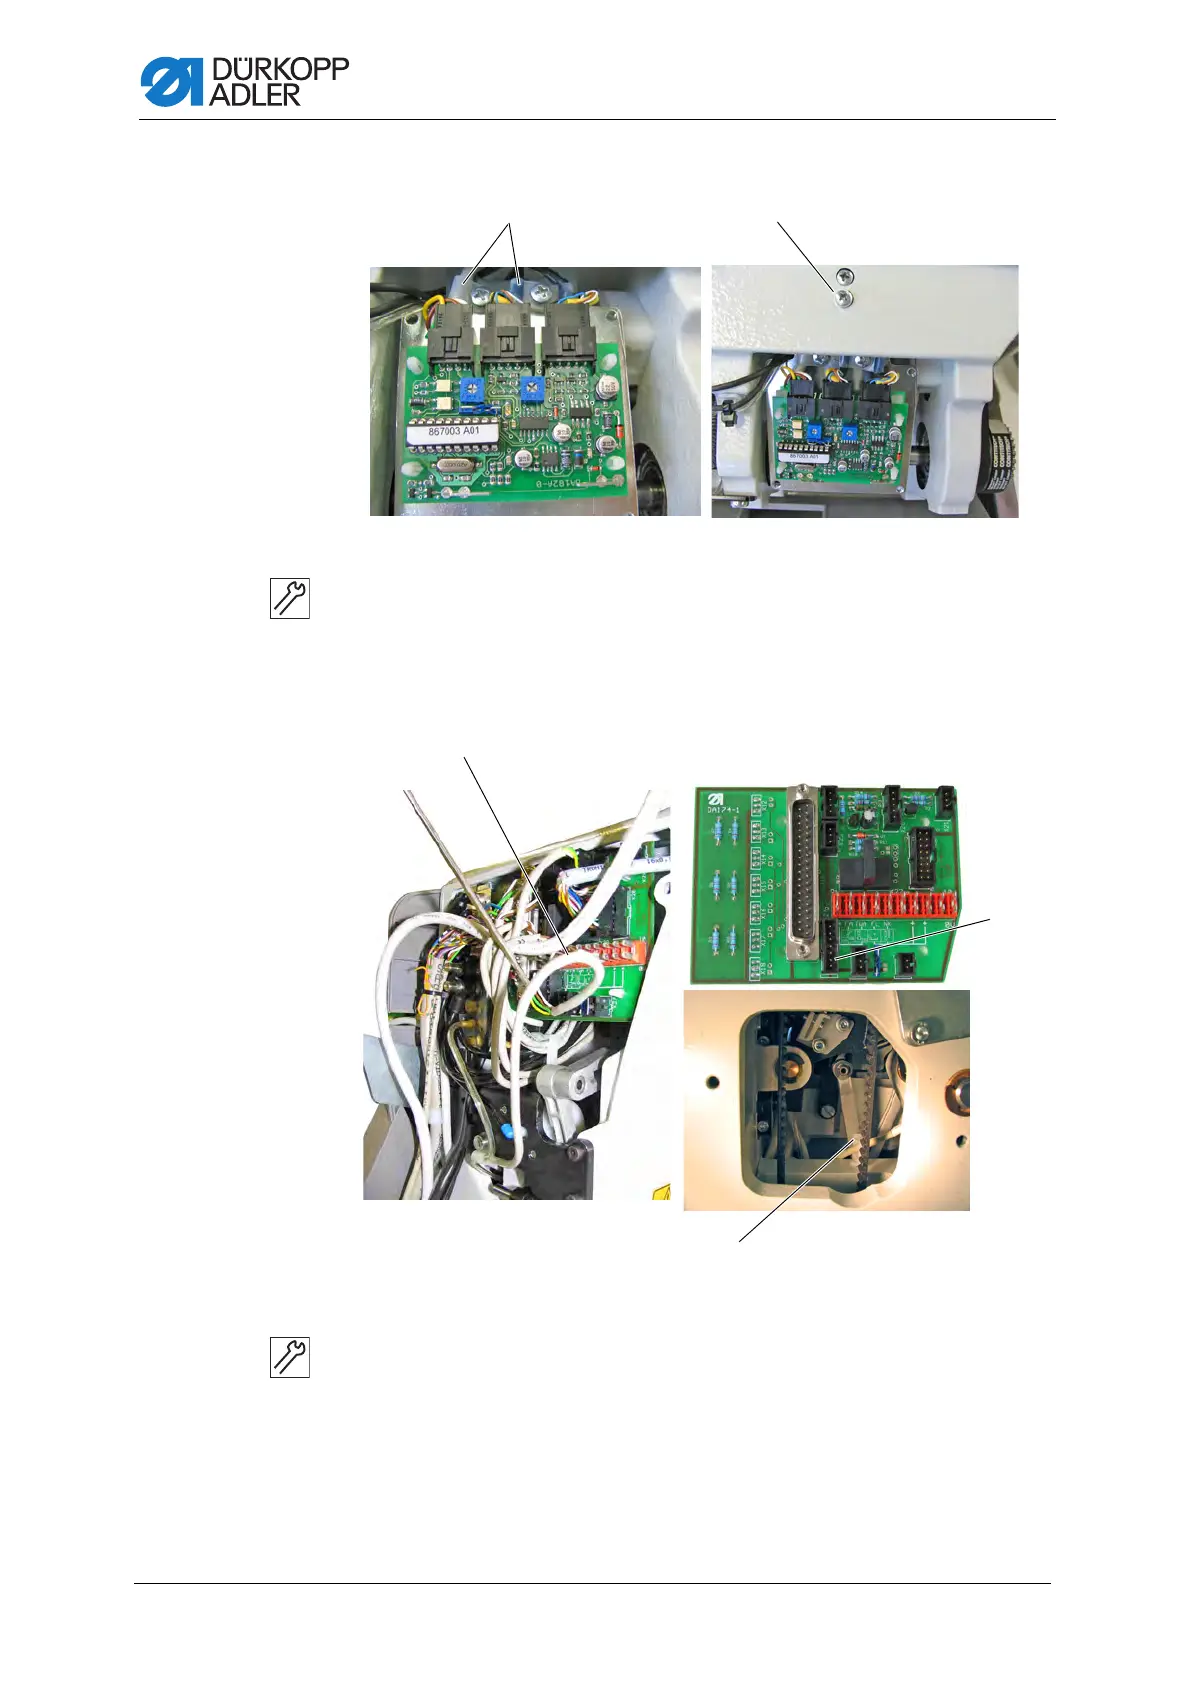
Fig. 3: Connecting the remaining thread monitor on Classic machines (2)
4. Fasten the cables with the cable clamps (4) to the base plate of the
remaining thread monitor control.
5. Screw the remaining thread monitor carrier plate (1) with the circuit
board (2) into the base plate using the screws (5).
Fig. 4: Connecting the remaining thread monitor on Classic machines (3)
6. Route the cable (6) through the cable holder (7) in the machine arm:
from the remaining thread monitor control to the valve circuit board.
7. Connect the cable (6) to plug connection X24 of the valve circuit board.
8. Guide the cables of the remaining thread monitors through the holes
in the base plate and fix them to the existing cables with cable tie.
(4) - Cable clamps (5) - Screw
(6) - Cable (7) - Cable holder

 Loading...


