Assembling the remaining thread monitor
Additional Instructions 867/867-M PREMIUM - 00.0 - 07/2018 7
4. Set the position of the remaining thread monitor (1) so that the light
beam hits the reflective surface of the bobbin through the slot in the
bobbin case.
2.2 Connecting the remaining thread monitor
2.2.1 Connecting the remaining thread monitor on Classic
machines
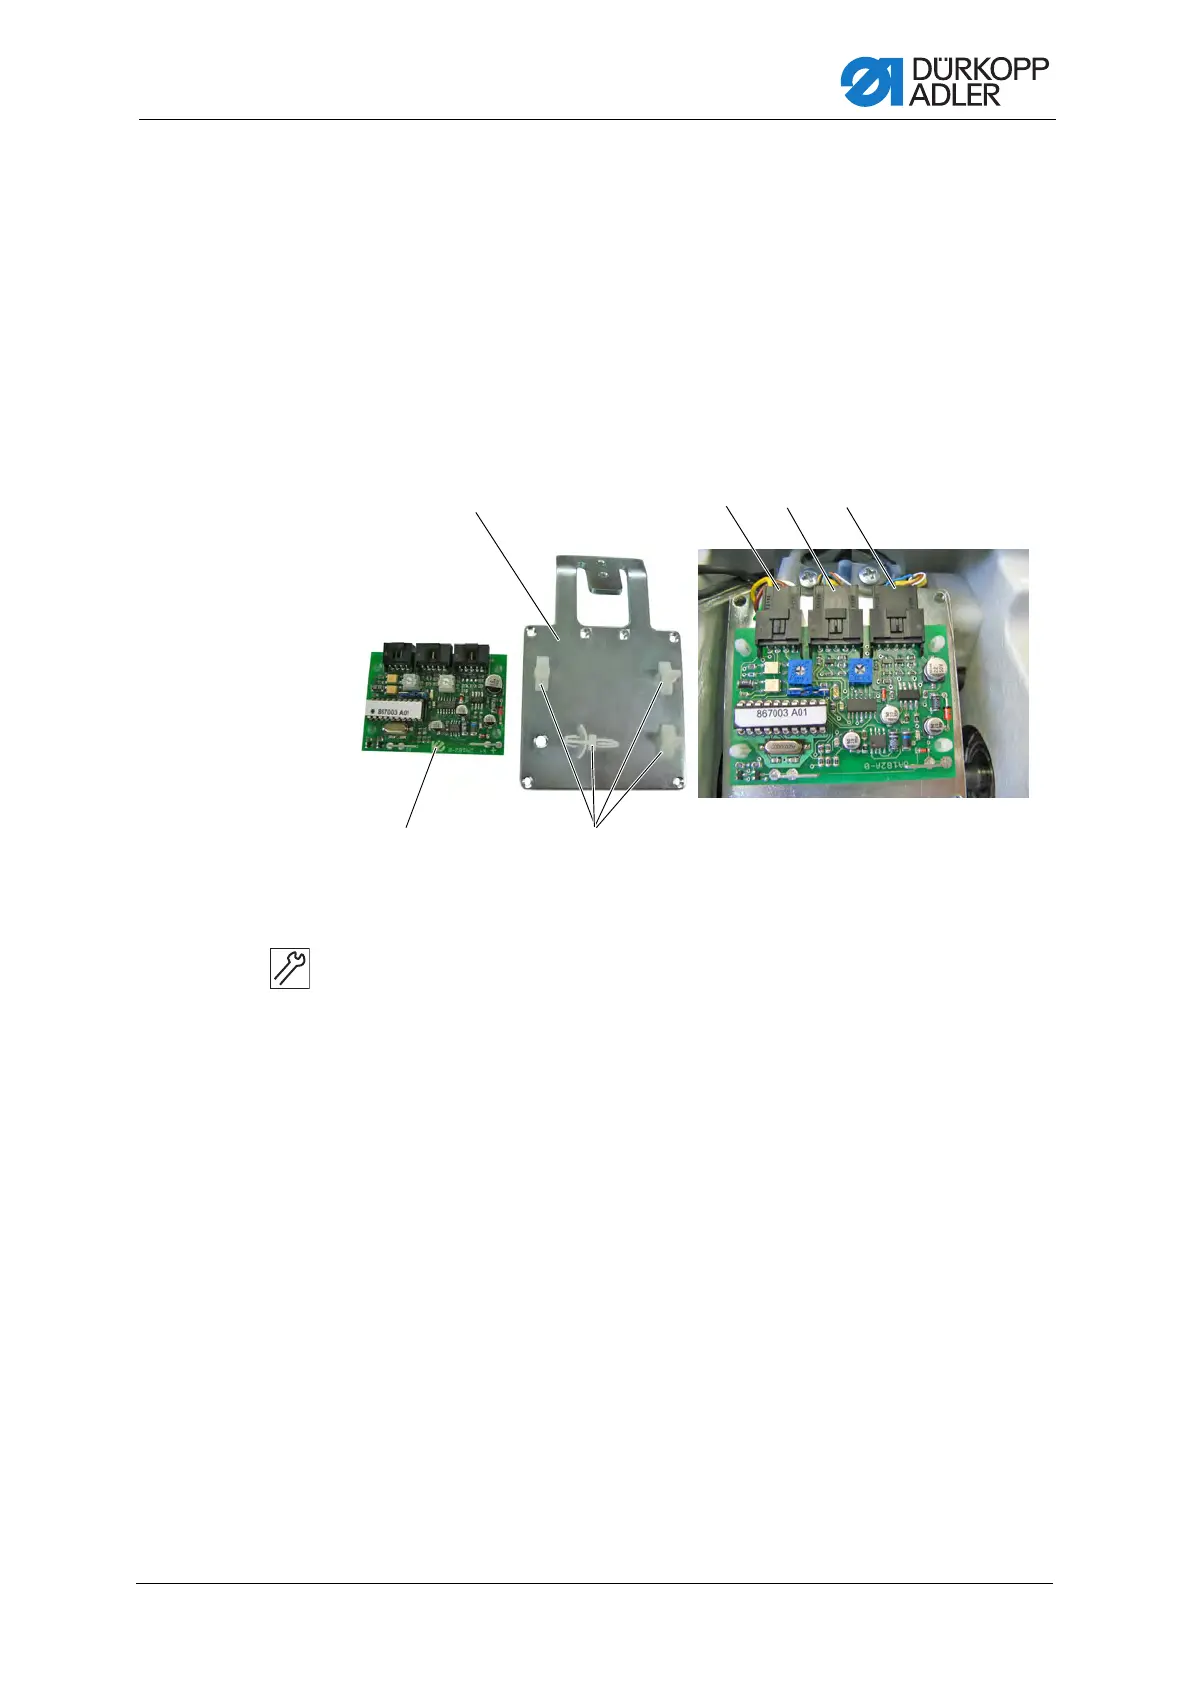
Fig. 2: Connecting the remaining thread monitor on Classic machines (1)
To connect the remaining thread monitor:
1. Insert spacer (3) into the holes of the remaining thread monitor carrier
plate (1).
2. Attach the circuit board (2).
3. Connect the cables to the circuit board (2):
• A = Valve circuit board
• B = Light barrier, left needle
• C = Light barrier, right needle
(1) - Remaining thread monitor carrier plate
(2) - Circuit board
(3) - Spacer

 Loading...


