70
A B
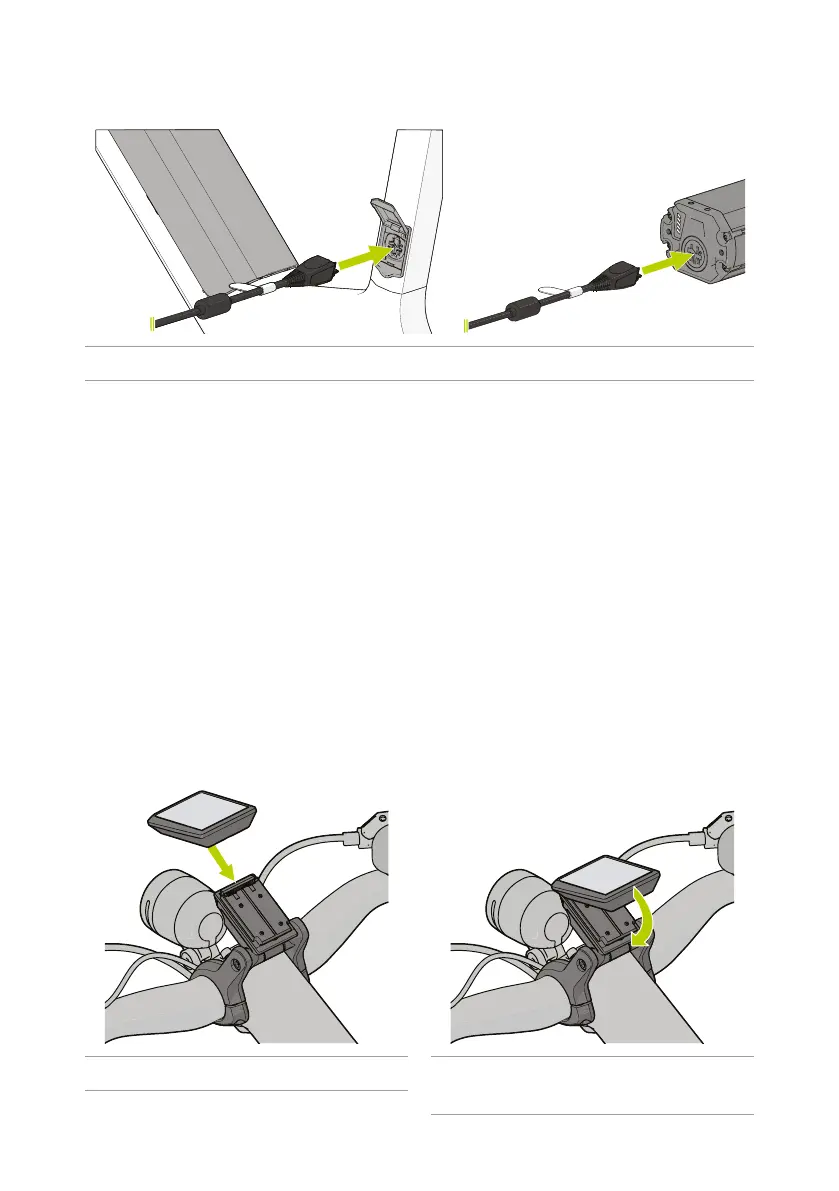
Figure 14 - Inserng the charging plug into the baery.
4
The power unit of the e-bike does not operate while the battery is being charged in the
battery holder.
Oncethebaeryisfullycharged,allbaerylevelLEDsv and the on-board computer will turn
o.
5. Disconnect the charger kfromthebaeryj.
6. Disconnect the charger k from the power supply.
7. Closethecapofthebaeryholderc (only when charging in the e-bike).
4
If you do not disconnect the charger after charging, the charger will automatically turn on
again after several hours, check the battery level and begin charging again if necessary.
4.6. Installing and removing the on-board computer
1. Install the on-board computer 4 with the top in the holder on the handlebars.
2. Pull the underside of the on-board computer towards you and click the underside in the
holder on the handlebars.
Figure 15 - Installing the on-board computer. Figure 16 - Clicking the on-board computer into
place.