80
5.4. Checks before use
6
CAUTION
Beforeeachjourney,checkthat:
Ҍ thebellandlighngoperatecorrectlyandarermlyaached.
Ҍ the brakes operate correctly.
Ҍ the brake levers are adjusted correctly. If you can squeeze the lever all the way to the
handgrip, there is air or a leak in the brake line. Do not use the e-bike and have the brake line
bled or repaired by an approved e-bike specialist.
Ҍ the tyres and rims are free of damage and the wheels can turn unimpeded.
Ҍ thetyresarepumpedtothecorrectpressure.Insucienttyrepressuresleadtomorerapid
tyrewear,reducedgripandhigherenergyconsumponofthee-bikesystem.
Ҍ there is no sharp debris in the treads of the tyres that may puncture the tyres.
Ҍ allbolts,nutsandquickreleasesareght.
Ҍ therearenodeformaons,cracksordamageintheframeorfrontfork.
Ҍ thestemandhandlebarsarecorrectlyandrmlyaachedandthehandlebarsareatthe
correct height and angle.
Ҍ theseatpostandsaddlearecorrectlyandrmlyaachedandthesaddleisatthecorrect
height and angle.
Theabovechecksshouldalsobecarriedoutaeracollision/crash.Donotusethebicycleifa
partnolongerfunconscorrectlyorisbroken/deformed.
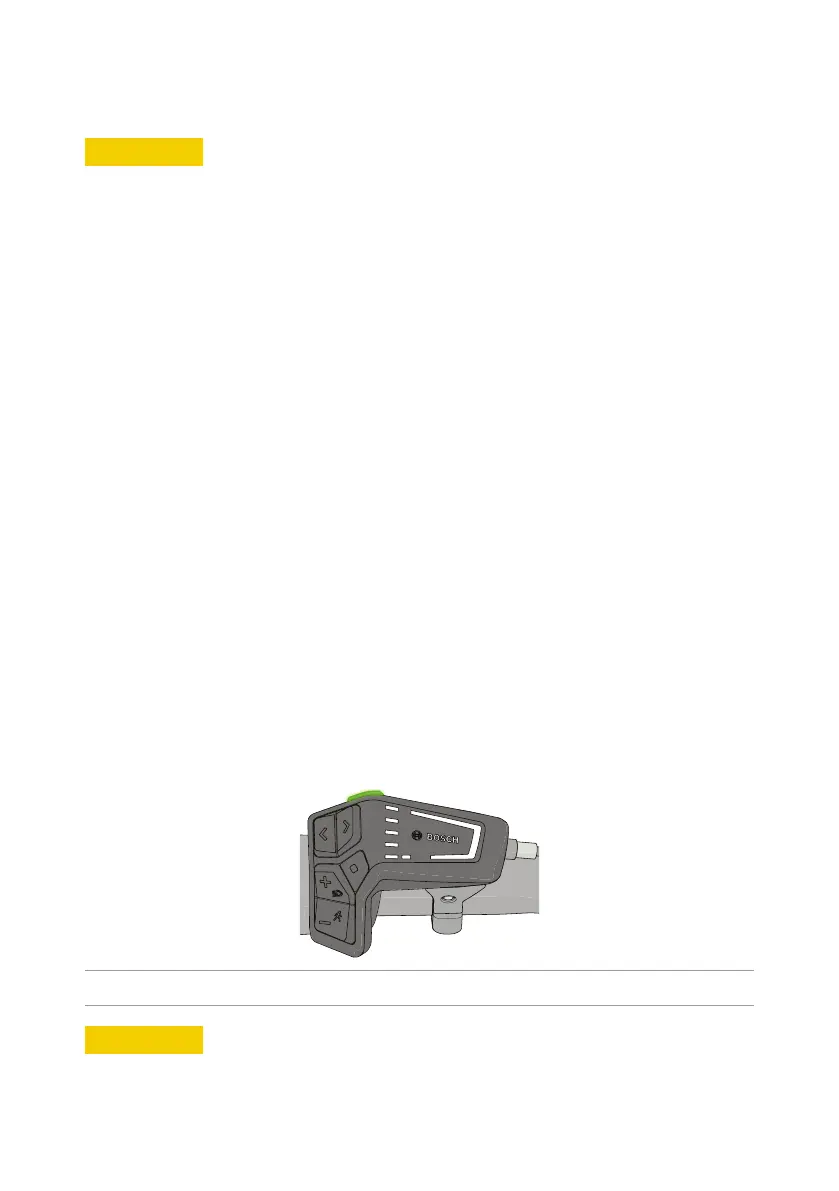
5.5. Turning on the e-bike
1. Chargethebaeryjsucientlyfortheplannedjourney,seechapter4.5.
2. Placethebaeryjinthebaeryholder,seechapter4.3.
3. Place the on-board computer 4 in the holder (see chapter 4.6).
4. Presstheon/obuonontheon-boardcomputer.
Figure 26 - Press the on/o buon on the on-board computer.
6
CAUTION
Donotusesharporpointedobjectstopresstheon/obuon.
The e-bike is now turned on.