15Xeo 4 / Xeo 6
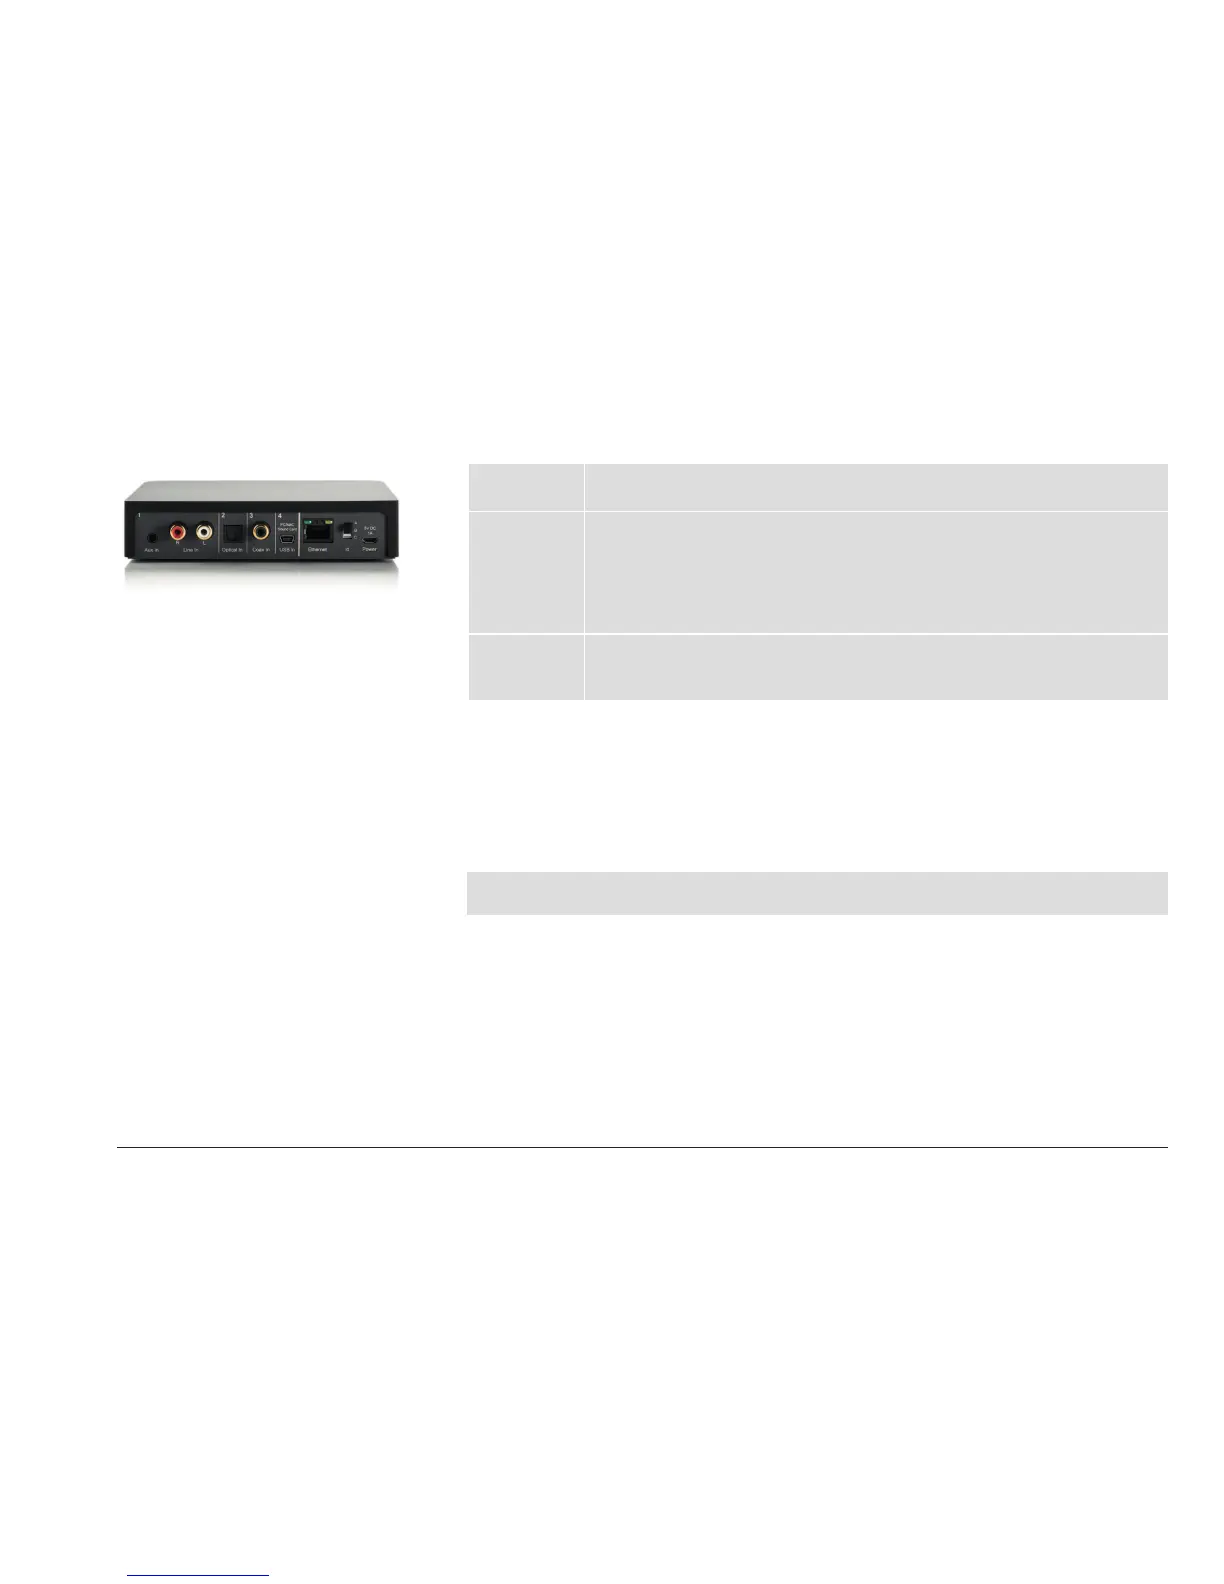
Rear plate – other connections and control elements
Ethernet Network connection
Intended for future use.
Id Transmission channel
If you assign an ID, you can select the desired Hub from several Hubs using the
remote control.
In addition, each ID has its own transmission channel: A = 2.4 GHz, B = 5.2 GHz,
C = 5.8 GHz. If the transmission quality is poor or there is a disruption caused by
other radio systems, changing to a dierent channel may produce an improvement.
Power Connection for power supply unit
Connect the delivered Xeo power supply unit here.
Do not use a dierent power supply unit!
Connection
1. Connect your signal source to the appropriate input on the Hub.
See „Connection options“ on page 24 for a selection of signal sources.
2. Select a Id if desired. Default Id is A.
3. Connect the Hub to the mains voltage using the POWER connection and the Xeo power supply
unit. Do not use a dierent power supply unit!
NOTE: If you connect Xeo Hub via a USB cable to a computer (that is switched on), you do not need an
additional mains connection.