EFX48-xx Series with RM3-340/440 Installation and Operation Guide
70
Copyright © 2019 Eaton Corporation. All Rights Reserved.
IPN March 2019
Start-Up Tasks
Complete all the Installation tasks (see details on page 55) before starting these Start-Up tasks.
Complete the Start-Up tasks in the following order:
Task Description Reference
1 Insert the rectifiers See details on page 70
2 Complete the Pre-Power-Up Checklist See details on page 71
3 Connect to the ac supply See details on page 71
4 Configure the dc power system See details on page 72
5 Apply dc power to battery and load See details on page 73
Task 1 - Inserting the Rectifiers
• Do NOT install the rectifiers until the room has been cleaned and is dust free.
• Do NOT switch on the ac supply at this stage.
Step 1 - Unpack the rectifiers
Unpack the rectifiers and inspect them carefully for possible transport damage.
Report any damage immediately using a completed Equipment Incident Report on
page 159.
Keep the original packaging to return a rectifier for replacement or repair, if
required.
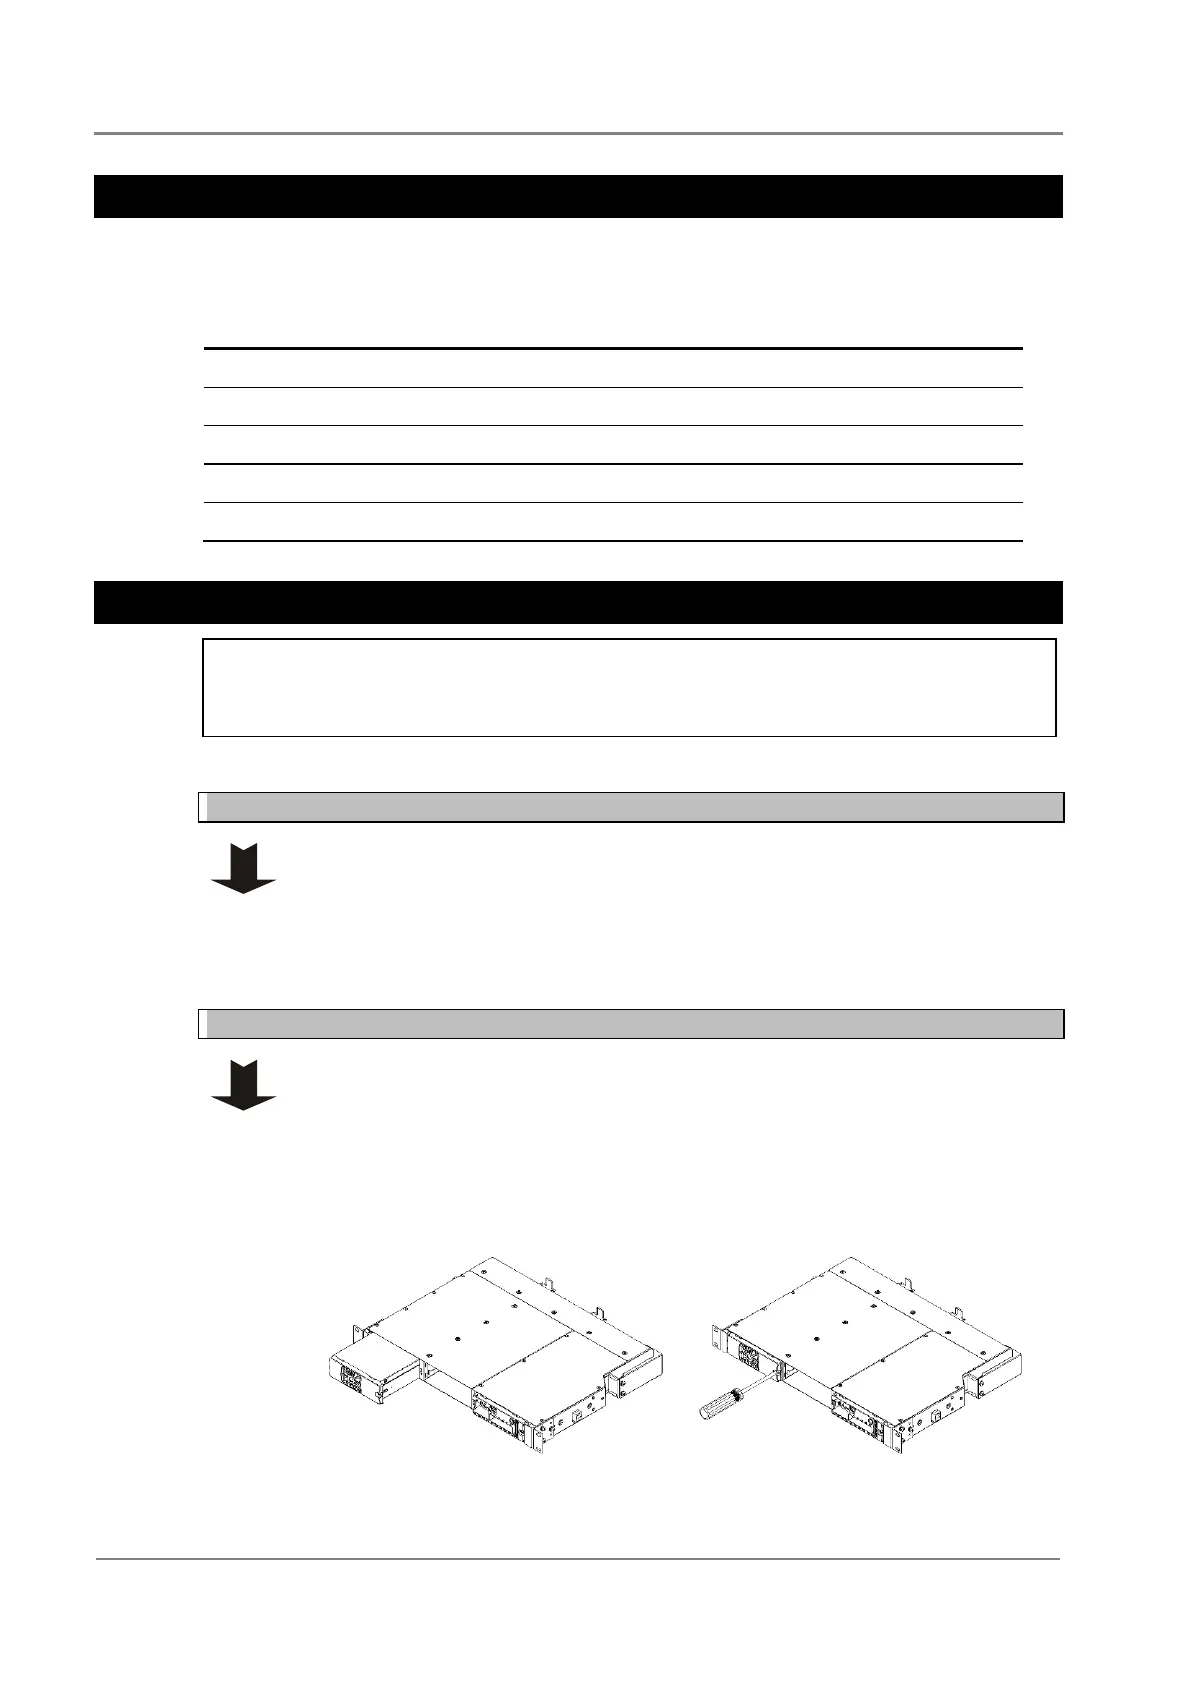
Step 2 - Fit first rectifier
1 Align the rectifier with the left side of the shelf.
2 Push in the rectifier until the retaining screw contacts the shelf.
3 Check the rectifier's rear connector is correctly aligned with the shelf connector,
or damage may occur.
4 Tighten the retaining screw to 1.5Nm (13.3 inch-pounds). This will locate the
rectifier in its rear connector.
 Loading...