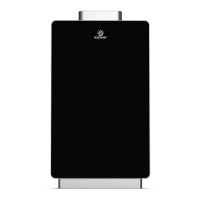
PLEASE NOTE: SH12
-
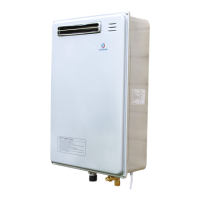
A IS FOR INDOOR PERMANENT INSTALLATIONS ONLY. THIS MANUAL AND ALL ECCOTEMP CONTENT IS SUBJECTED TO CHANGE WITHOUT NOTICE.
PLEASE VISIT SUPPORT.ECCOTEMP.COM FOR MORE INFORMATION.
24
24
Support: Support.Eccotemp.com Shop Online: www.Eccotemp.com Phone: 866-356-1992
English
Installation
VENTING CONT.
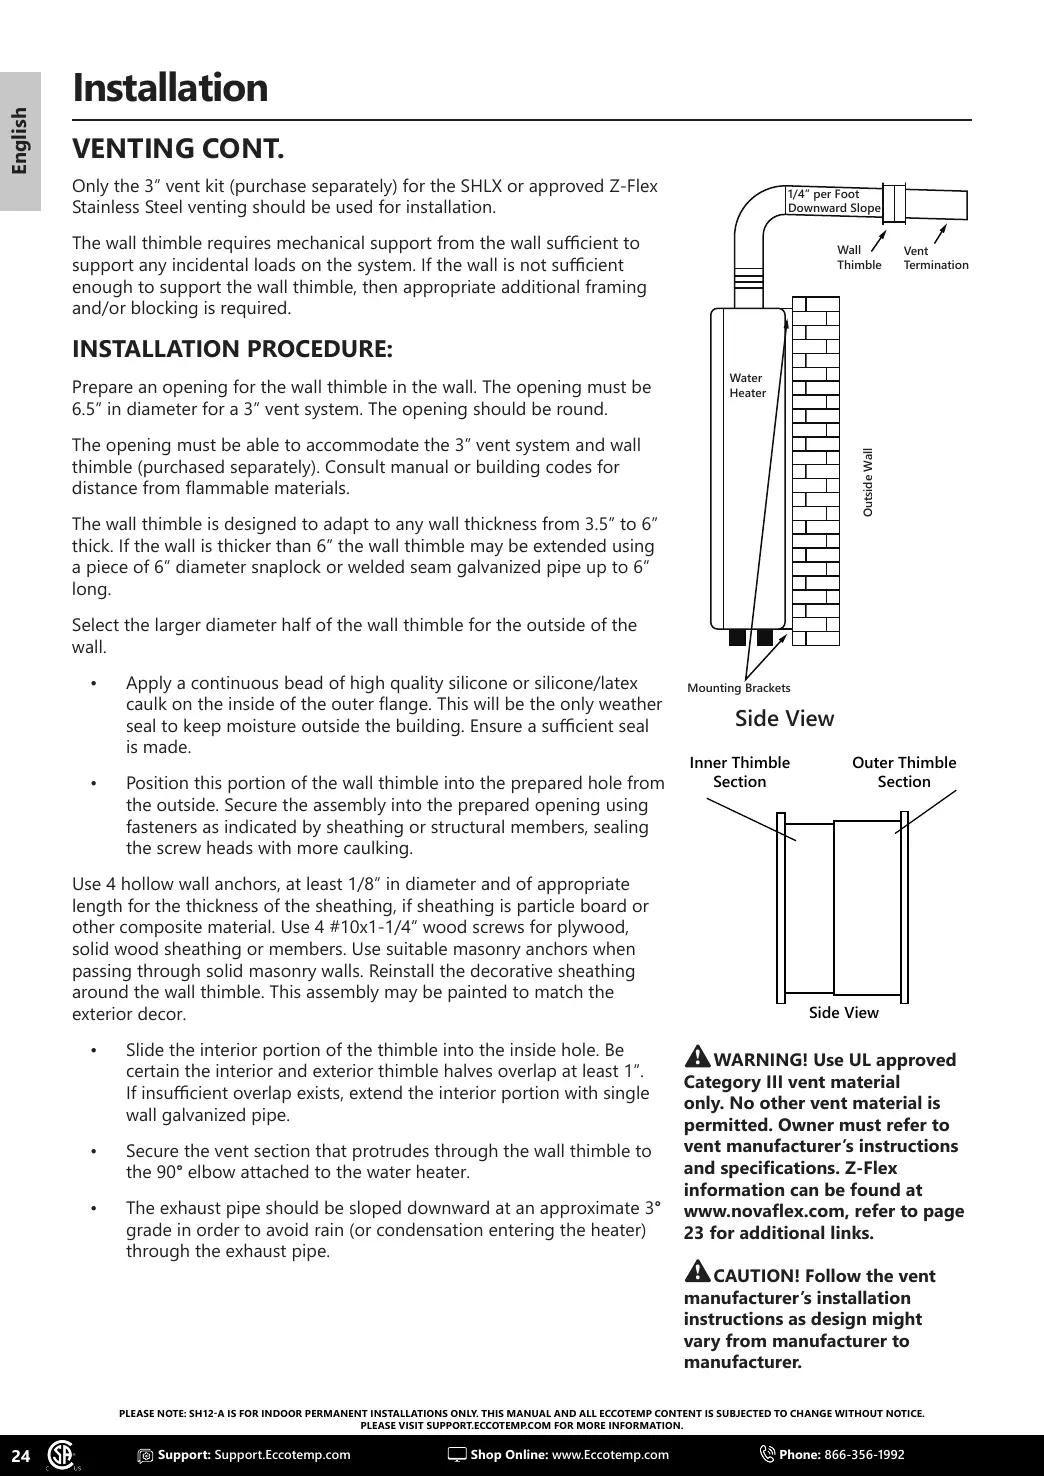
Inner Thimble
Section
Outer Thimble
Section
Side View
WARNING! Use UL approved
Category III vent material
only. No other vent material is
permitted. Owner must refer to
vent manufacturer’s instructions
and specications. Z-Flex
information can be found at
www.novaex.com, refer to page
23 for additional links.
CAUTION! Follow the vent
manufacturer’s installation
instructions as design might
vary from manufacturer to
manufacturer.
!
!
Water
Heater
Outside Wall
Mounting Brackets
Wall
Thimble
Vent
Termination
1/4” per Foot
Downward Slope
Only the 3” vent kit (purchase separately) for the SHLX or approved Z-Flex
Stainless Steel venting should be used for installation.
The wall thimble requires mechanical support from the wall sucient to
support any incidental loads on the system. If the wall is not sucient
enough to support the wall thimble, then appropriate additional framing
and/or blocking is required.
INSTALLATION PROCEDURE:
Prepare an opening for the wall thimble in the wall. The opening must be
6.5” in diameter for a 3” vent system. The opening should be round.
The opening must be able to accommodate the 3” vent system and wall
thimble (purchased separately). Consult manual or building codes for
distance from ammable materials.
The wall thimble is designed to adapt to any wall thickness from 3.5” to 6”
thick. If the wall is thicker than 6” the wall thimble may be extended using
a piece of 6” diameter snaplock or welded seam galvanized pipe up to 6”
long.
Select the larger diameter half of the wall thimble for the outside of the
wall.
• Apply a continuous bead of high quality silicone or silicone/latex
caulk on the inside of the outer ange. This will be the only weather
seal to keep moisture outside the building. Ensure a sucient seal
is made.
• Position this portion of the wall thimble into the prepared hole from
the outside. Secure the assembly into the prepared opening using
fasteners as indicated by sheathing or structural members, sealing
the screw heads with more caulking.
Use 4 hollow wall anchors, at least 1/8” in diameter and of appropriate
length for the thickness of the sheathing, if sheathing is particle board or
other composite material. Use 4 #10x1-1/4” wood screws for plywood,
solid wood sheathing or members. Use suitable masonry anchors when
passing through solid masonry walls. Reinstall the decorative sheathing
around the wall thimble. This assembly may be painted to match the
exterior decor.
• Slide the interior portion of the thimble into the inside hole. Be
certain the interior and exterior thimble halves overlap at least 1”.
If insucient overlap exists, extend the interior portion with single
wall galvanized pipe.
• Secure the vent section that protrudes through the wall thimble to
the 90° elbow attached to the water heater.
• The exhaust pipe should be sloped downward at an approximate 3°
grade in order to avoid rain (or condensation entering the heater)
through the exhaust pipe.