Familiarization
Section 4
Digital Satellite Receiver Page 4 - 1
© 2001 EchoStar International Corporation
All rights reserved
4
FAMILIARIZATION
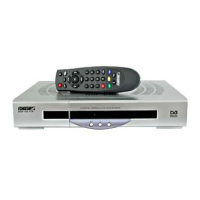
1. THE RECEIVER
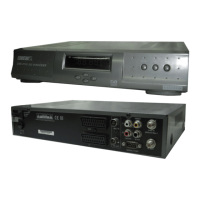
The digital satellite receiver has 2 Common Interface slots. The front panel gives you the
control over the basic functions. The rear panel gives you various connections to connect the
audio and video equipment as well as a terrestrial and dish antenna. Ventilation slots in the
housing are provided for cooling of the internal electronics.
The software of the receiver contains the EchoNAV user interface with on-screen help, which
gives you easy control over the features of the receiver. The software contains also a large
database of pre-programmed satellites and transponders which are used for a quick
installation. For initial installation, the software guides you through the required setup menu to
allow for an easy and reliable installation setup of the receiver.
FEATURE HIGHLIGHTS
■
EchoNAV Multilingual Advanced User Interface (12+ languages);
■ 40 Gbyte Low Noise Audio/Video Hard Disk Drive;
■ Digital Audio/Video Recording with Slow Motion, Pause, FF, Rew;
■ PauseLiveVideo;
■ 6 Week EPG (SavedonHardDisk);
■ 5,000 Channels, 100 Satellites, 1,300 Transponders;
■ 8 Favorite Lists for each Mode (TV, Radio, DVR);
■ Powerful Channel Sorting and Grouping;
■ Multiple Scan Modes (incl. Update Scan);
■ Digital Audio Output (Dolby Digital Compatible);
■ DiSEqC 1.2;
■ Software Updates via Internet/Satellite (OTA).
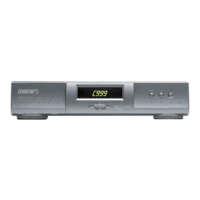
1.1. THE RECEIVER FRONT PANEL
The front panel has:
■ The display,
to show the clock or the actual status of the receiver.
■ The key,
to switch the receiver to on or stand-by.
■ The MENU key,
to get access to the EchoNAV installation menu.
■ The OK key,
to get access to the EchoNAV mode and selection menu.
■ The arrow keys,
to navigate left, up, right and down through the selectable options.
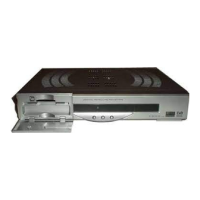
■ The access door,
to access the different slots for the CI-modules and smart cards.